mkuntzman
Member
Wow, this is exactly what I was looking to do! Few questions:Console to Rotary Shifter 2023 Lightning Platinum ~$200
Hey guys, I tried to be thorough here but if anyone has any questions or if I forgot to mention something let me know I’d be happy to explain further. I saw this mentioned a bunch of places but didn’t see it done anywhere so I thought I’d post.
$90 Brand New on eBay
Ford Escape 2020-2022 Shifter - Part # PZ1P-7P55-AC
$50 for all 3 parts
Main Console Tray - ML3Z1513530AA
Console Rubber Mat - ML3Z15045G34JA
Console Plastic Insert - ML3Z15045G34EA
Harness Connectors and Wire - $50
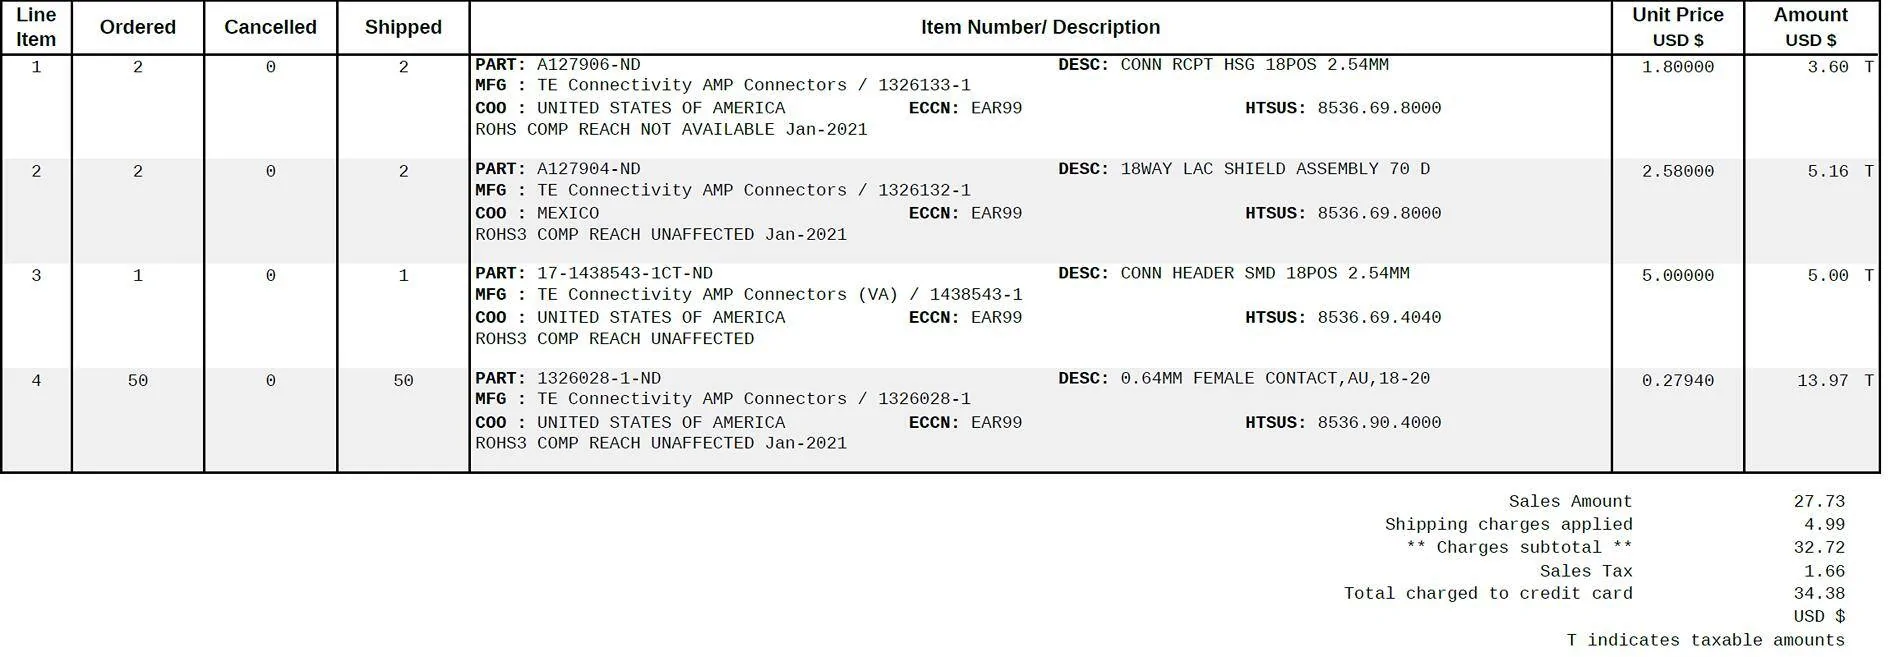
Female Socket Part # 1326133-1 - 2 Pcs
Female Socket Shield Assembly Part # 1326132-1 - 2 Pcs
Male Pin PCB Connector Part # 1438543-1 - 1 Pcs
Receptacle Terminals 1326028-1 - 22 Pcs (order a few extra in case you damage any)
20 Gauge Wire - You can use any wire but I chose to get all different colors. You need 11 wires and about 2 ft of each.
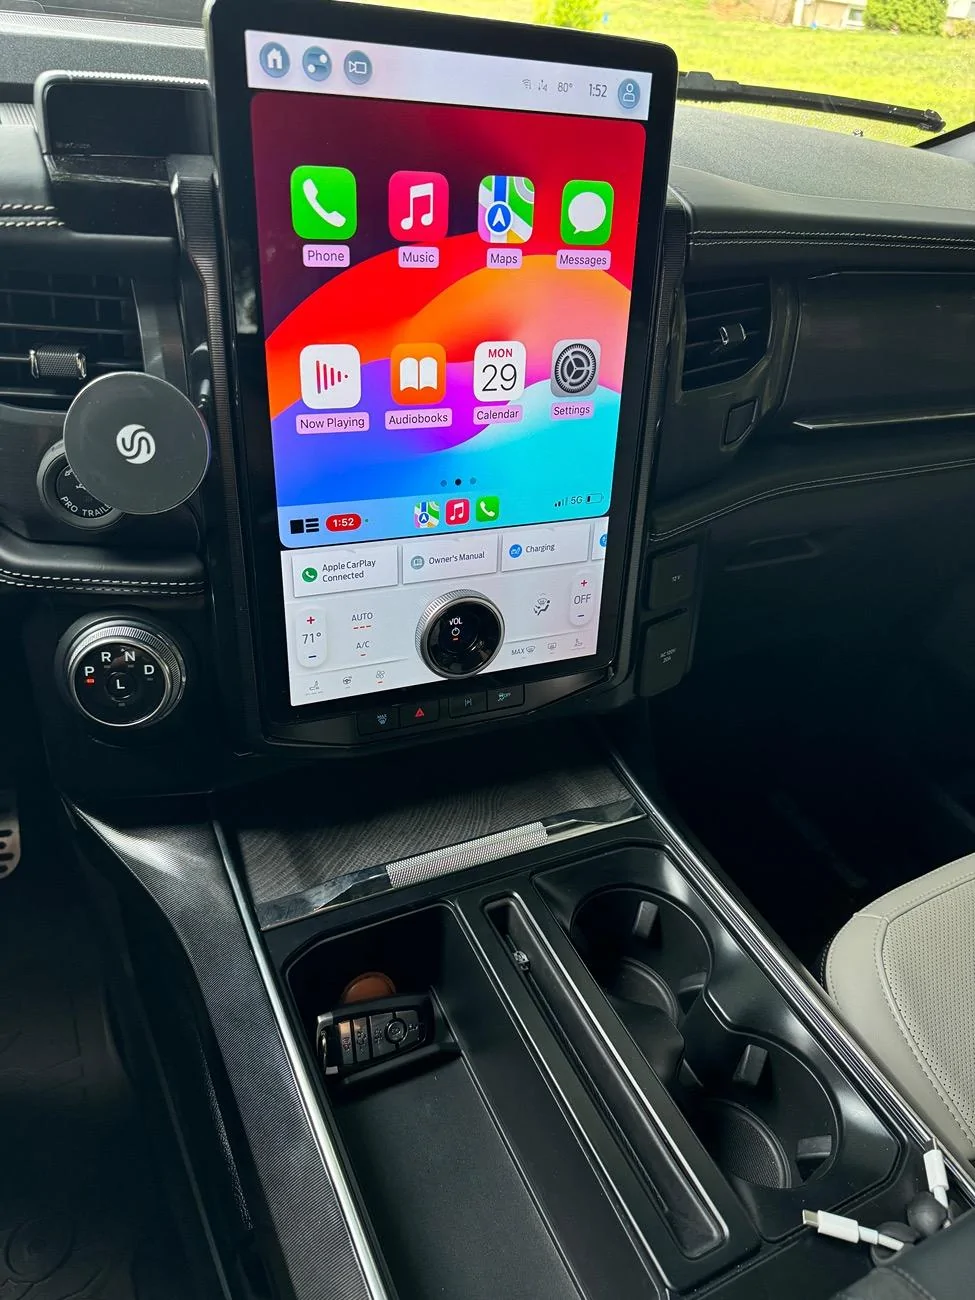
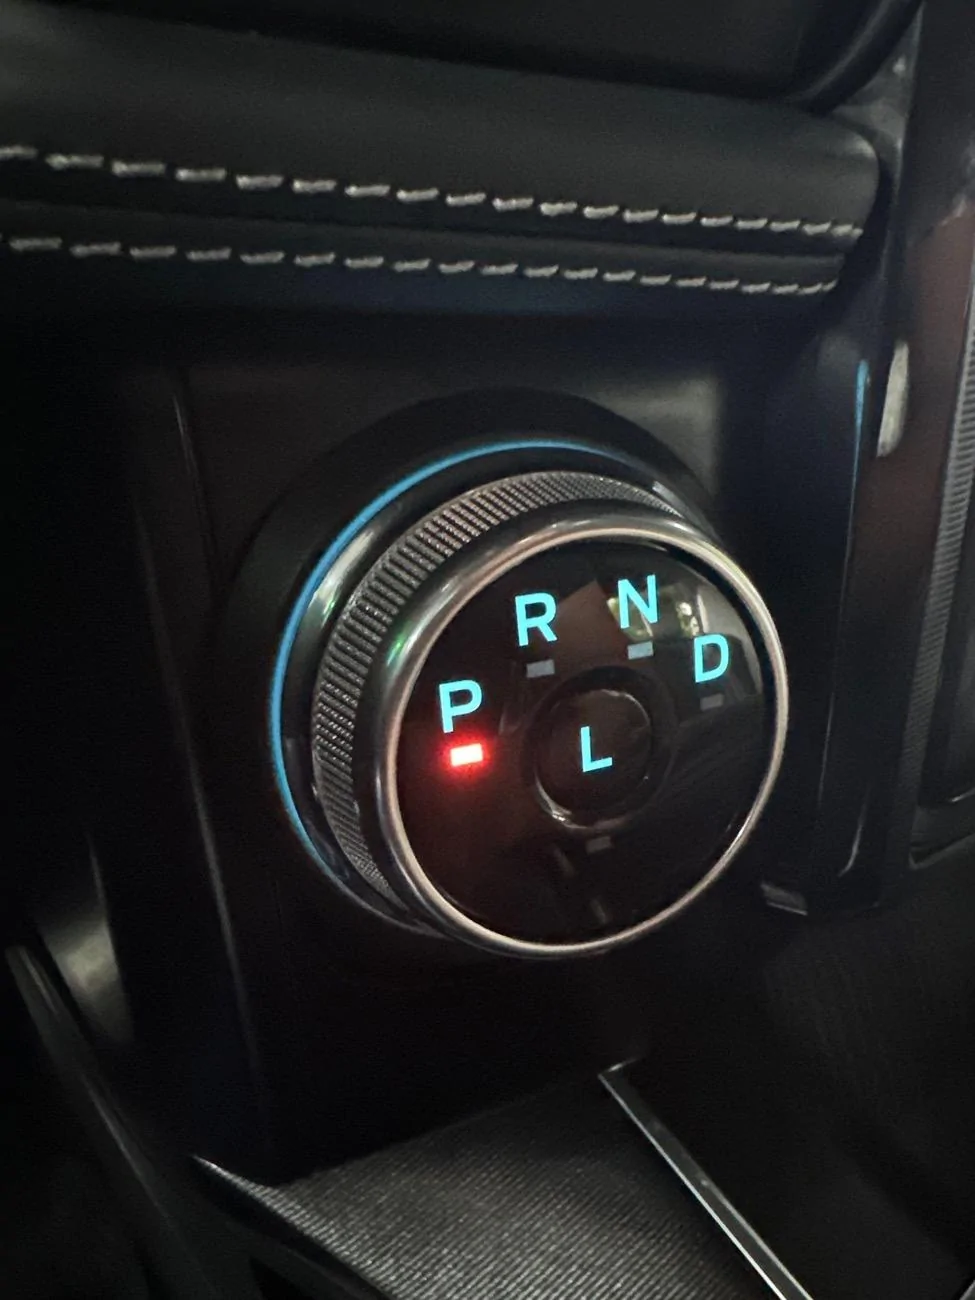
The shifter dial finish is almost an exact match to the dial on the 15” screen and is illuminated. The blue light matches the rest of the interior lights. The dial functions exactly as it should and is very smooth. If the car is in drive and you shut the power, or you open the door, it will immediately shift into park for you without the dial physically rotating. Additionally, the L button in the center functions exactly like the N button for the 30 min neutral mode.
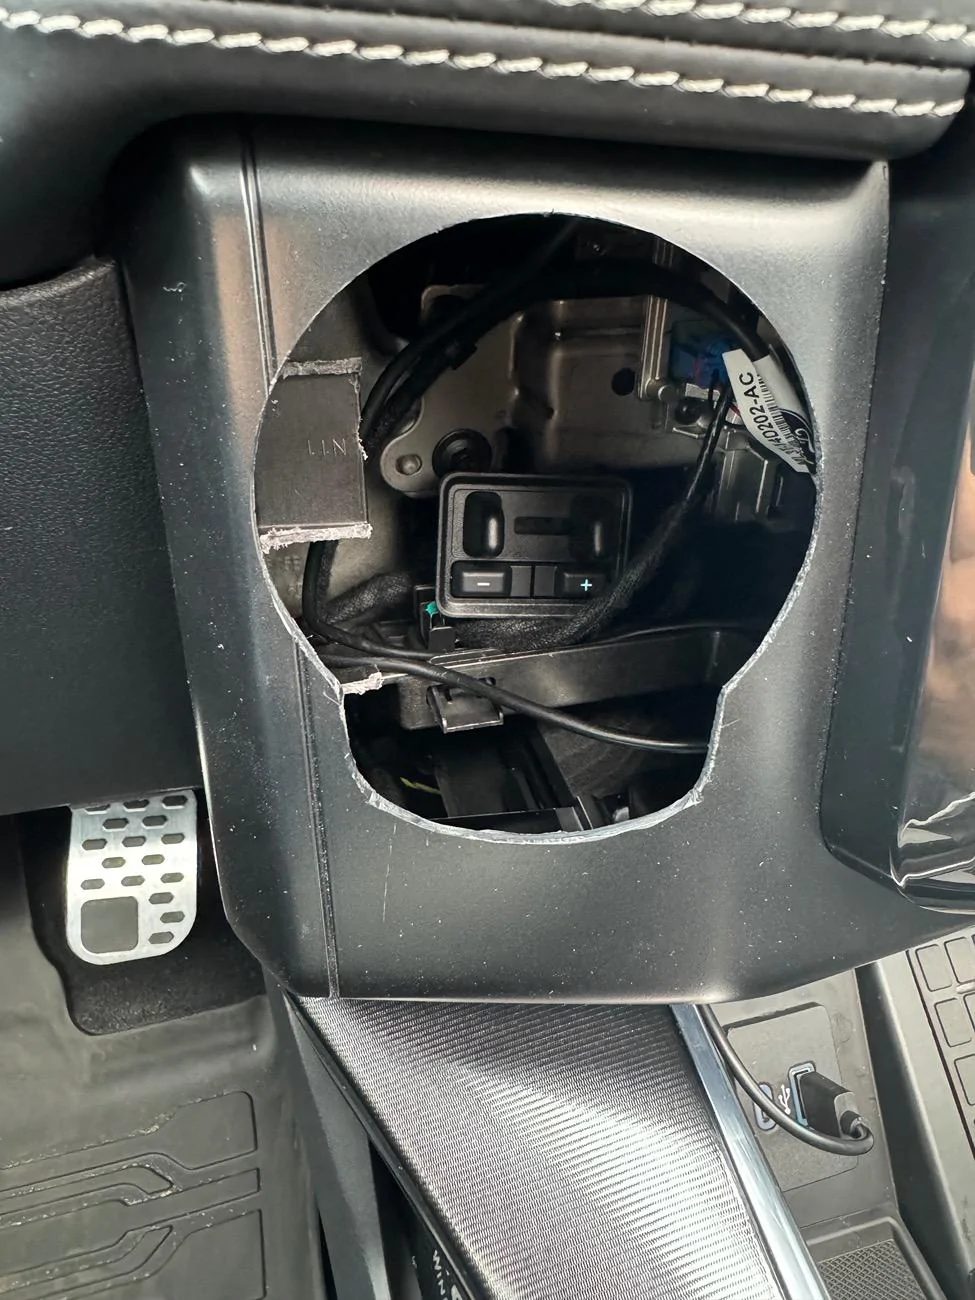
After pulling out the screen, the trailer brake has a few small tabs holding it that just snap right out. You can either throw it behind somewhere, since there’s plenty of space, or if you plan to use it, you can cut out a space for it somewhere else. It seems like under the Power button for the car there is a good space for it. I don’t ever plan on towing anything so I tucked it behind out of the way
The round part of the dial is exactly 3 inches in diameter. I used a 3 inch hole saw to drill out the trim and then a dremel to make the notch for the bottom part. I cut it out on cardboard first to get the exact size then I traced it in its final place before cutting.
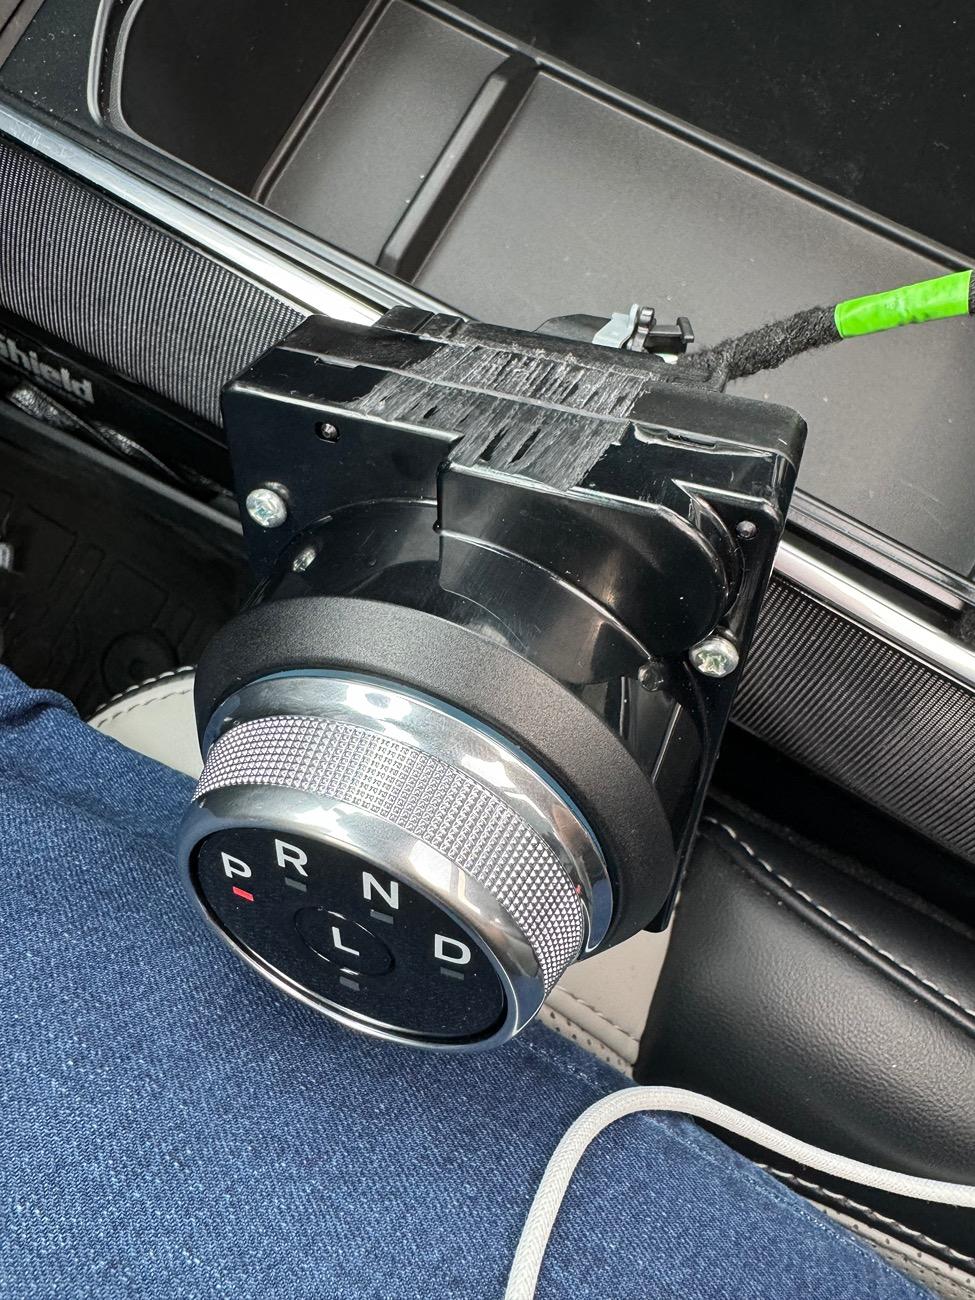
The plastic mounting holes on top and bottom of the shifter need to be cut off to allow it to fit snugly and stick out like it’s supposed to. I used a hacksaw to get a clean cut. I also needed to cut some plastic behind the hole to allow it to fit. After fitting the shifter into the trim, I tried pushing the screen back in and was able to see which plastic pieces were interfering. I used a utility knife and dremel for most of the plastic cutting. At the end the shifter was held snug and almost squeezed exactly into place so that it doesn’t need any fasteners. The screen is still snapped in and very sturdy. I was afraid it might be shaking after cutting the plastic but it’s totally fine.
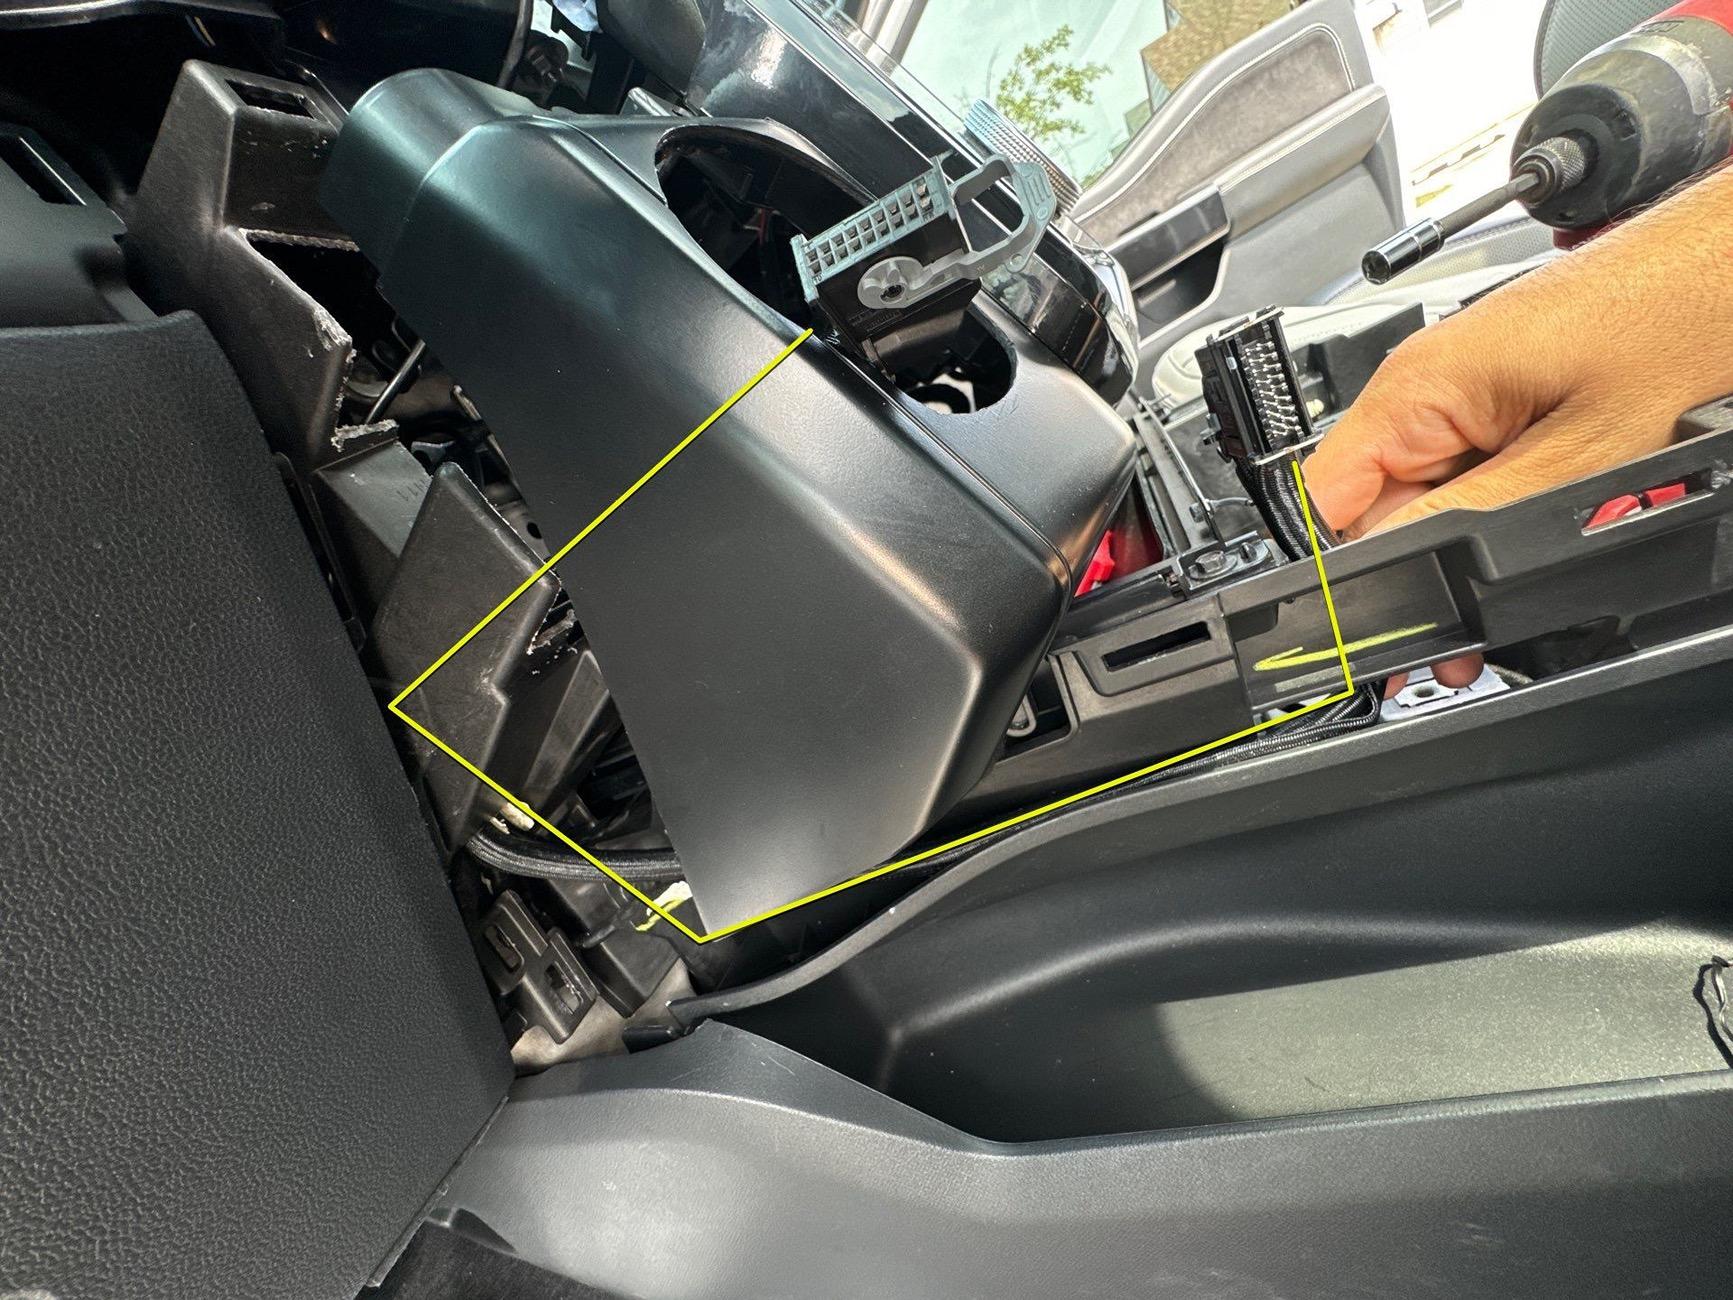
Removing the old console shifter is really simple. The side trim pieces, left and right of the cup holders, pull right out by hand. Then the top of the cup holders plastic trim piece pops up. You can take it off without removing the screen but there are two tabs that are tough to squeeze out. If the screen is off the top plastic trim of the cup holders pulls right up. It’s all connected with plastic tabs so by hand or with a trim tools it’s really easy to take out. After you remove the plastic there are 4 10mm bolts holding the shifter housing. One is underneath the small plastic door in the front, and the other 3 are easily visible. Once you remove them you can slide out the shifter and disconnect the wires. In its place you can put the Console Tray for an OEM finish.
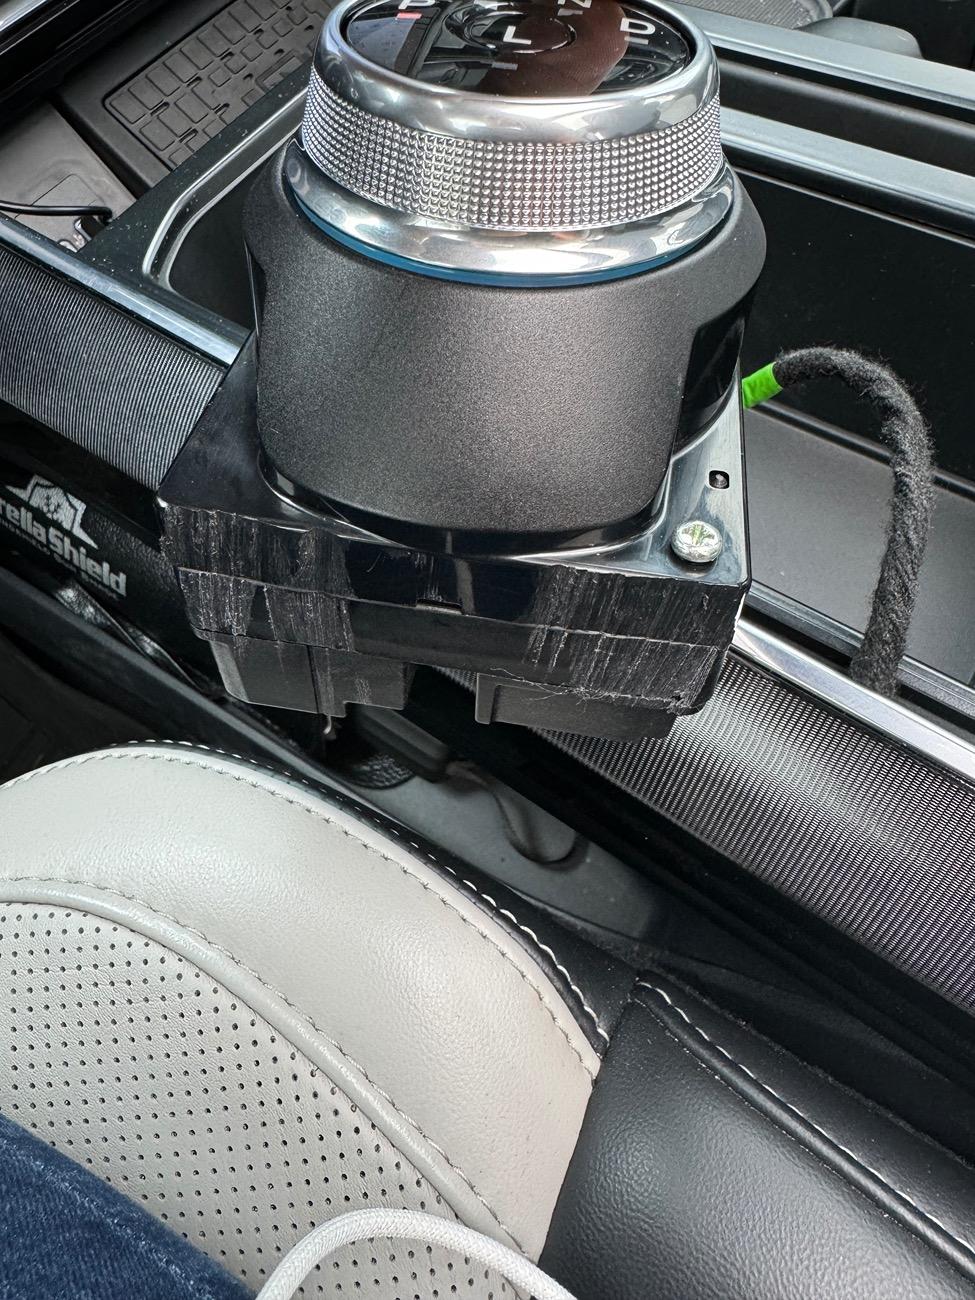
You may want to keep the shifter inside the tray which is as easy as making a small hole for the wire and securing it down and then getting some sort of trim to go over it. I think it’s a total waste of space which is why I put it next to the screen. It does fit inside the tray deep enough to open the workspace for anyone interested.
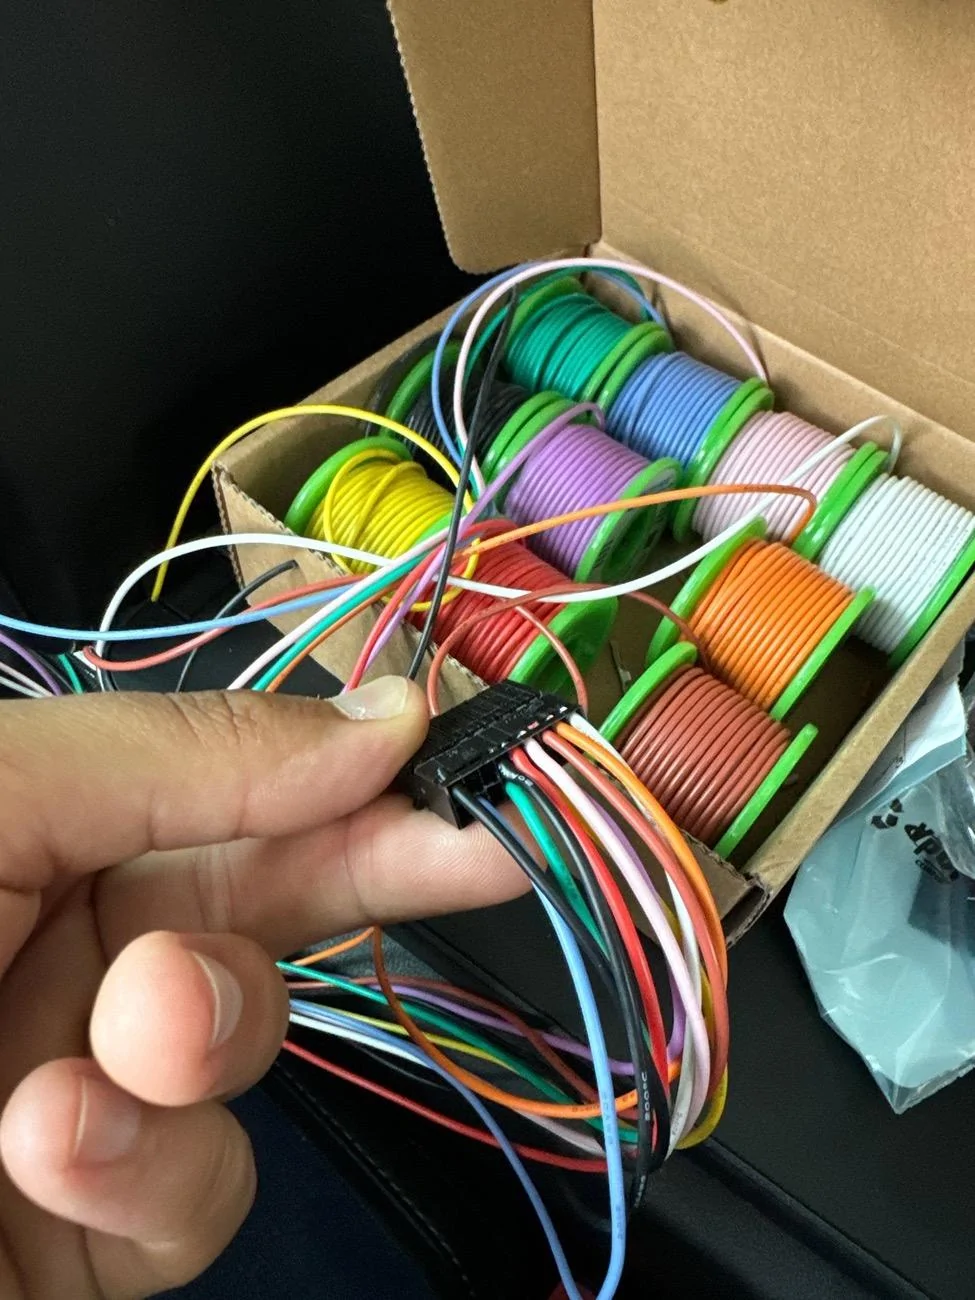
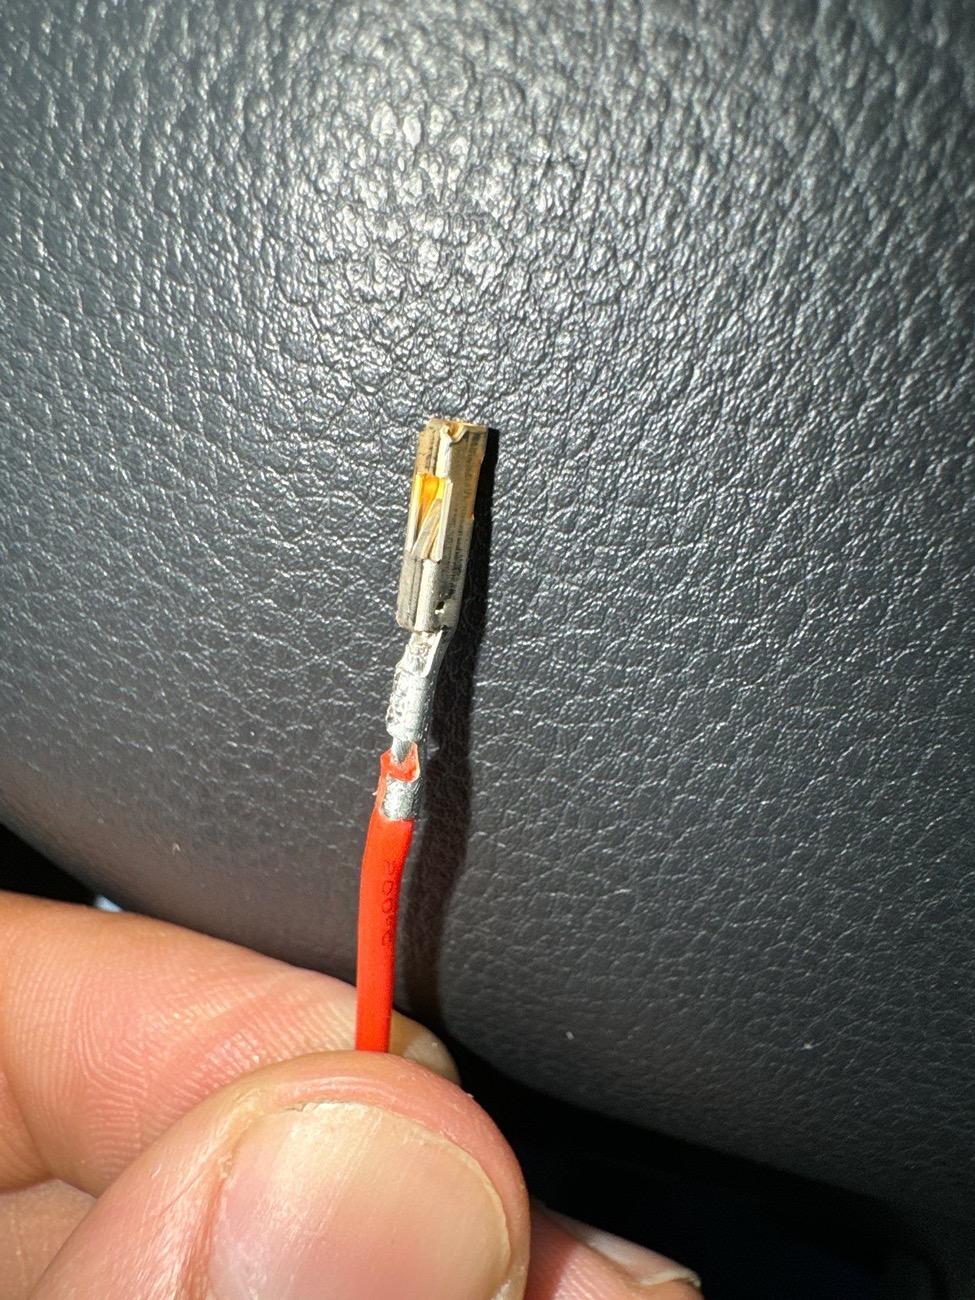
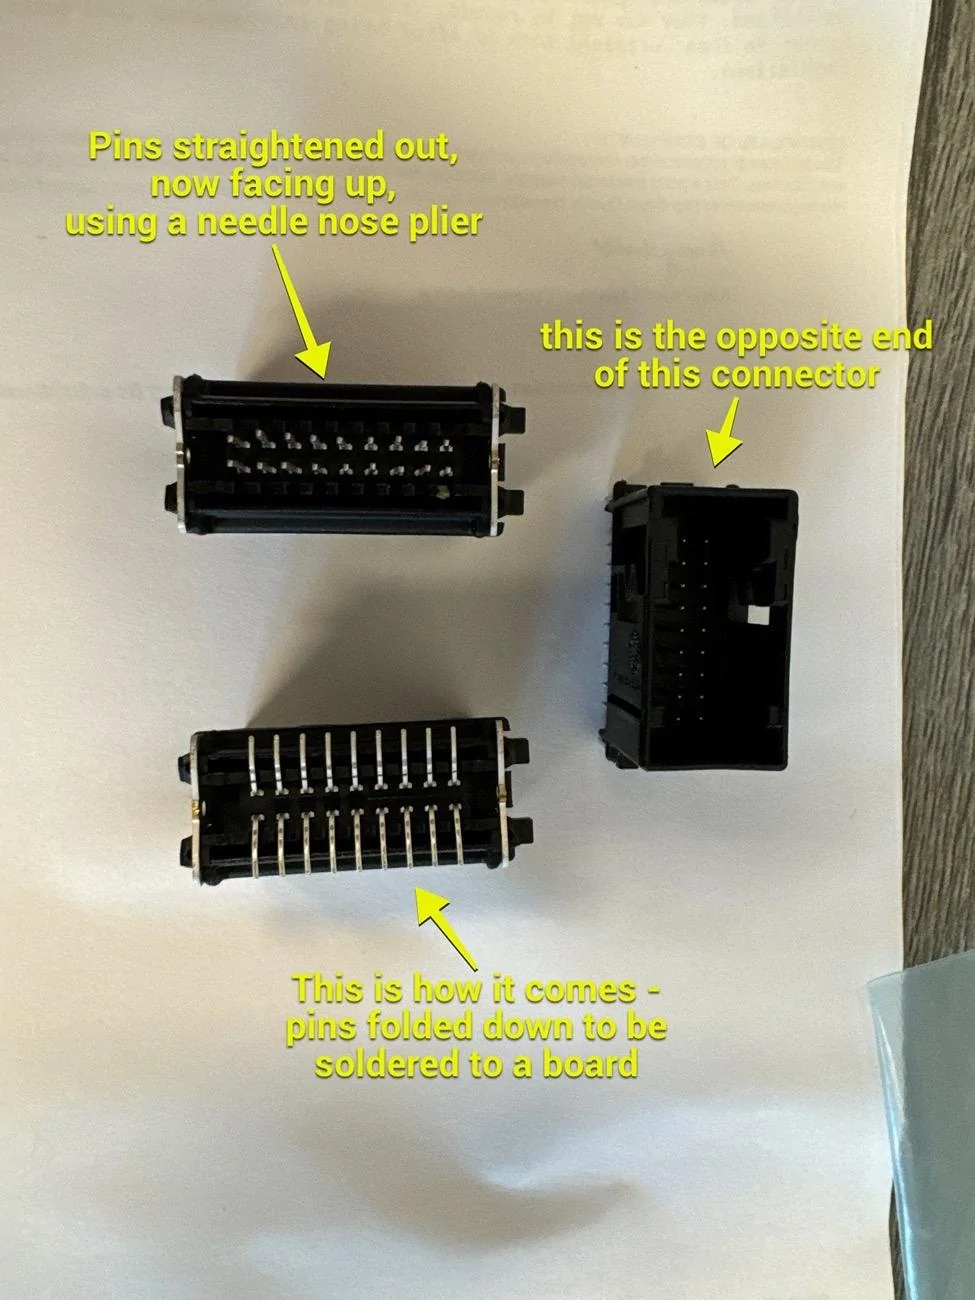
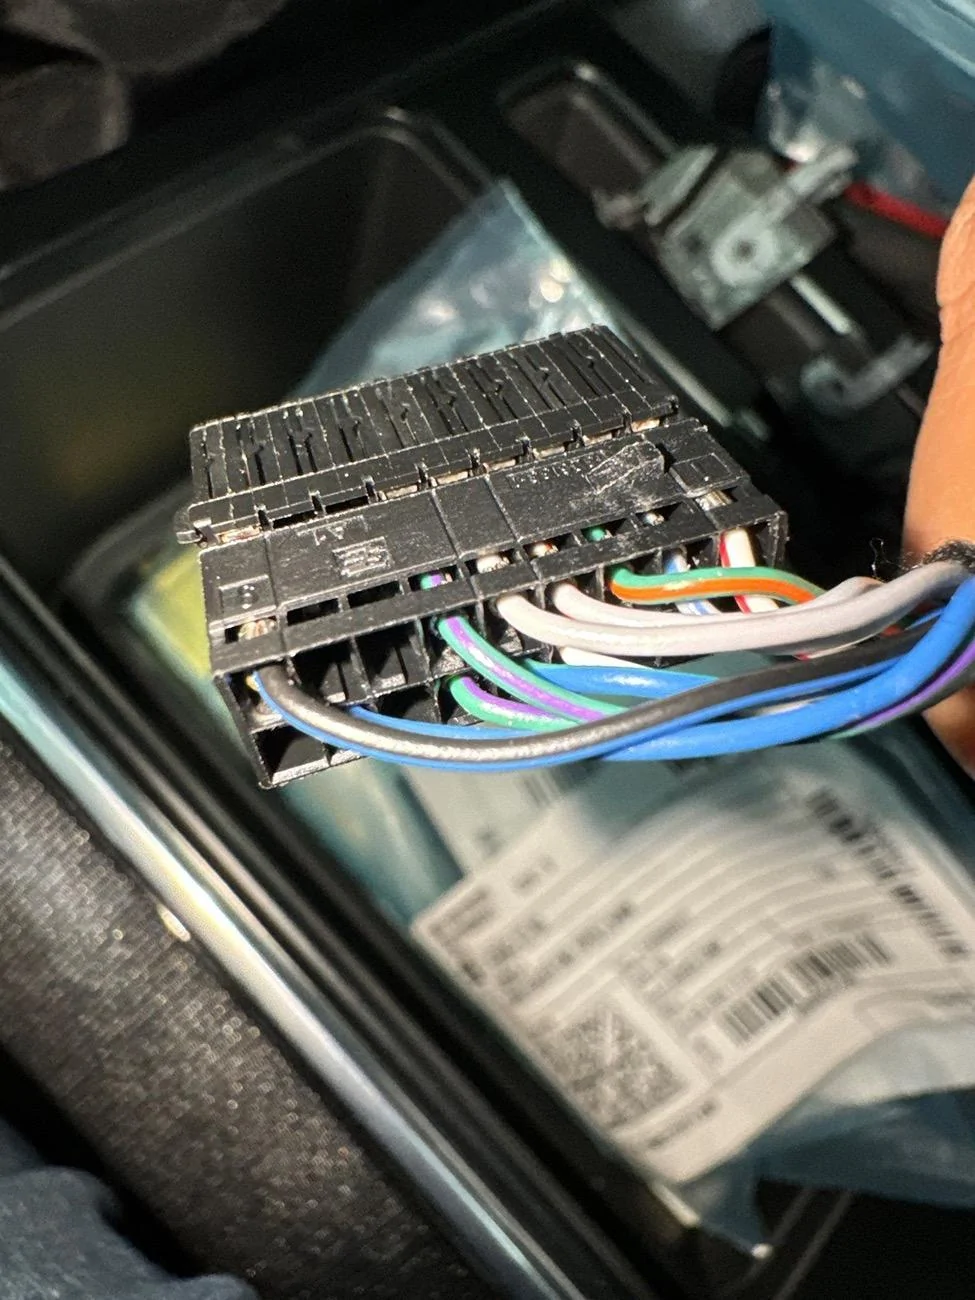
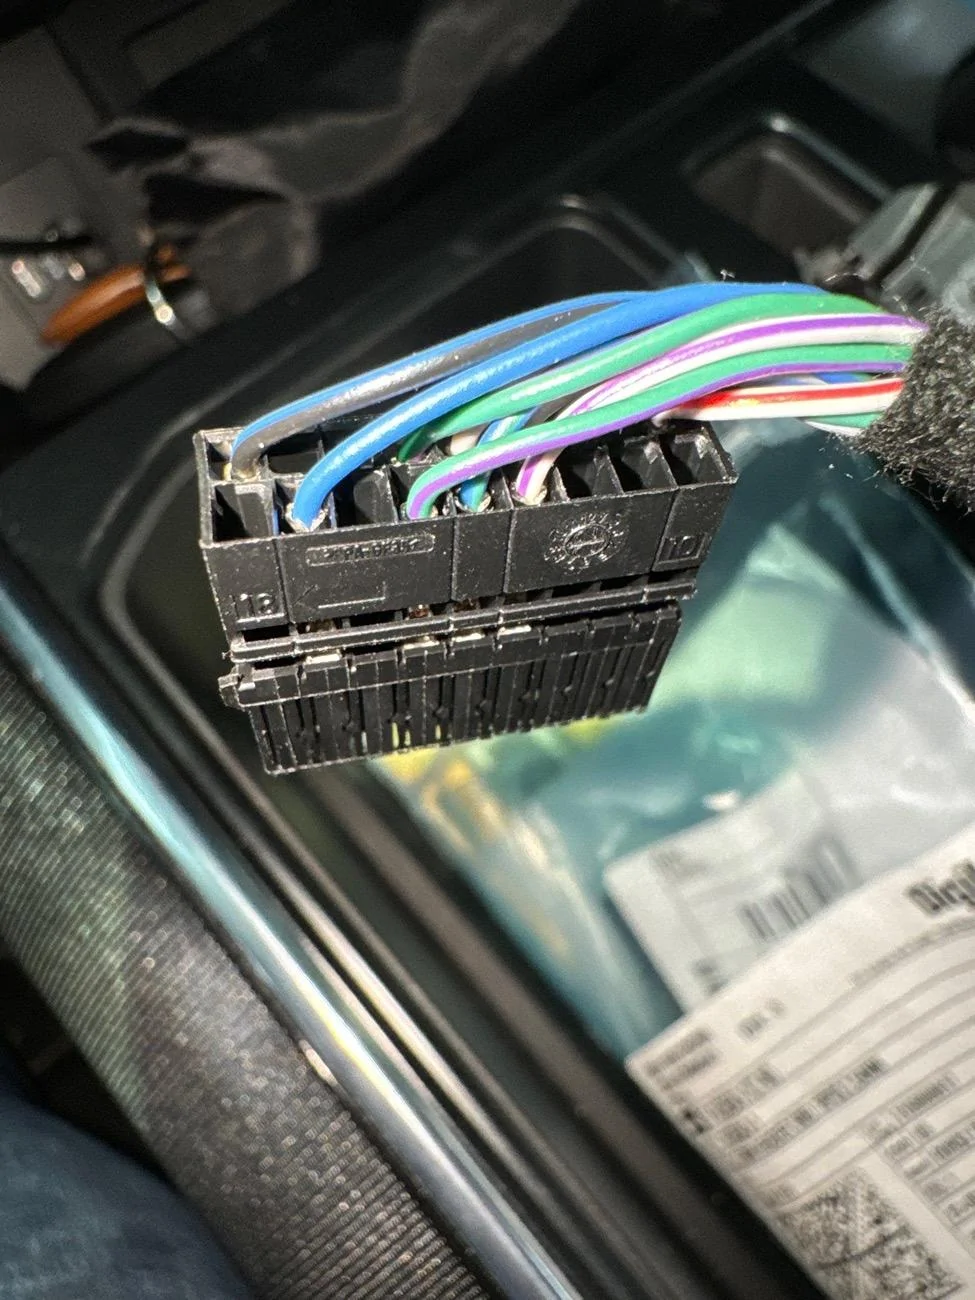
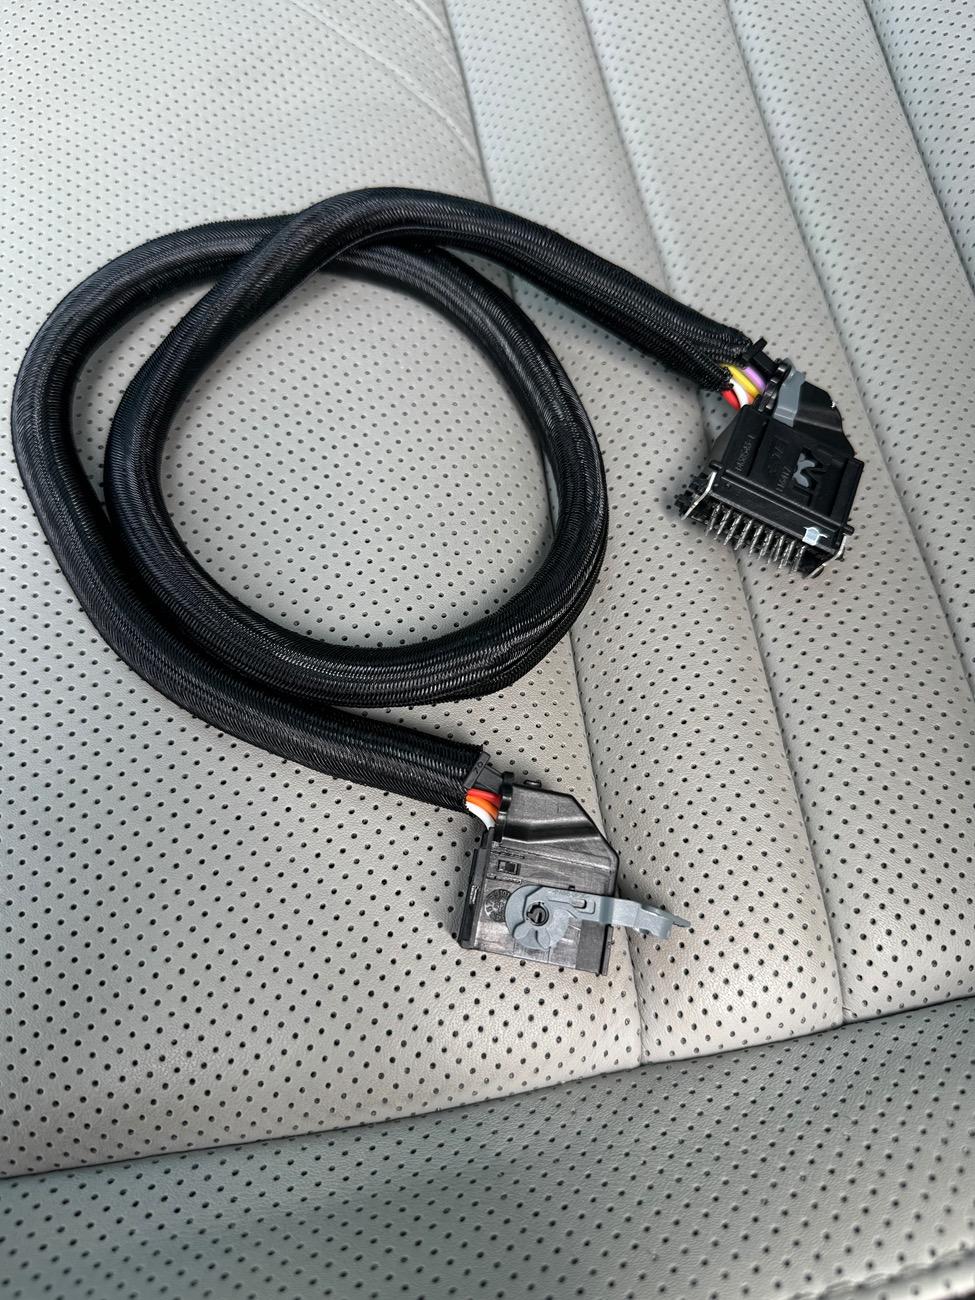
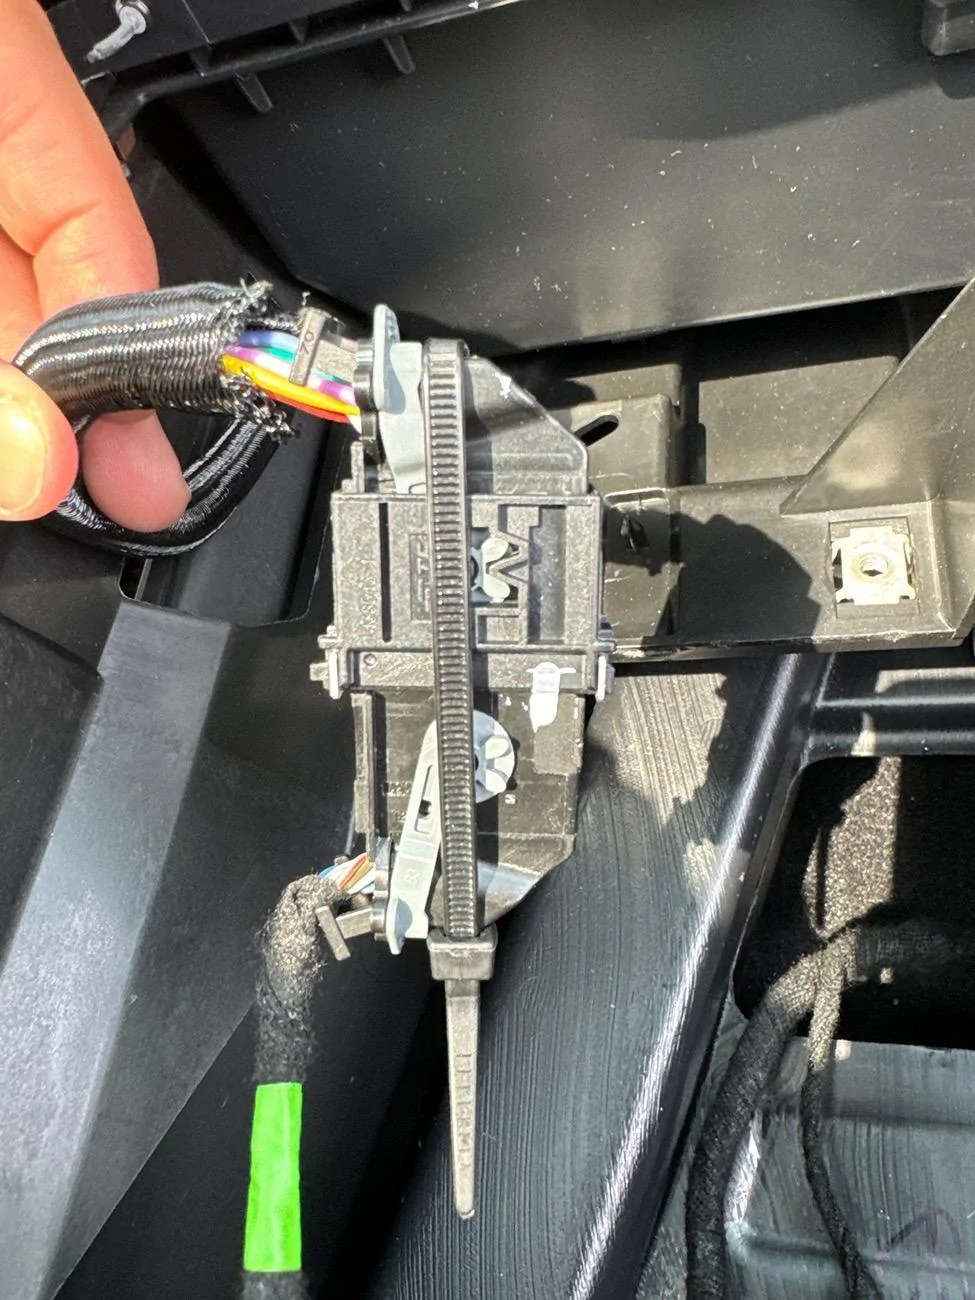
You need a harness about 24" minimum to extend the cable to reach the new location. After about 2 weeks of searching for a harness or for someone to make me one, I finally decided to make it myself. I was able to find all of the plastic connectors from Digi-Key (linked below). Making the harness was pretty easy. The only tricky part was that they don't sell a straight male connector that you can connect with metal pins. The male connector is meant to be soldered to a circuit board (which I don't really know how to do). Instead I was able to straighten the pins out in order to connect the existing cable in the car to the extension harness. I've added pictures of all of the connections. You need 1 Male Pin Connector and then 2 Female Sockets, and 2 female socket shields to lock the sockets in place. Essentially you are making a female to female cable and then the male connector fits snug into the original female cable. There is no way to lock this connection in place so I used a zip tie to secure it and then zip tied that entire connection down onto an anchor point so that it doesn't move around. You also need the metal terminals that the wire gets attached to. I'm not sure the proper way to connect these but I stripped a bit of wire and squeezed the first metal tabs down onto the bare wire and the lower tab onto the jacket to hold the cable in well. There are 11 wires used out of the 18 sockets. I copied the existing wiring to make the harness and I used 20 gauge wire with a silicone jacket from Amazon. I think the existing wiring is 22 gauge but the 20 worked fine for me. The silicone jacket makes it very flexible. After I put all of the pins in and the connectors on, I just wrapped the cable in a nylon braided sleeve to keep it protected. I ran it along the driver side trim and up behind the screen.
Female Socket Part # 1326133-1
Female Socket Shield Assembly Part # 1326132-1
Male Pin PCB Connector Part # 1438543-1
Receptacle Terminals 1326028-1


1) Can you provide additional information on how you removed the screen?
2) Do you have any additional photos of the plastic you had to remove?
3) Is the shifter fastened in place at all? Or is it just pinched in place?
Thanks again for sharing!
Sponsored
") ?
?