Sponsored

Sounds Good Stereo Behind the Seat kit installation

OP
OP
kvasiir

kvasiir

Well-known member
Joined
Nov 20, 2022
Threads
2
Messages
78
Reaction score
91
Location
San Jose, CA
Vehicles
2022 F-150 Lightning Lariat Rapid Red
Occupation
Engineer
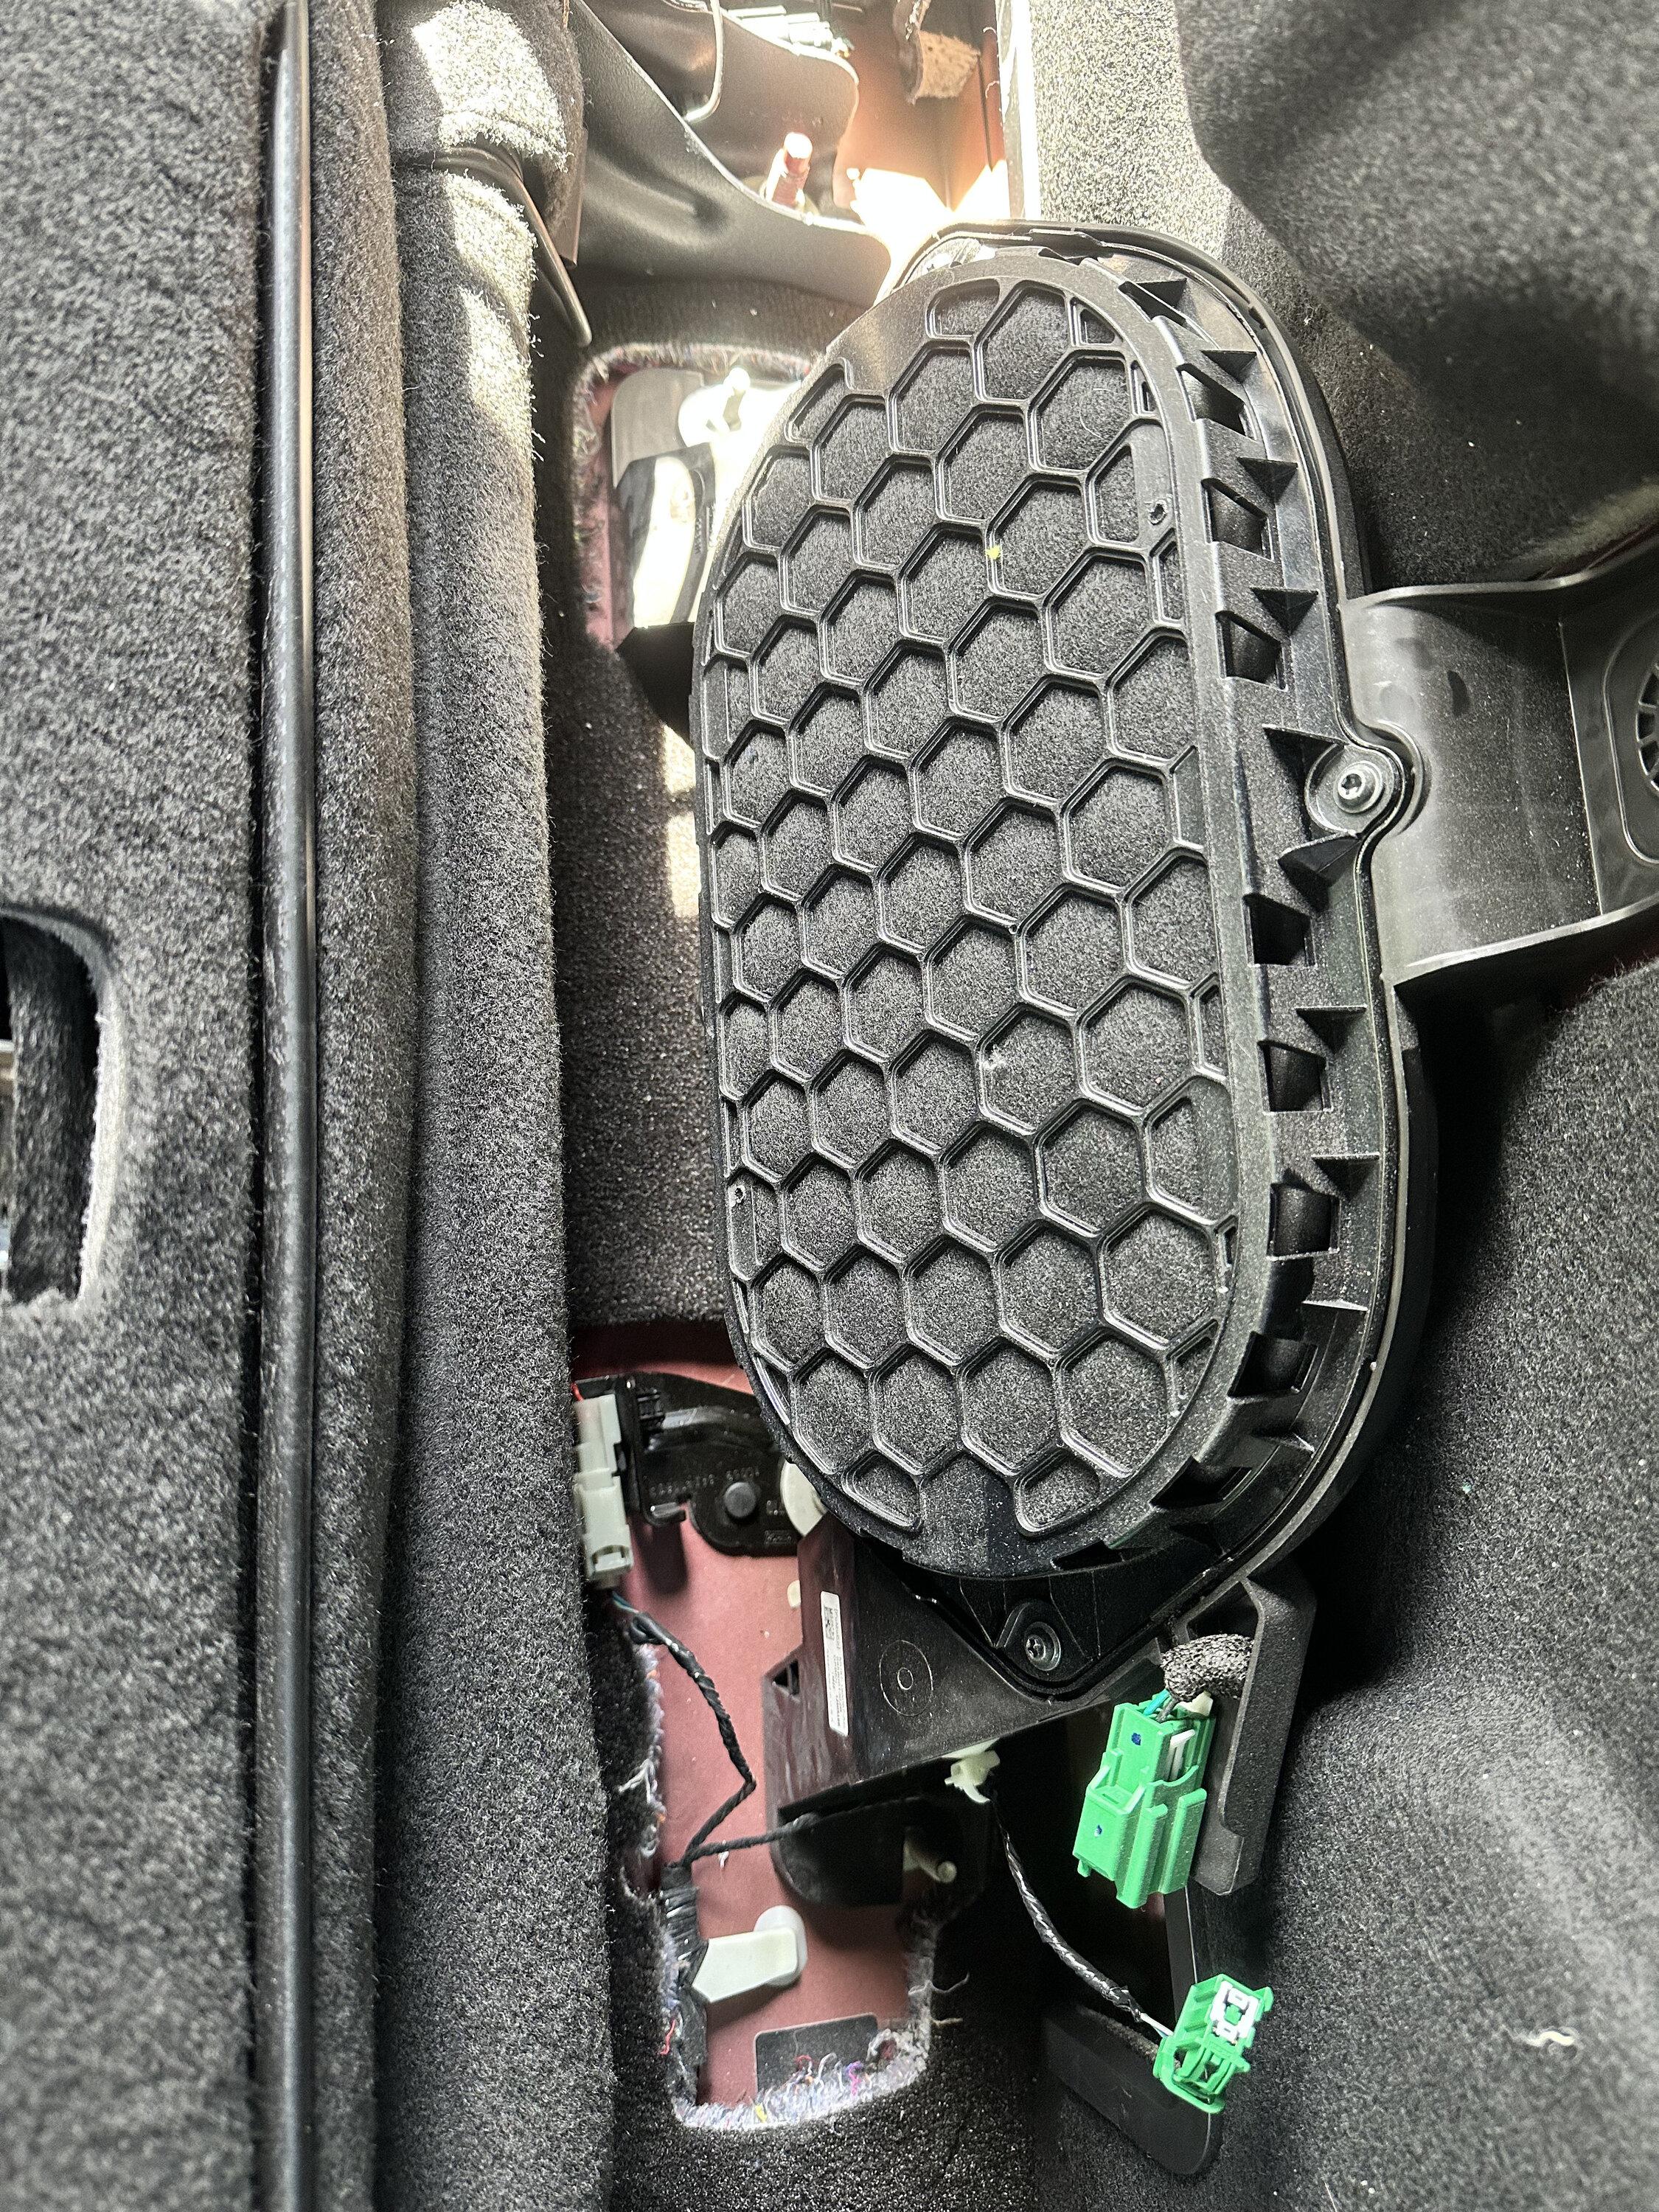
OK here we go again with all the wiring stuff. Here's a picture of the stock amp rack (mounting bolts at the bottom already removed).

Ford F-150 Lightning Sounds Good Stereo Behind the Seat kit installation 01 stock amp rack


And the same for the subwoofer:
Ford F-150 Lightning Sounds Good Stereo Behind the Seat kit installation 02 stock sub


The sub has some kind of clip-in in addition to the mounting bolts. It took a pretty good amount of force to pop it out - enough that had tried popping off the front panel there (with the torx screws) to no avail.

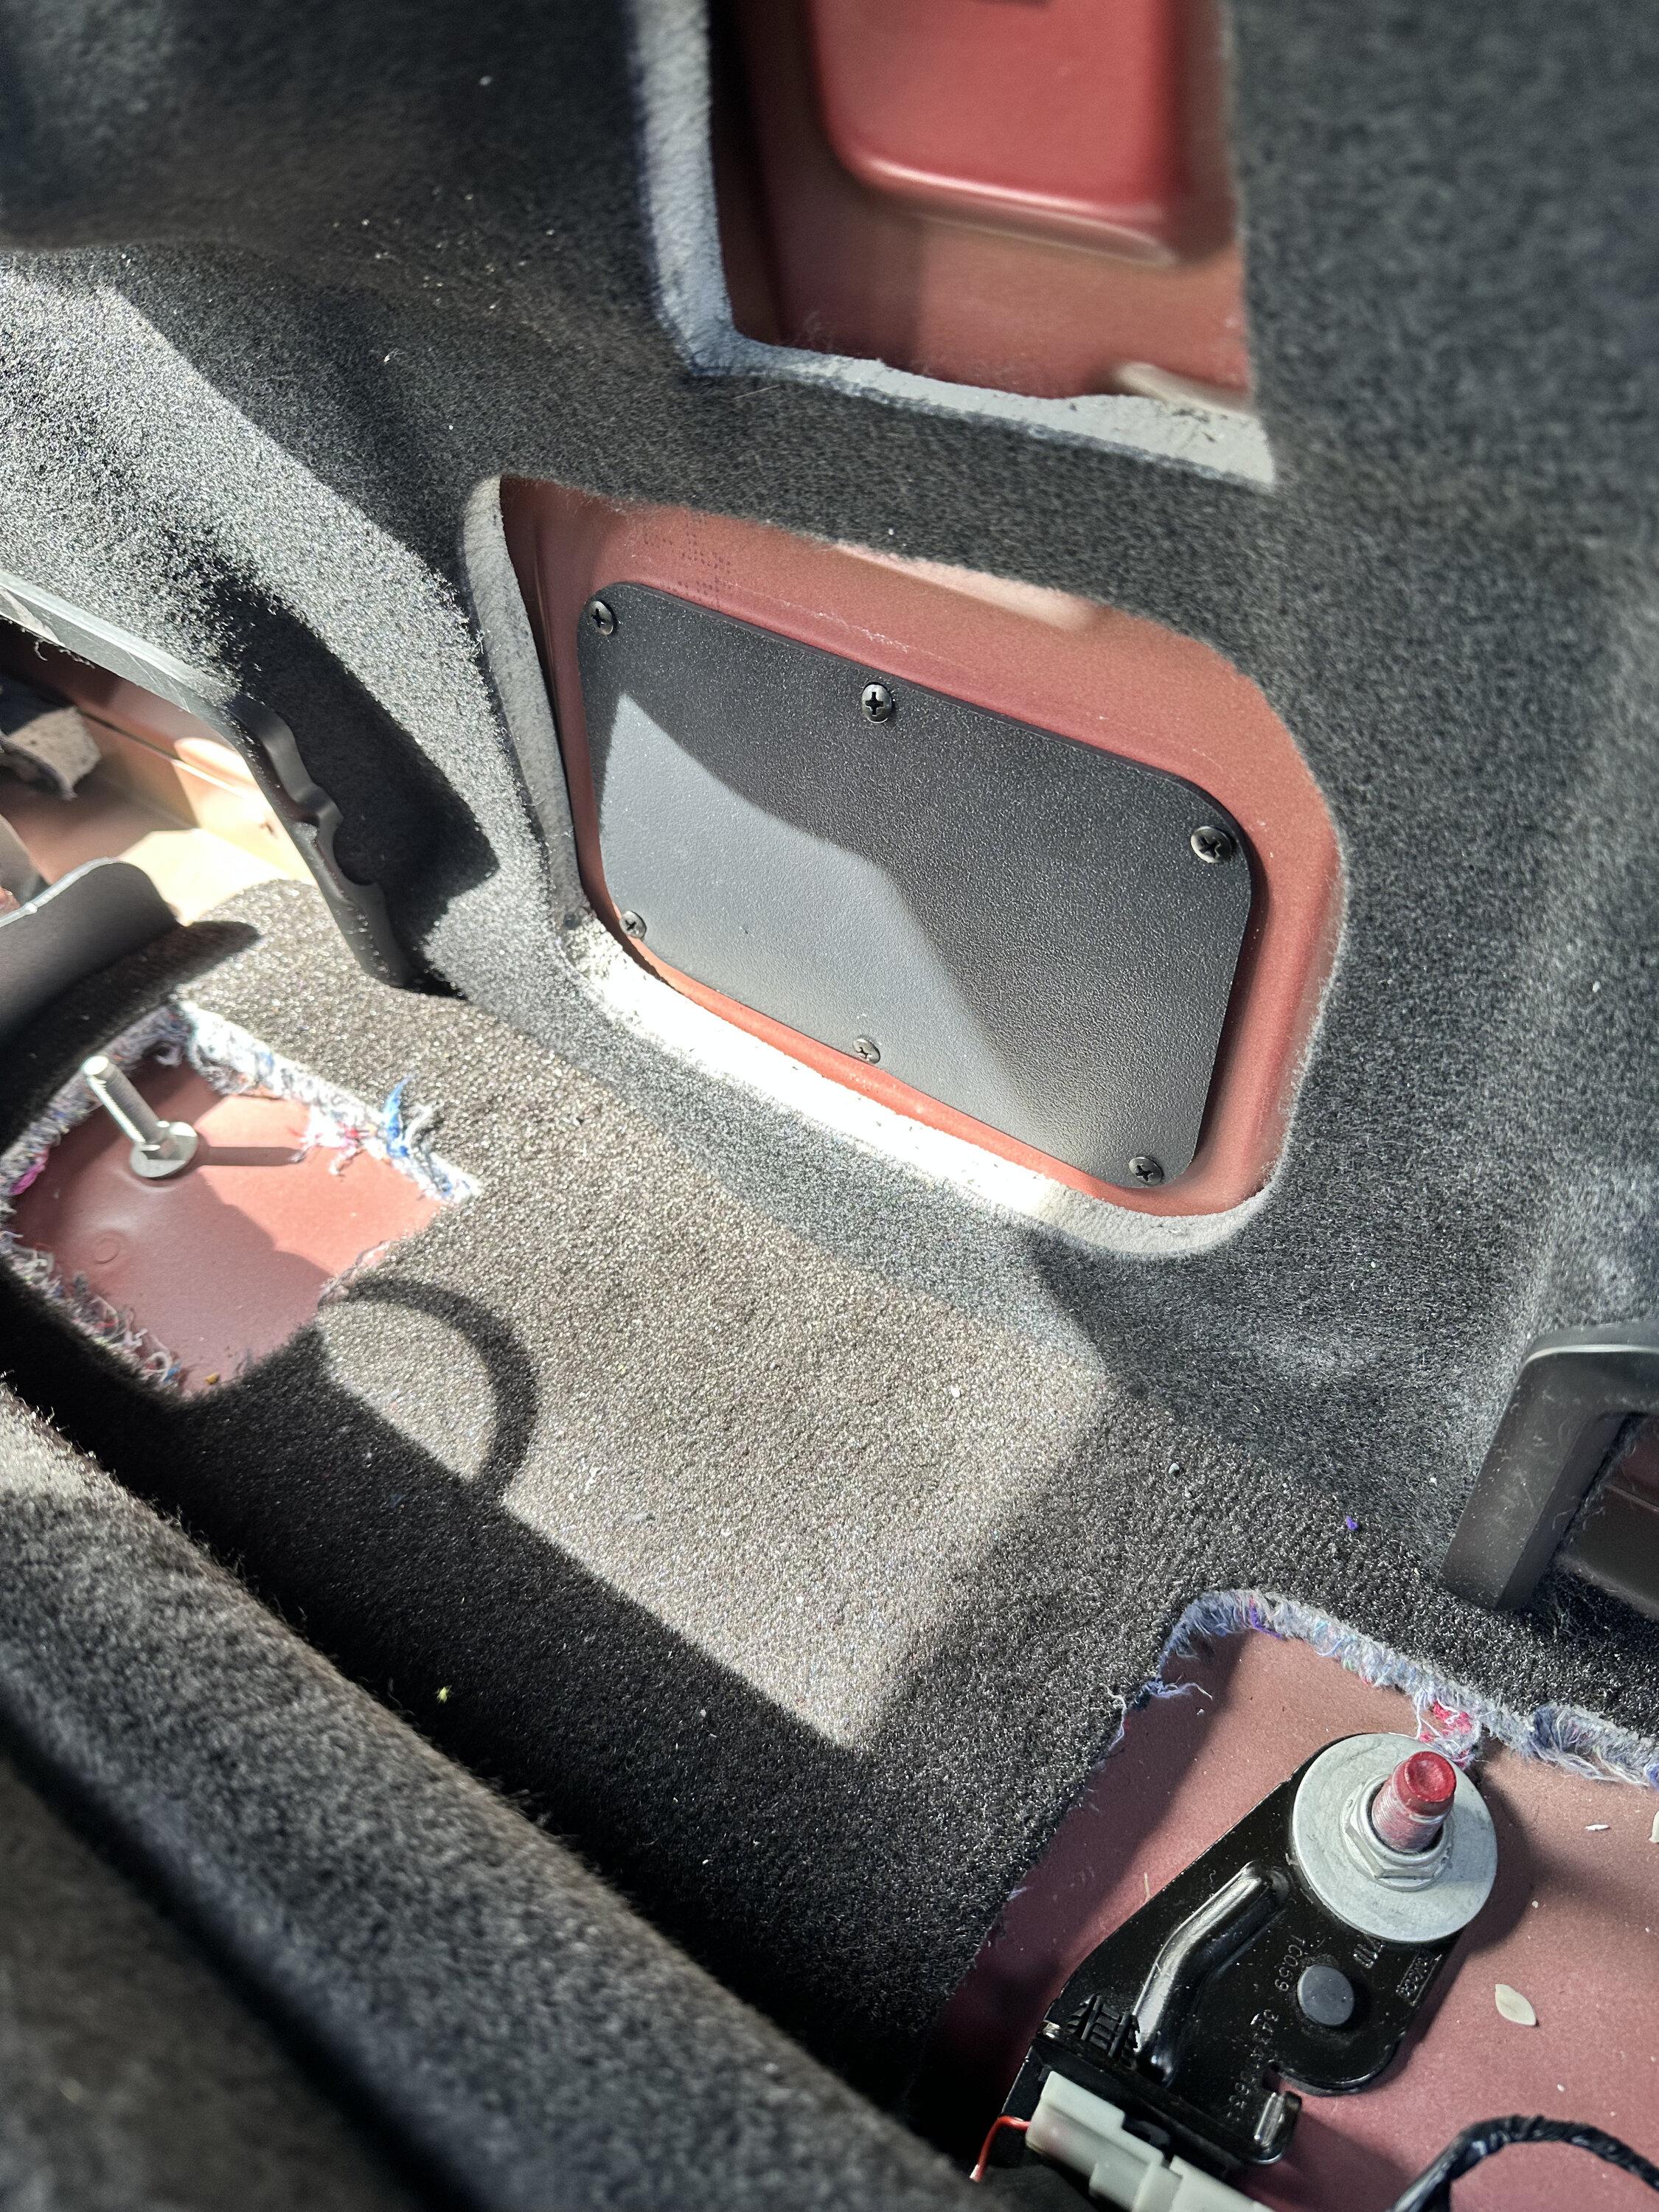
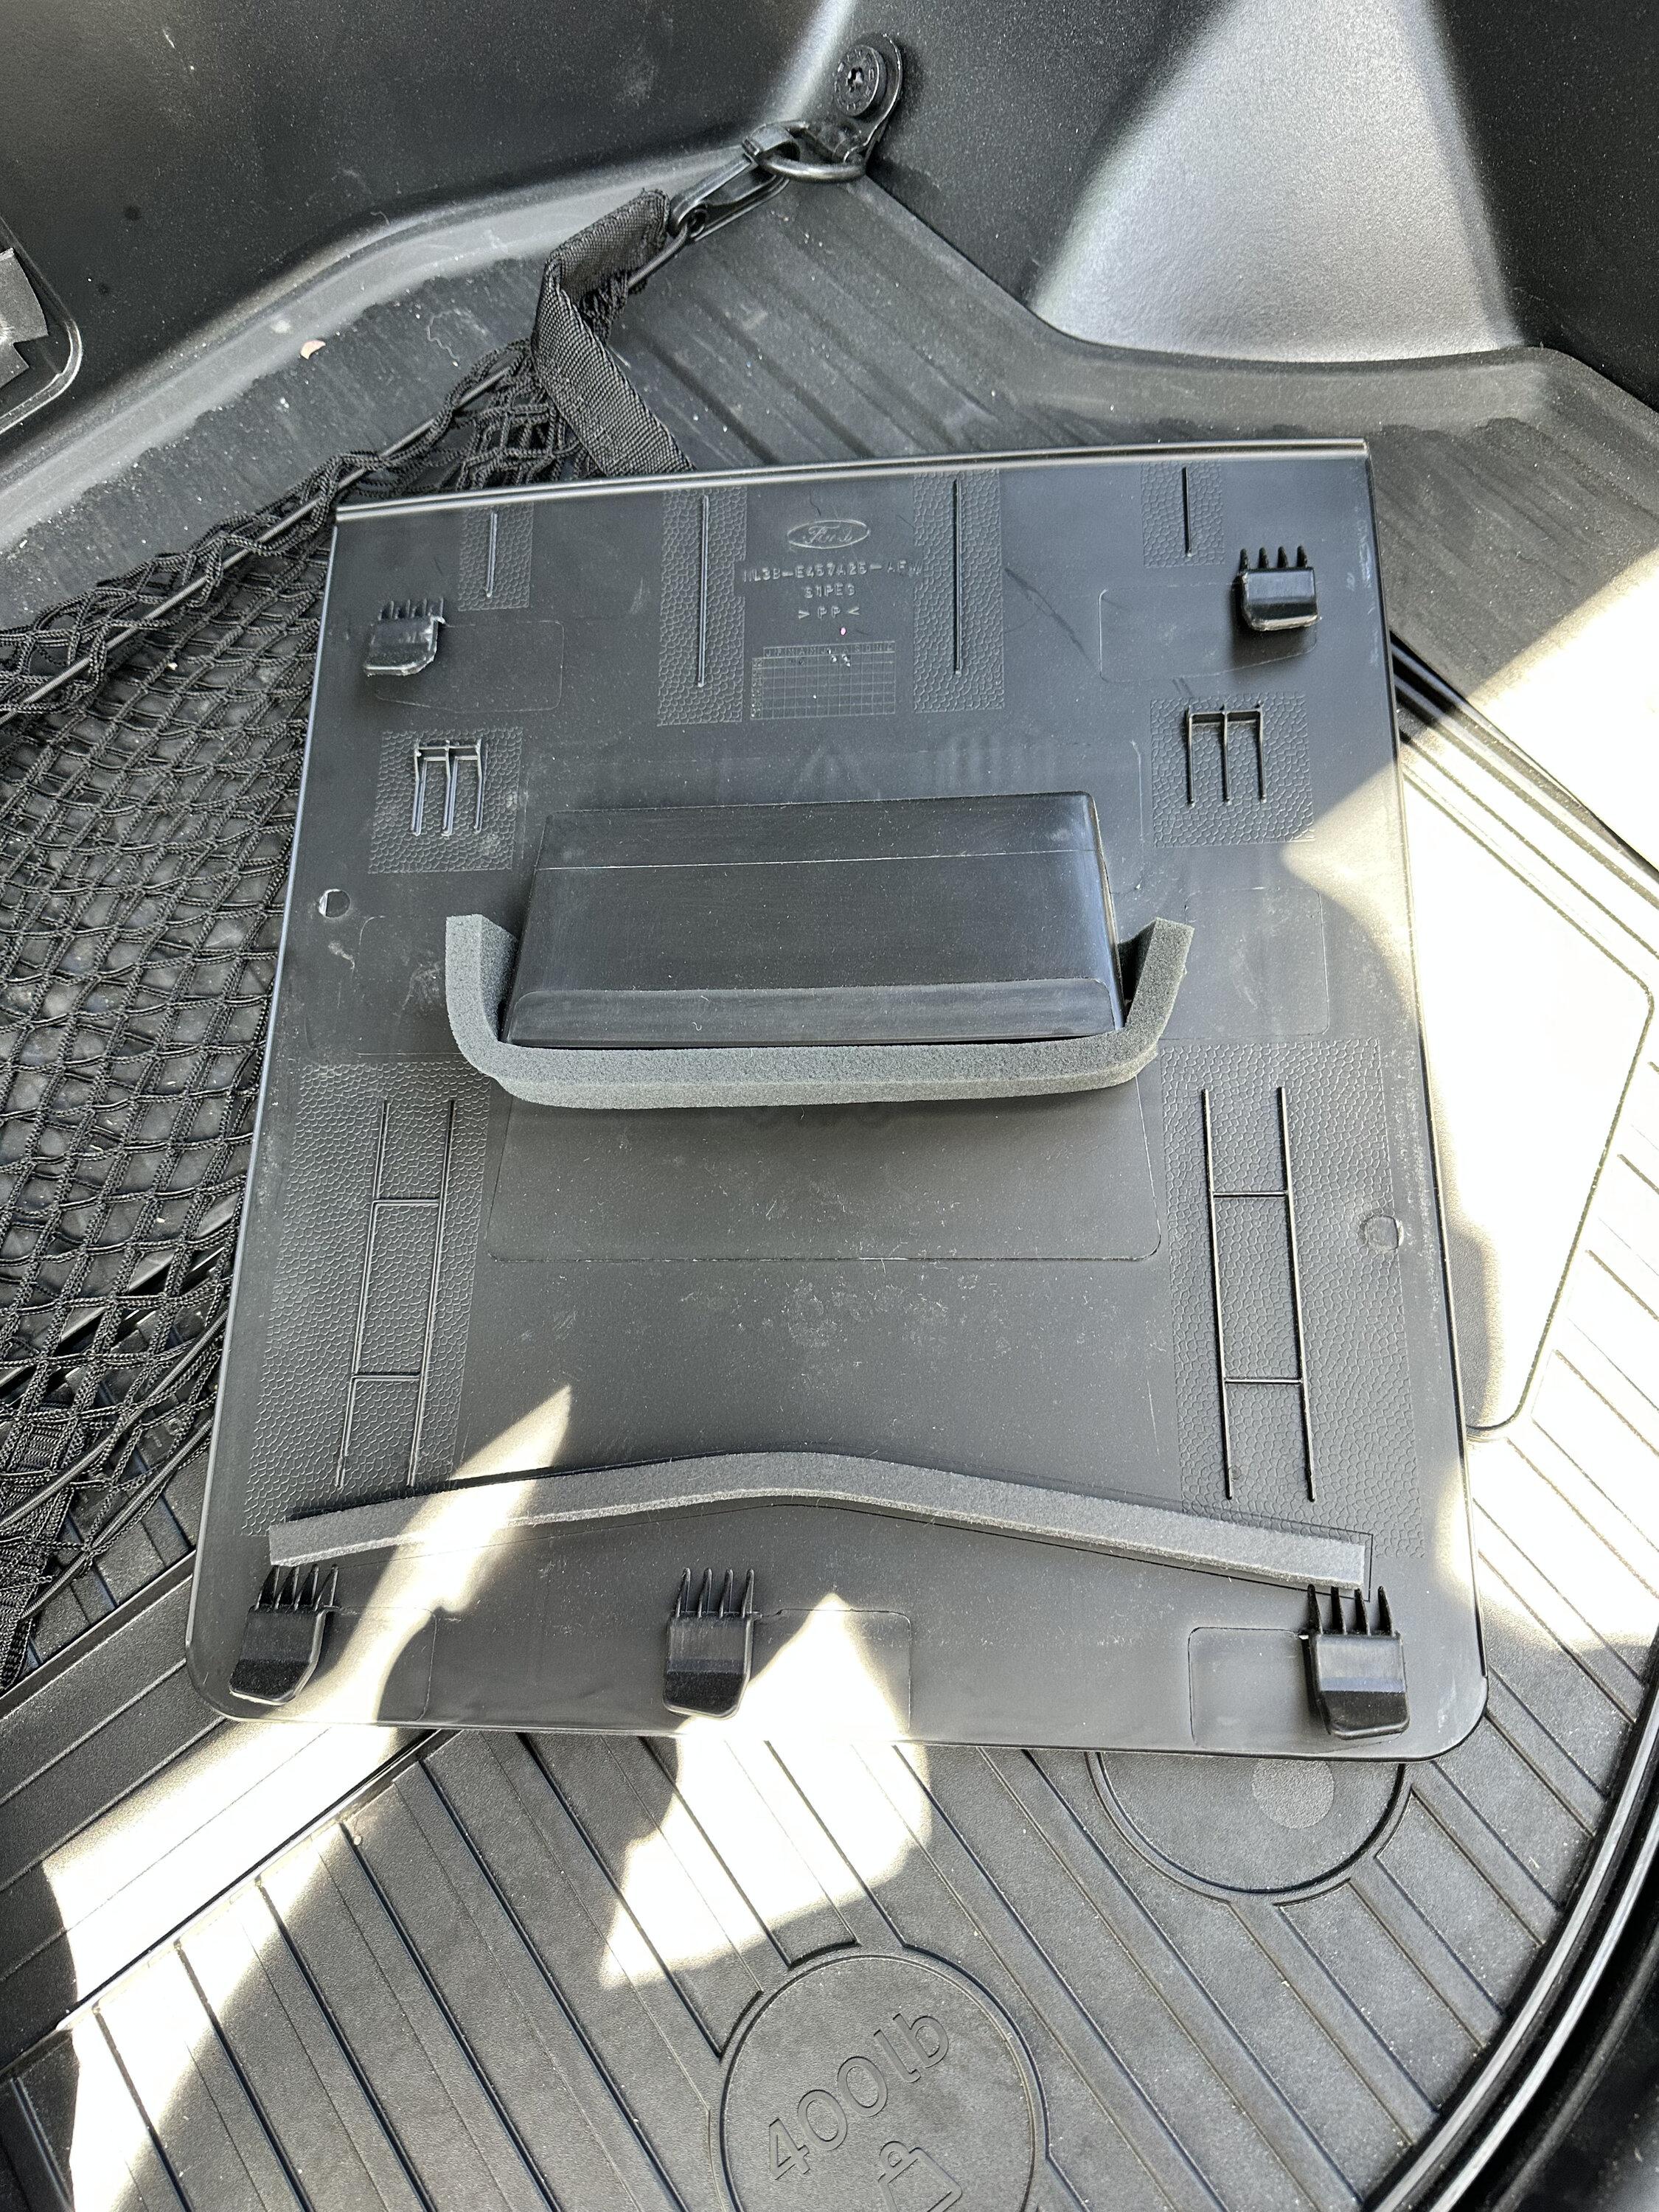
Once the sub is out, blackout plate installed. Same mark/drill procedure as for the doors. It's just a bit finicky to work back here with the seat in place. Probably depends on how big your drill/screwdriver are, I guess.

Ford F-150 Lightning Sounds Good Stereo Behind the Seat kit installation 03 block off plate


That stud at the left side of that photo has to come out in order for the new sub enclosure to fit properly, and a bunch of this carpet has to get cut out. I didn't really get that at first, so I did a lot of repeated attempts and failures. There's another stud like that one just out of frame on the right side of this pic too. I think if I were to do this again, I'd take out the whole carpet and cut it outside of the vehicle... doing it in place was a PITA and doesn't look super hot in the end. NBD I guess - nobody's going to see it behind the seat anyway.

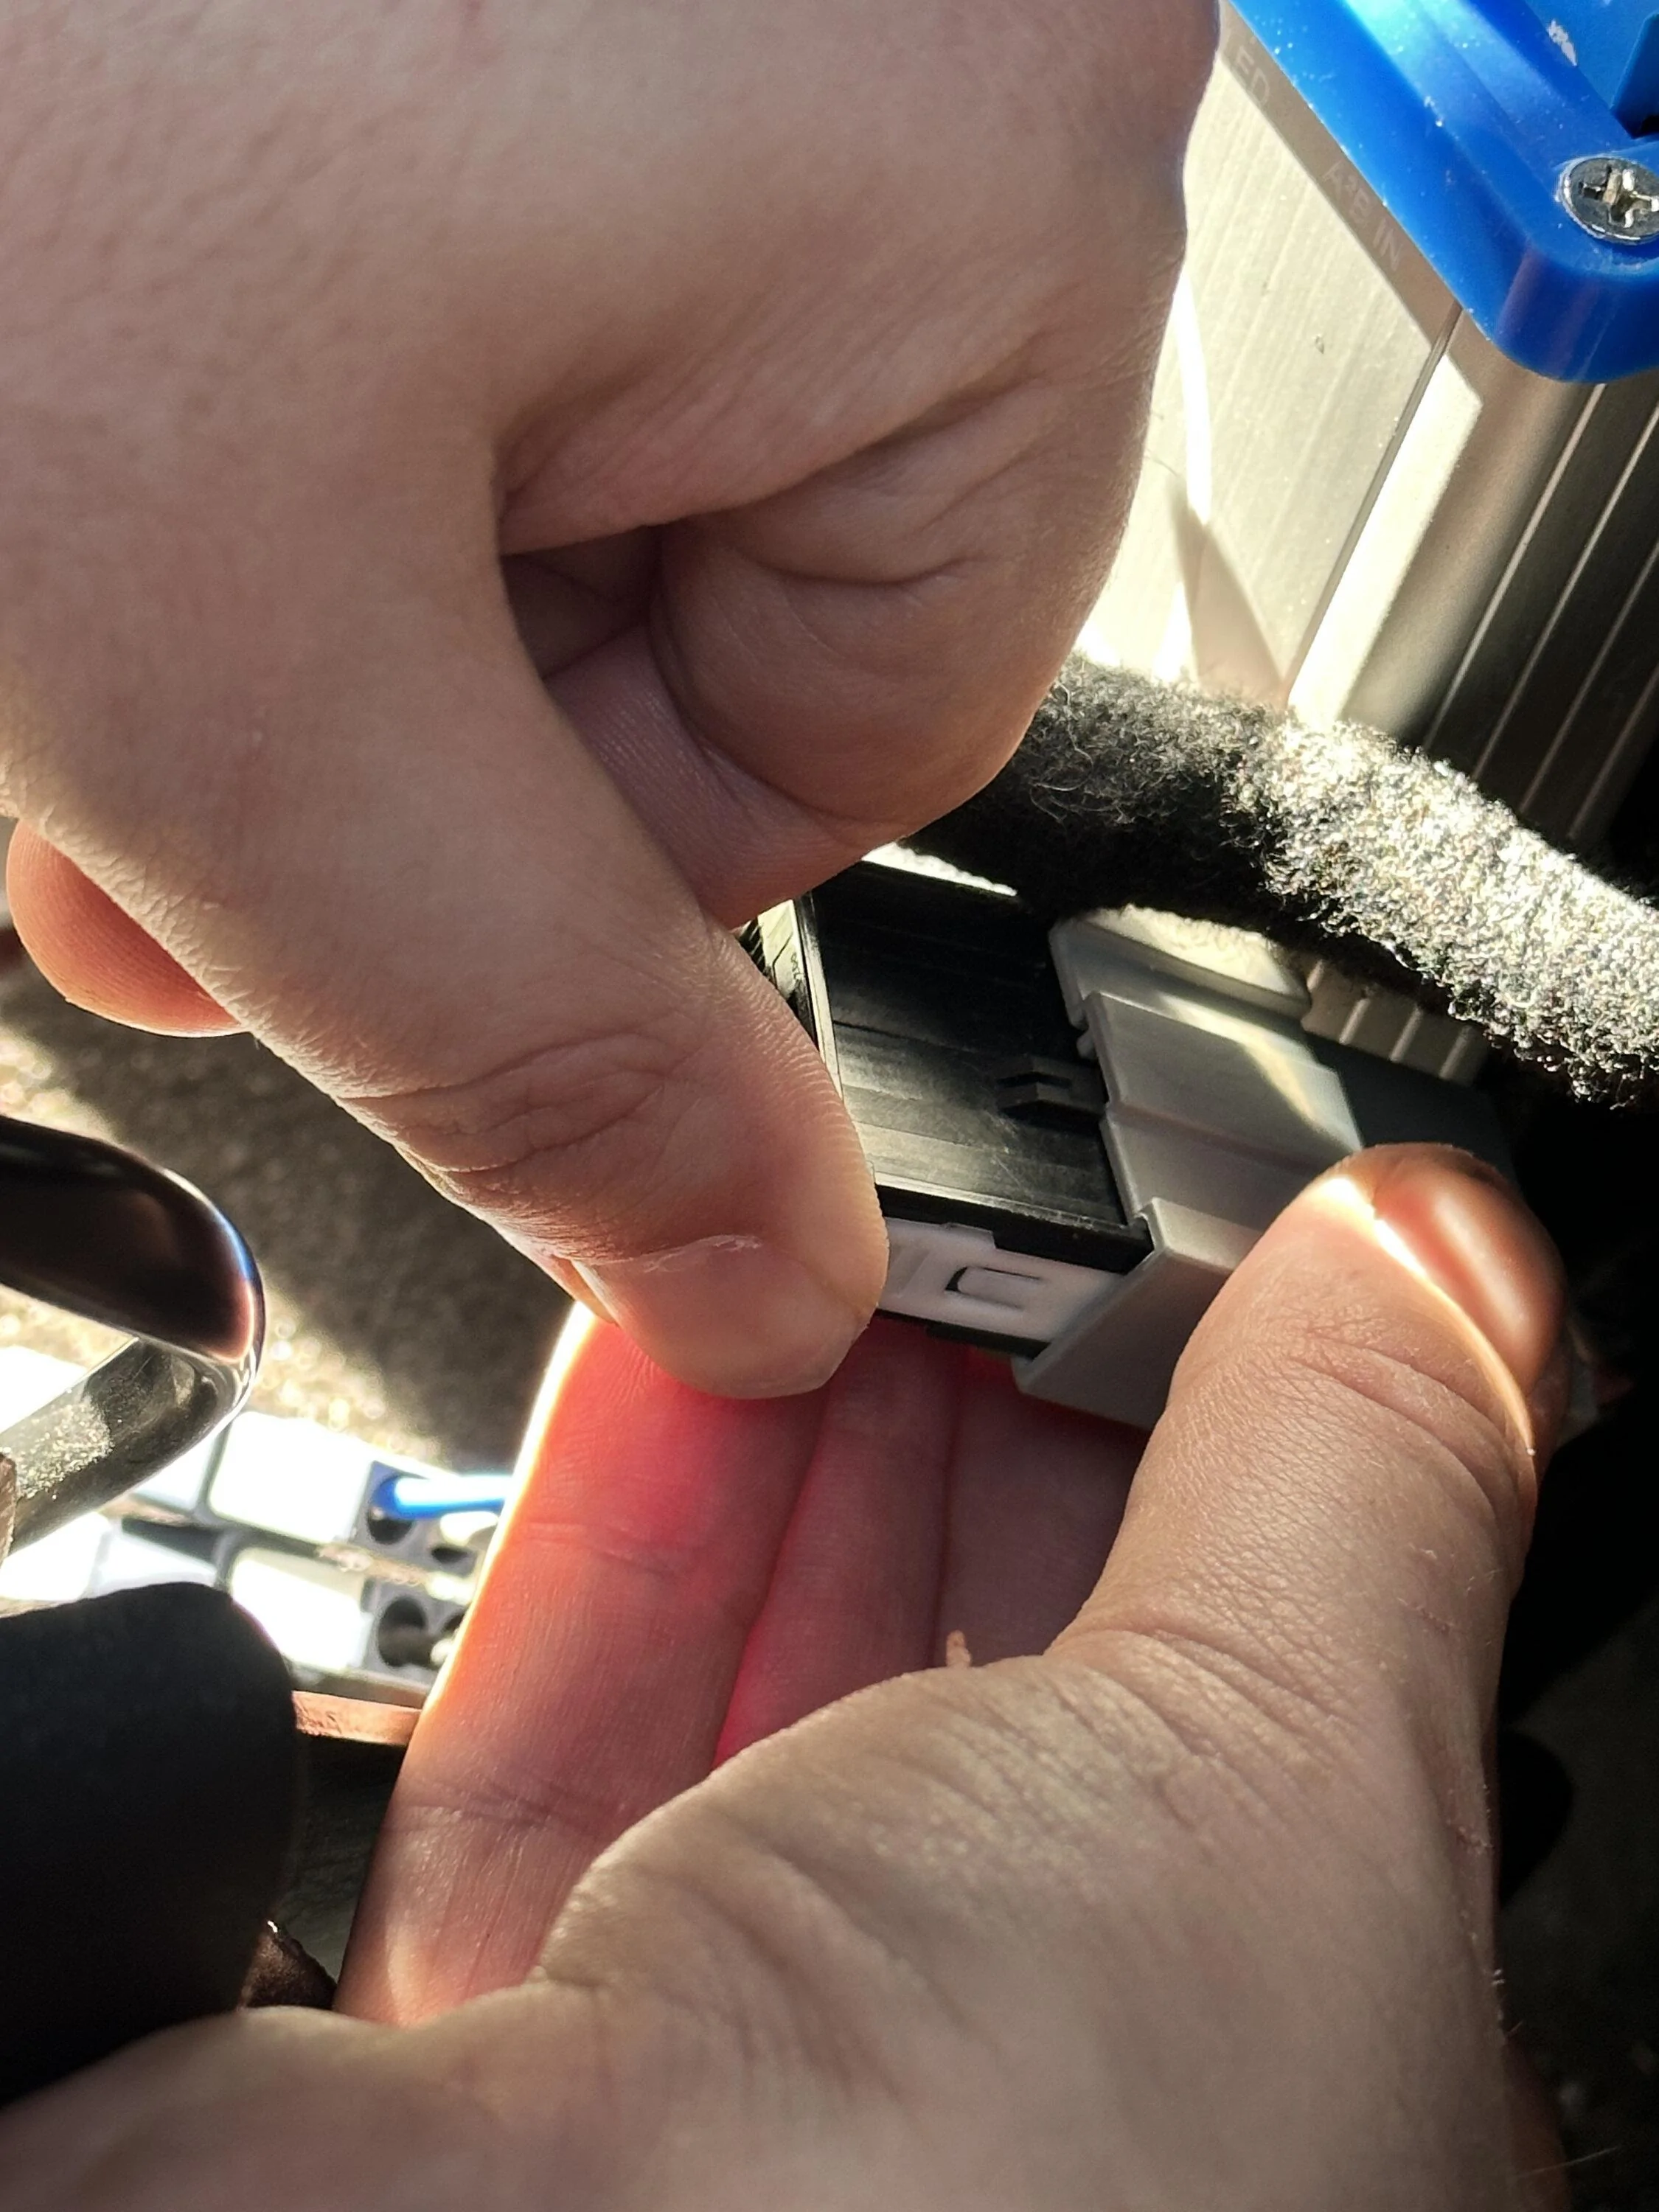
The SGS harness has a different alignment tab than the stock amp did:

Ford F-150 Lightning Sounds Good Stereo Behind the Seat kit installation 04 amp cable


I just clipped off that black tab with wire cutters and everything slid together well after that.

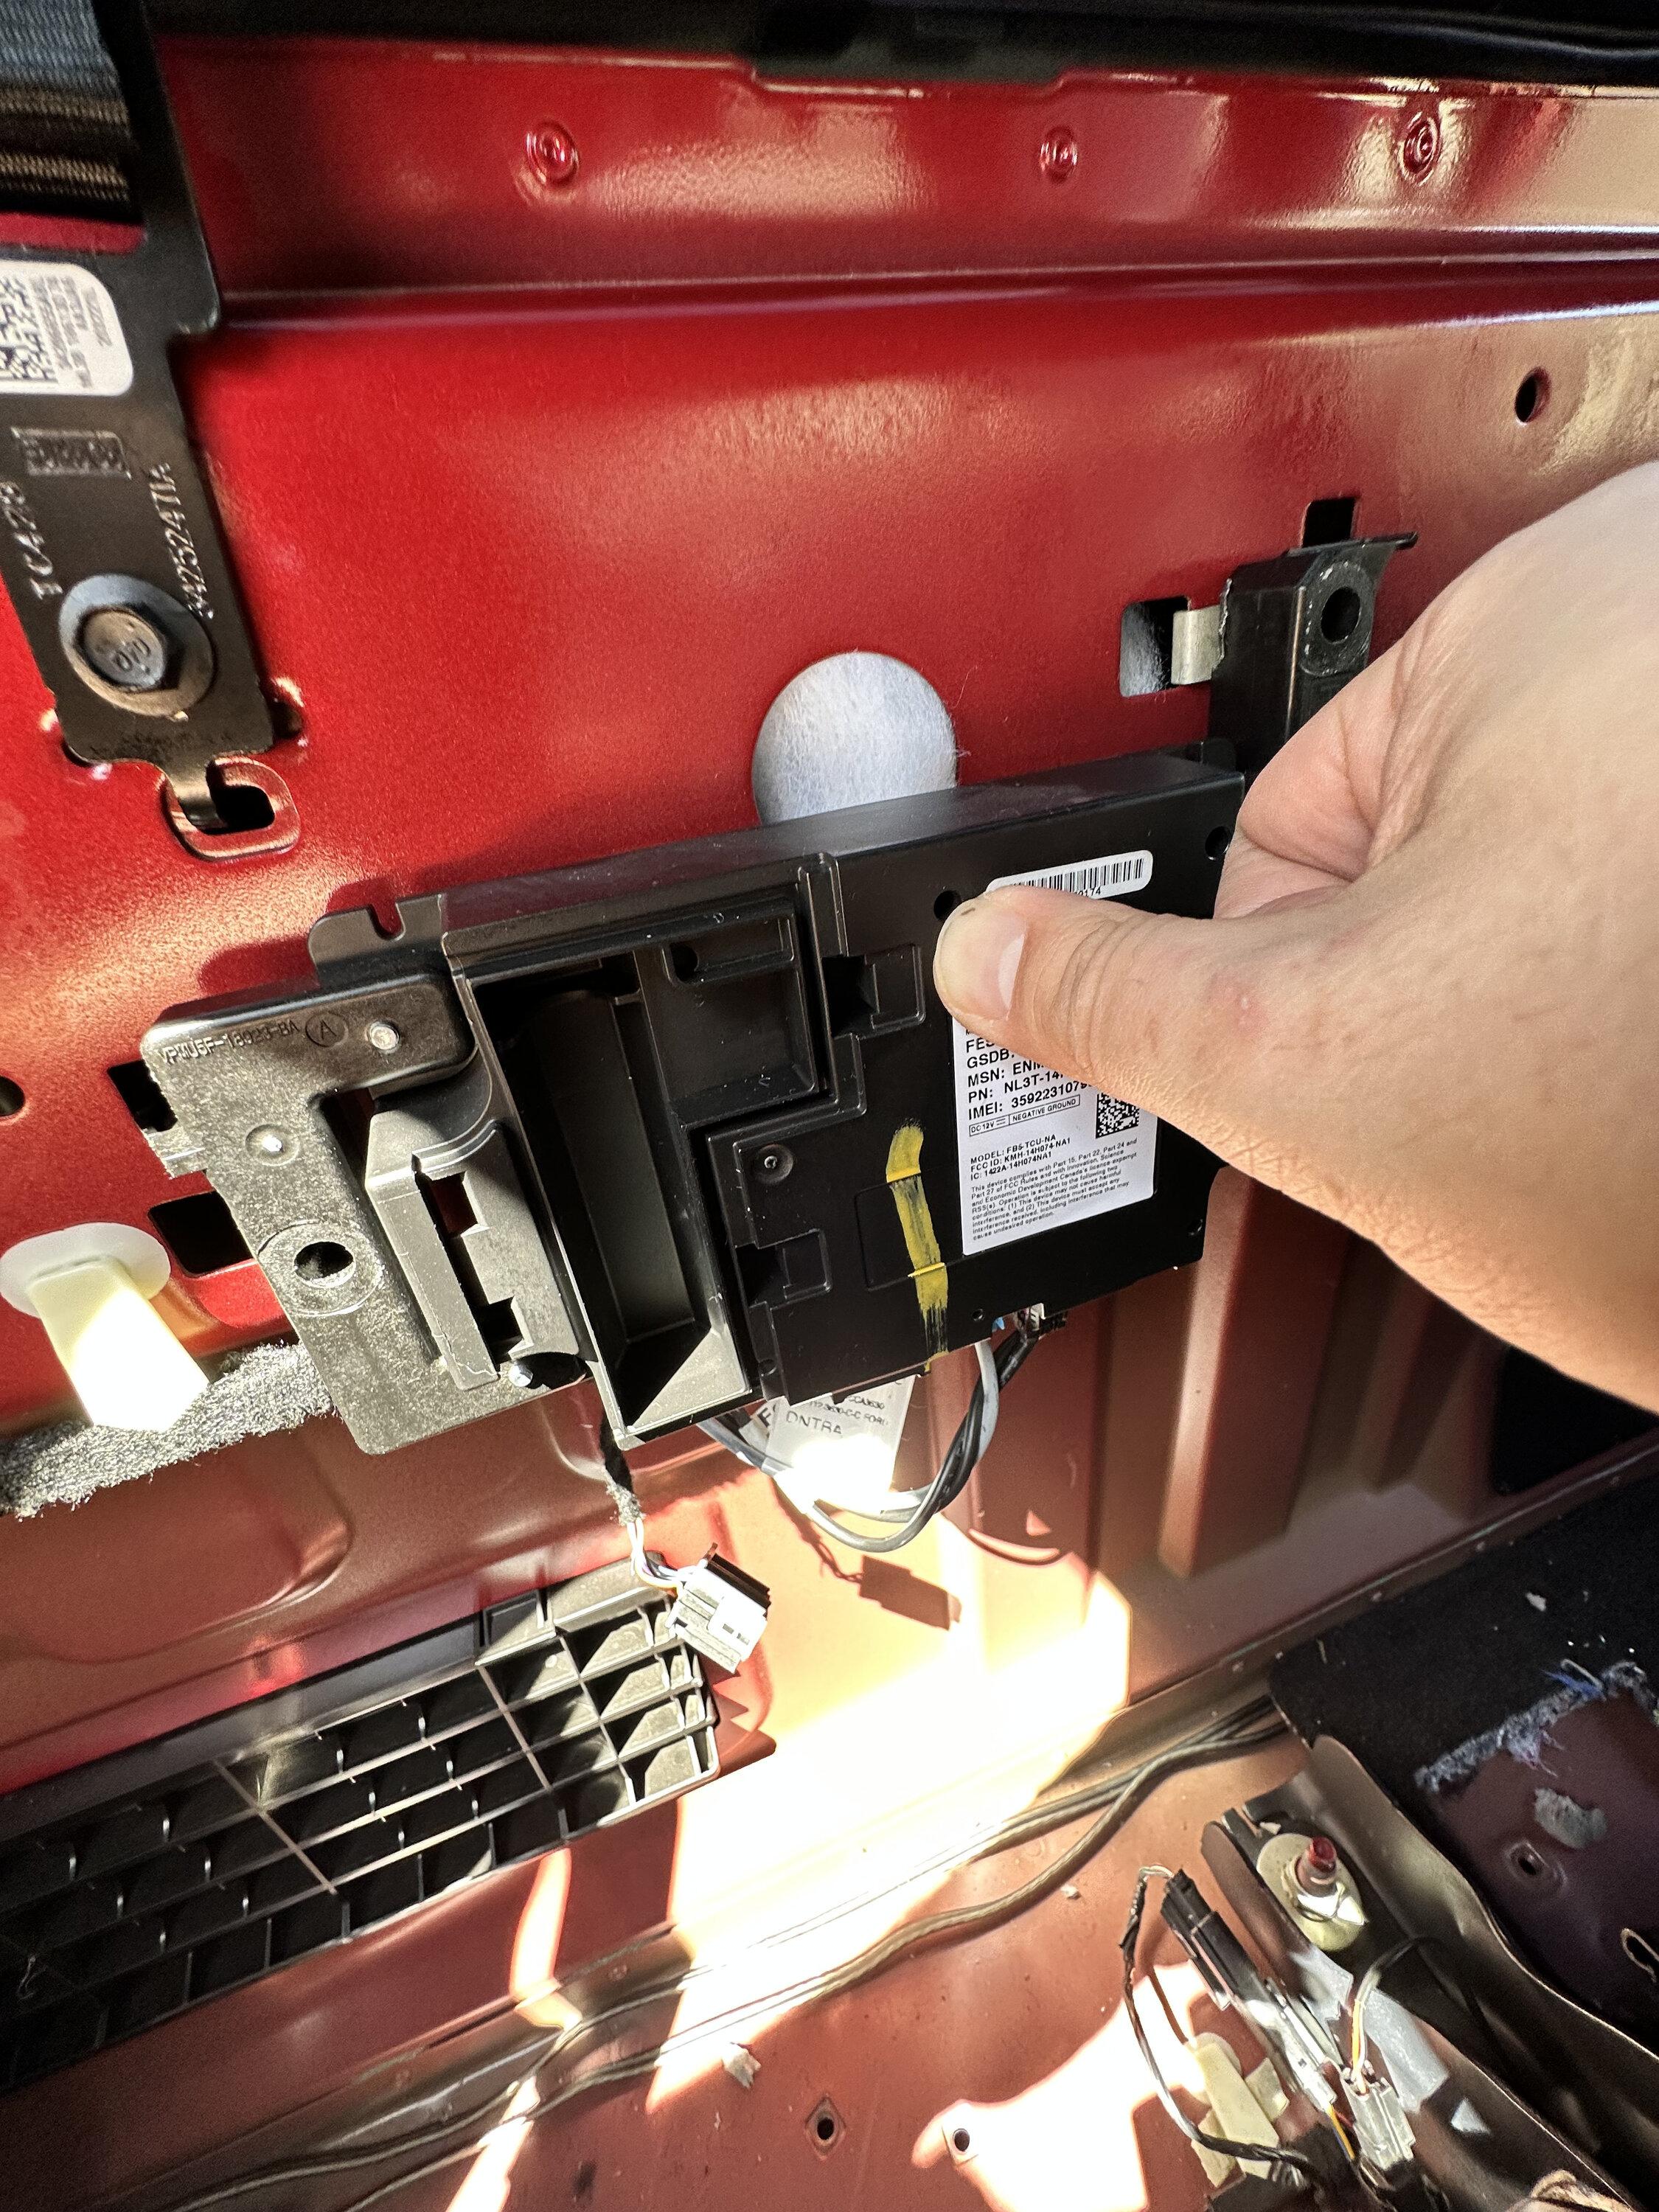
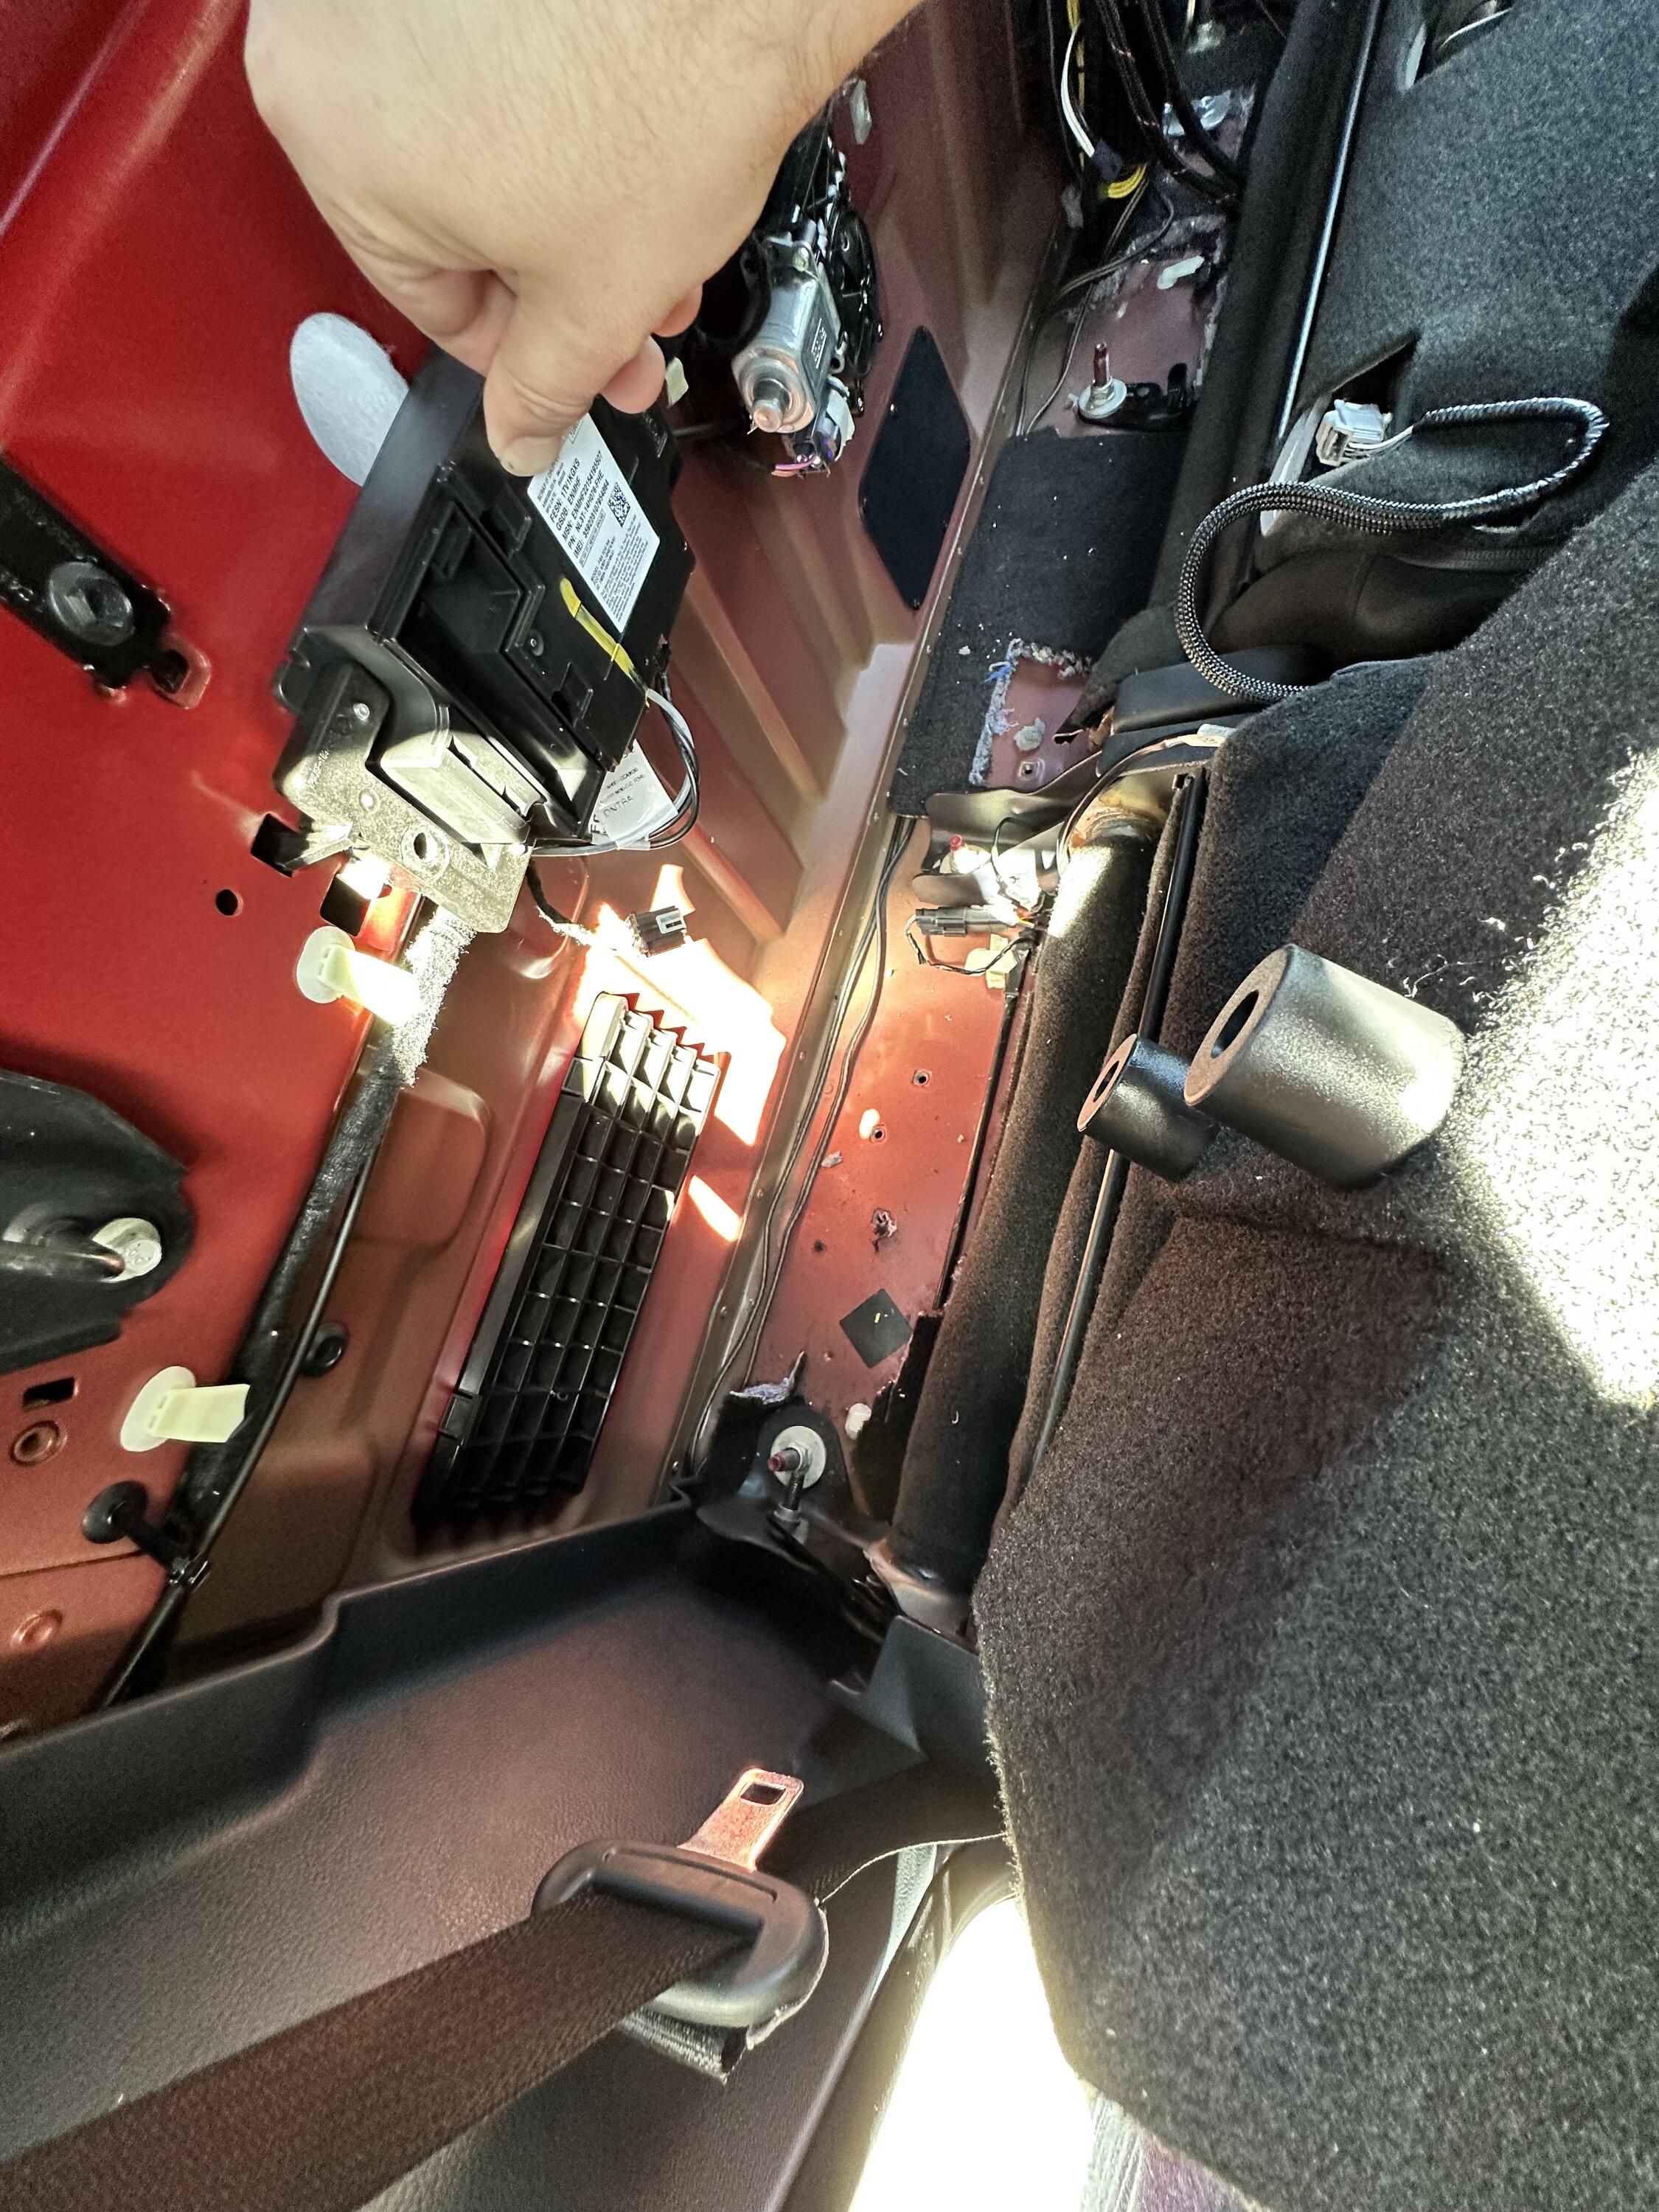
This ECU behind the passenger side seat had to be removed in order to fit the sub enclosure in. It bolts right back into place once the sub's in, though.

Ford F-150 Lightning Sounds Good Stereo Behind the Seat kit installation 05 behind seat ecu


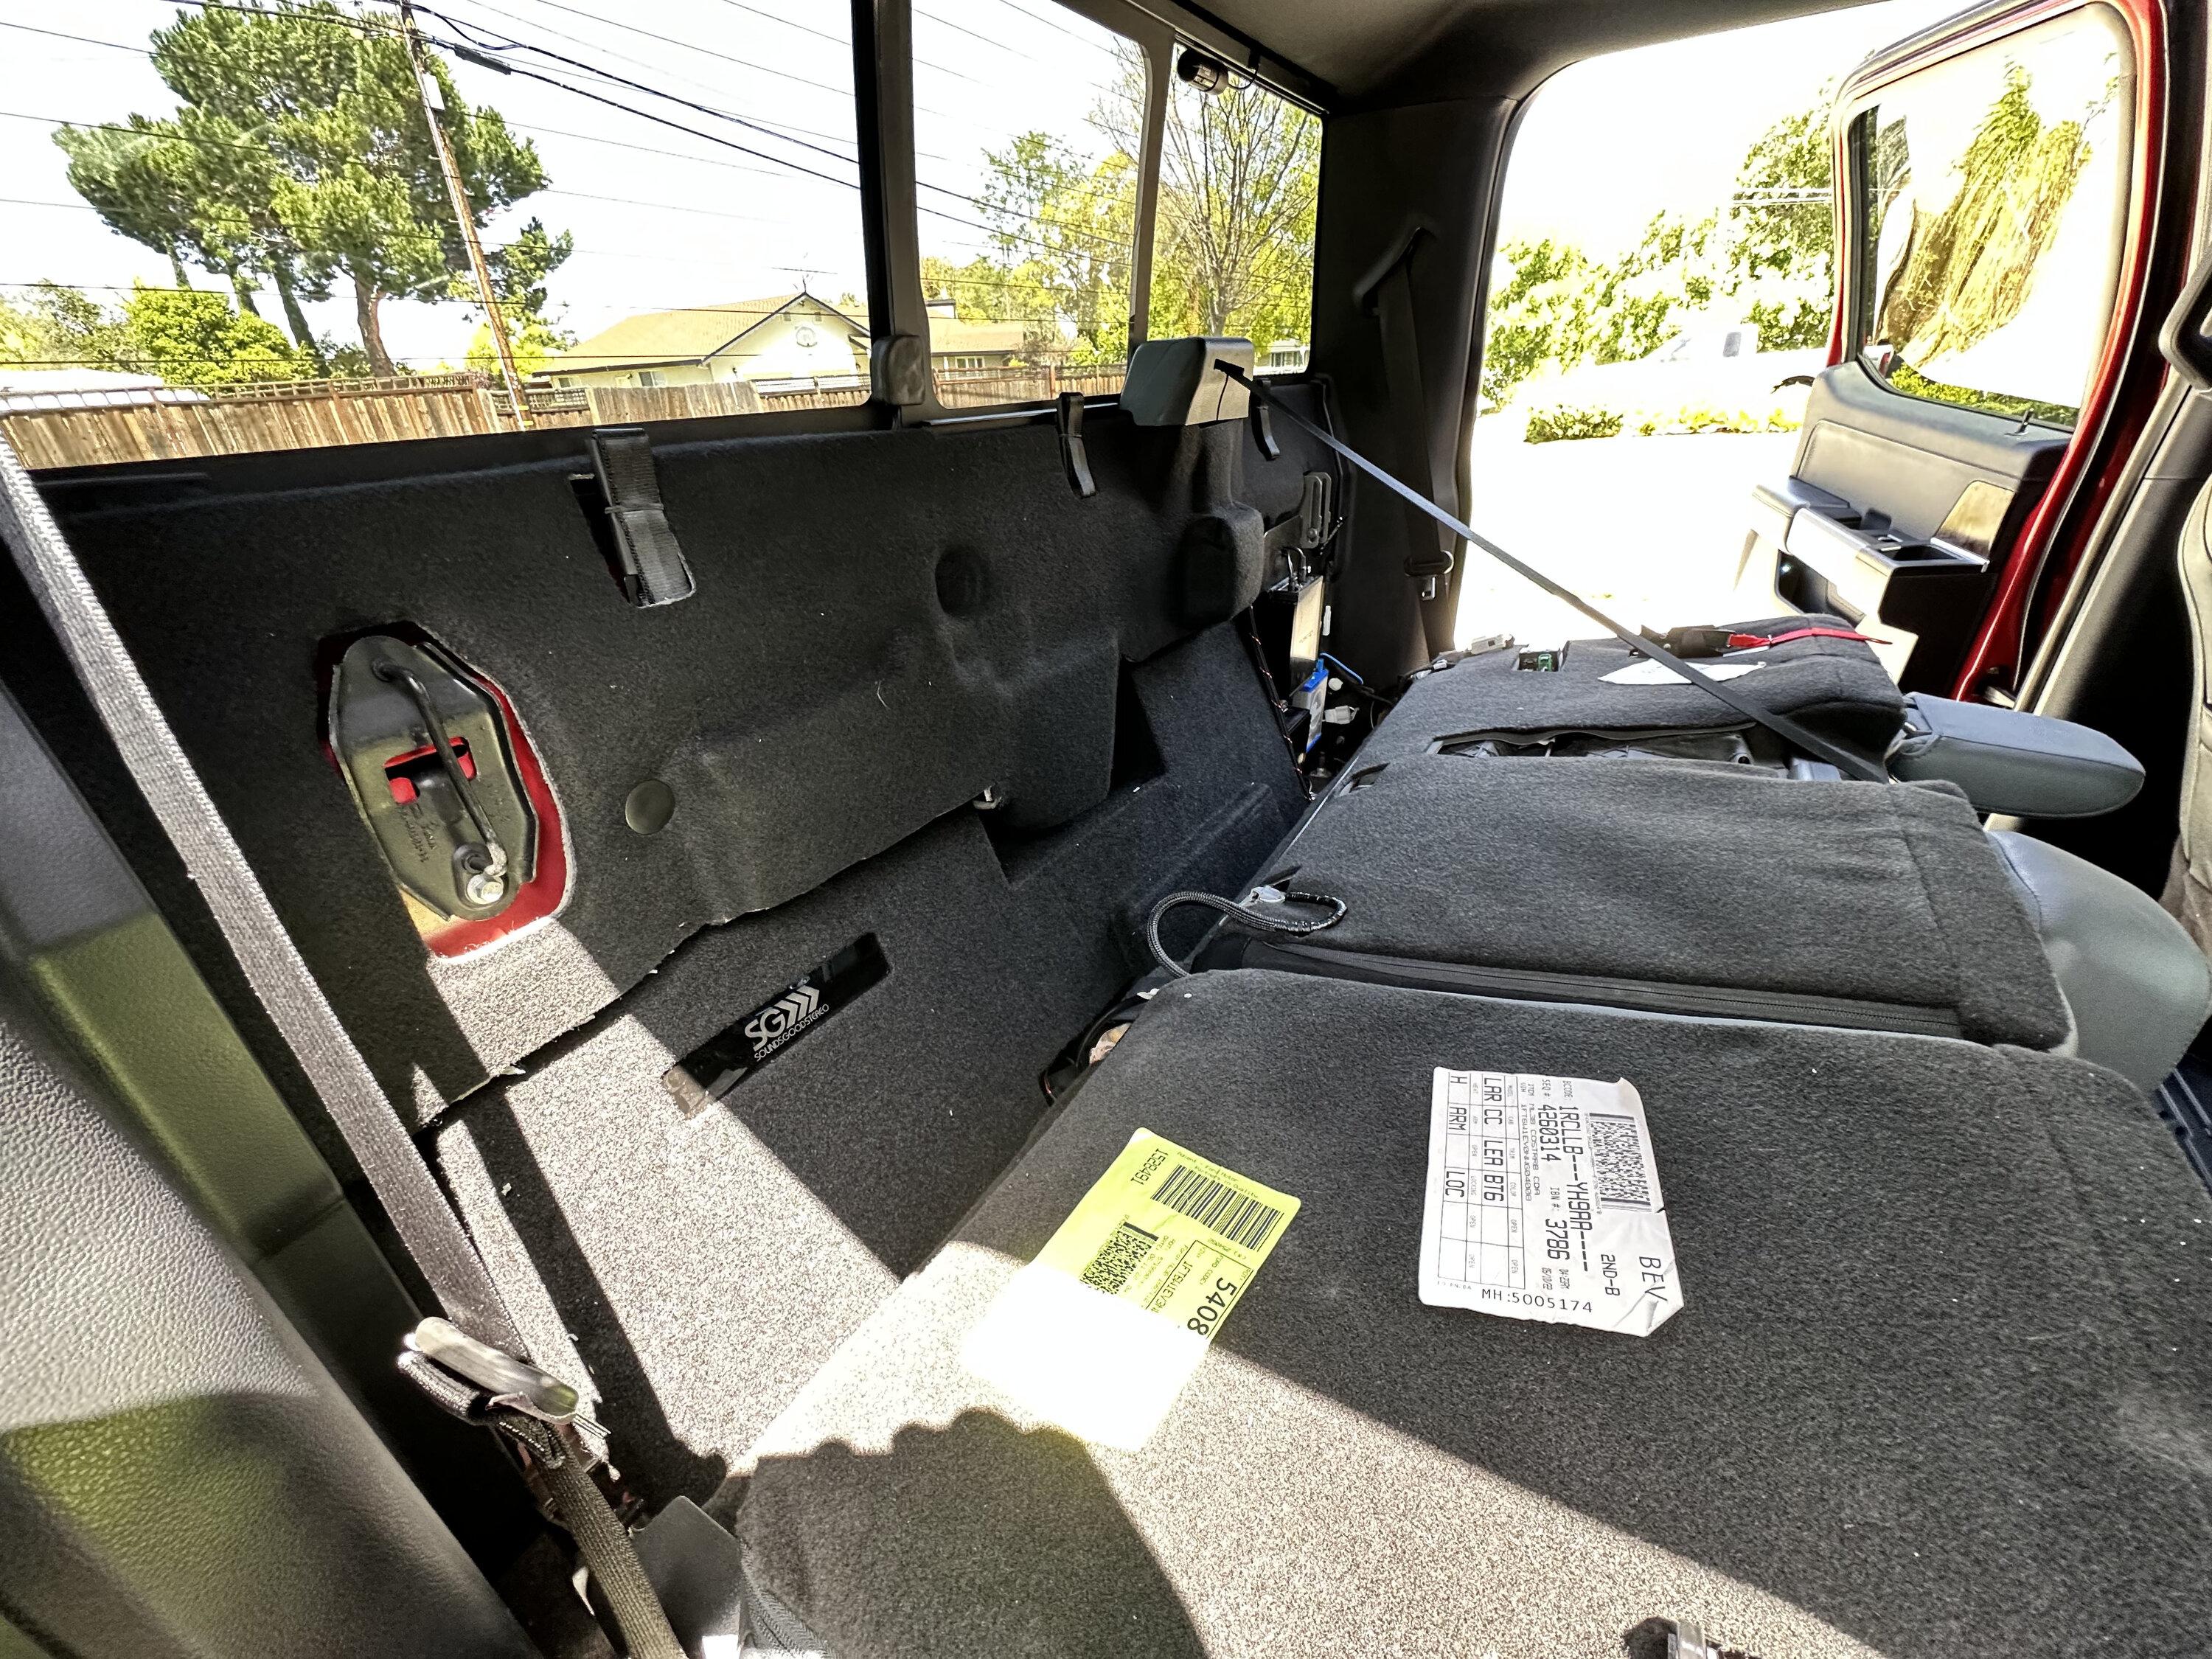
Here's another angle of the behind-the-seat area ready for the sub to get dropped in:

Ford F-150 Lightning Sounds Good Stereo Behind the Seat kit installation 06 behind seat area


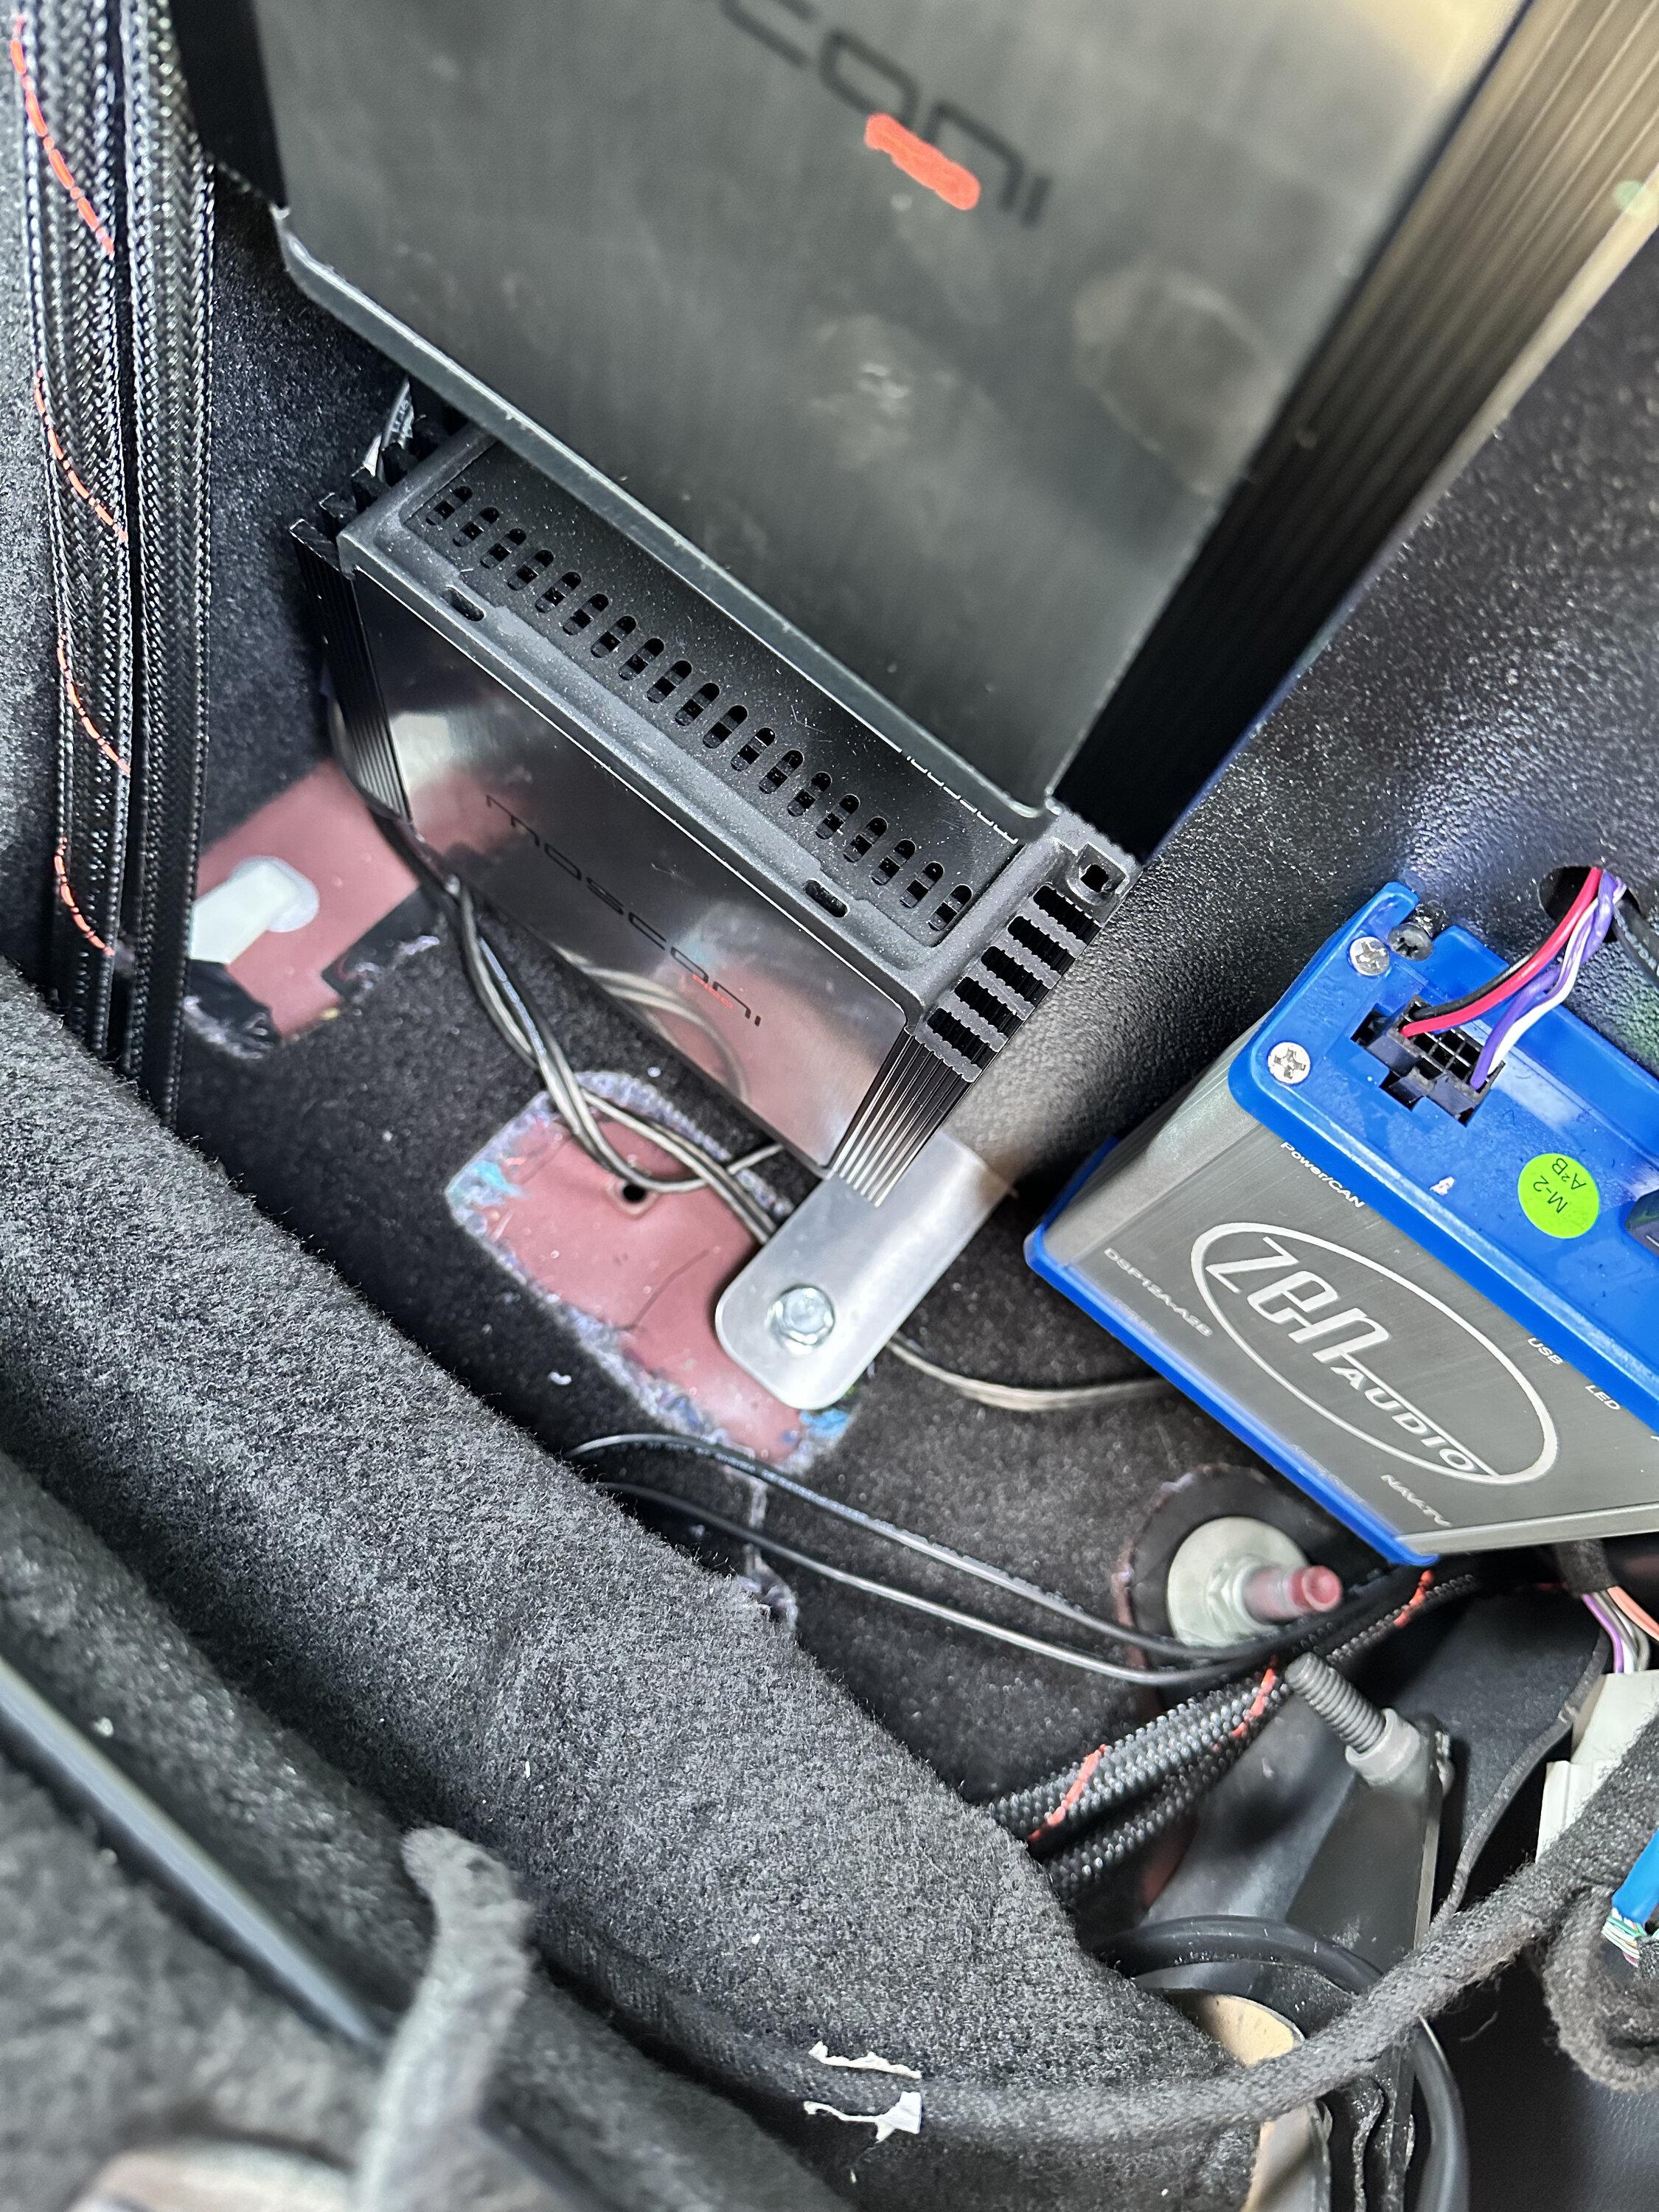
And here, the sub and amp rack installed:

Ford F-150 Lightning Sounds Good Stereo Behind the Seat kit installation 07 sub installed


Ford F-150 Lightning Sounds Good Stereo Behind the Seat kit installation 08 amp rack installed


This latch has a captive ring on the back that was a real PITA to take off. Just FYI - all fit back together nicely, though!

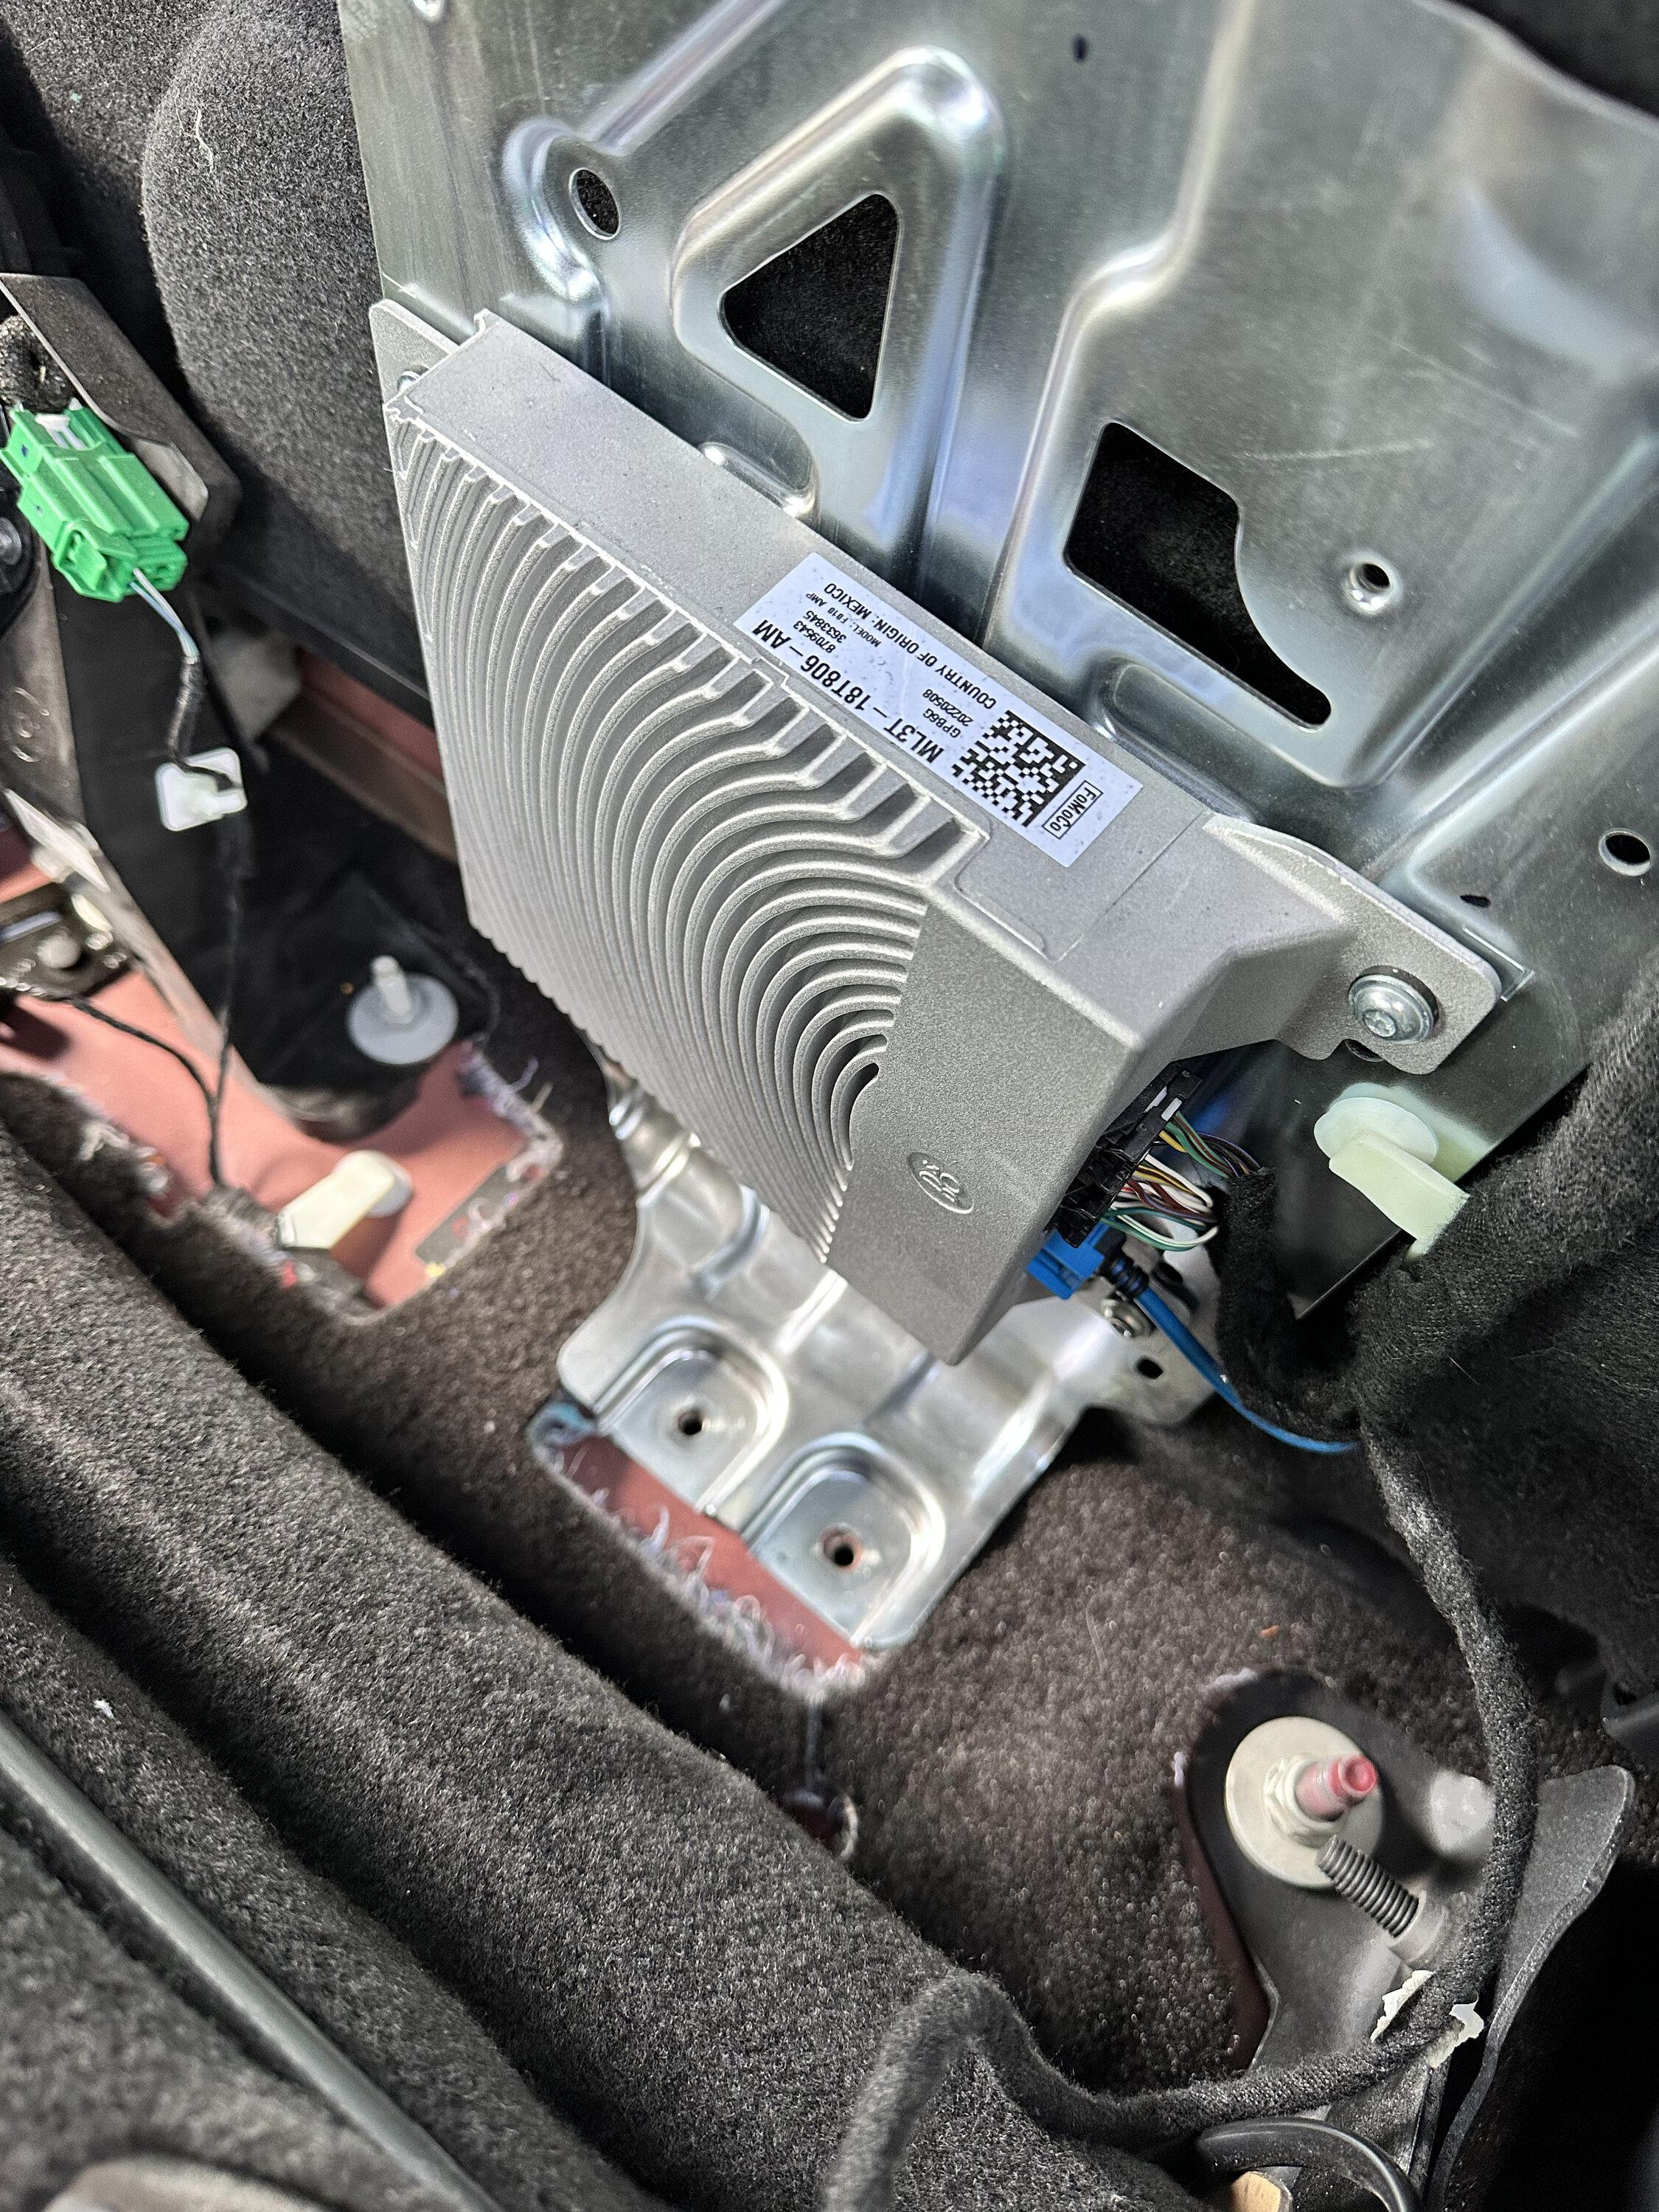
Ford F-150 Lightning Sounds Good Stereo Behind the Seat kit installation 09 seat latch bar installed
 
OP
OP
kvasiir

kvasiir

Well-known member
Joined
Nov 20, 2022
Threads
2
Messages
78
Reaction score
91
Location
San Jose, CA
Vehicles
2022 F-150 Lightning Lariat Rapid Red
Occupation
Engineer
So, since I did all this wiring installation only once, not twice like I did for the doors, I have fewer and worse pictures. But here are some pics of the speaker and subwoofer volume knob wiring running up the driver side. First in back:

Ford F-150 Lightning Sounds Good Stereo Behind the Seat kit installation 01 rear channel


and in front:

Ford F-150 Lightning Sounds Good Stereo Behind the Seat kit installation 02 front channel


I ran the sub volume cable and the speaker wires for the A-pillar behind this panel - it pops straight out towards the rear of the vehicle:

Ford F-150 Lightning Sounds Good Stereo Behind the Seat kit installation 03 front trim


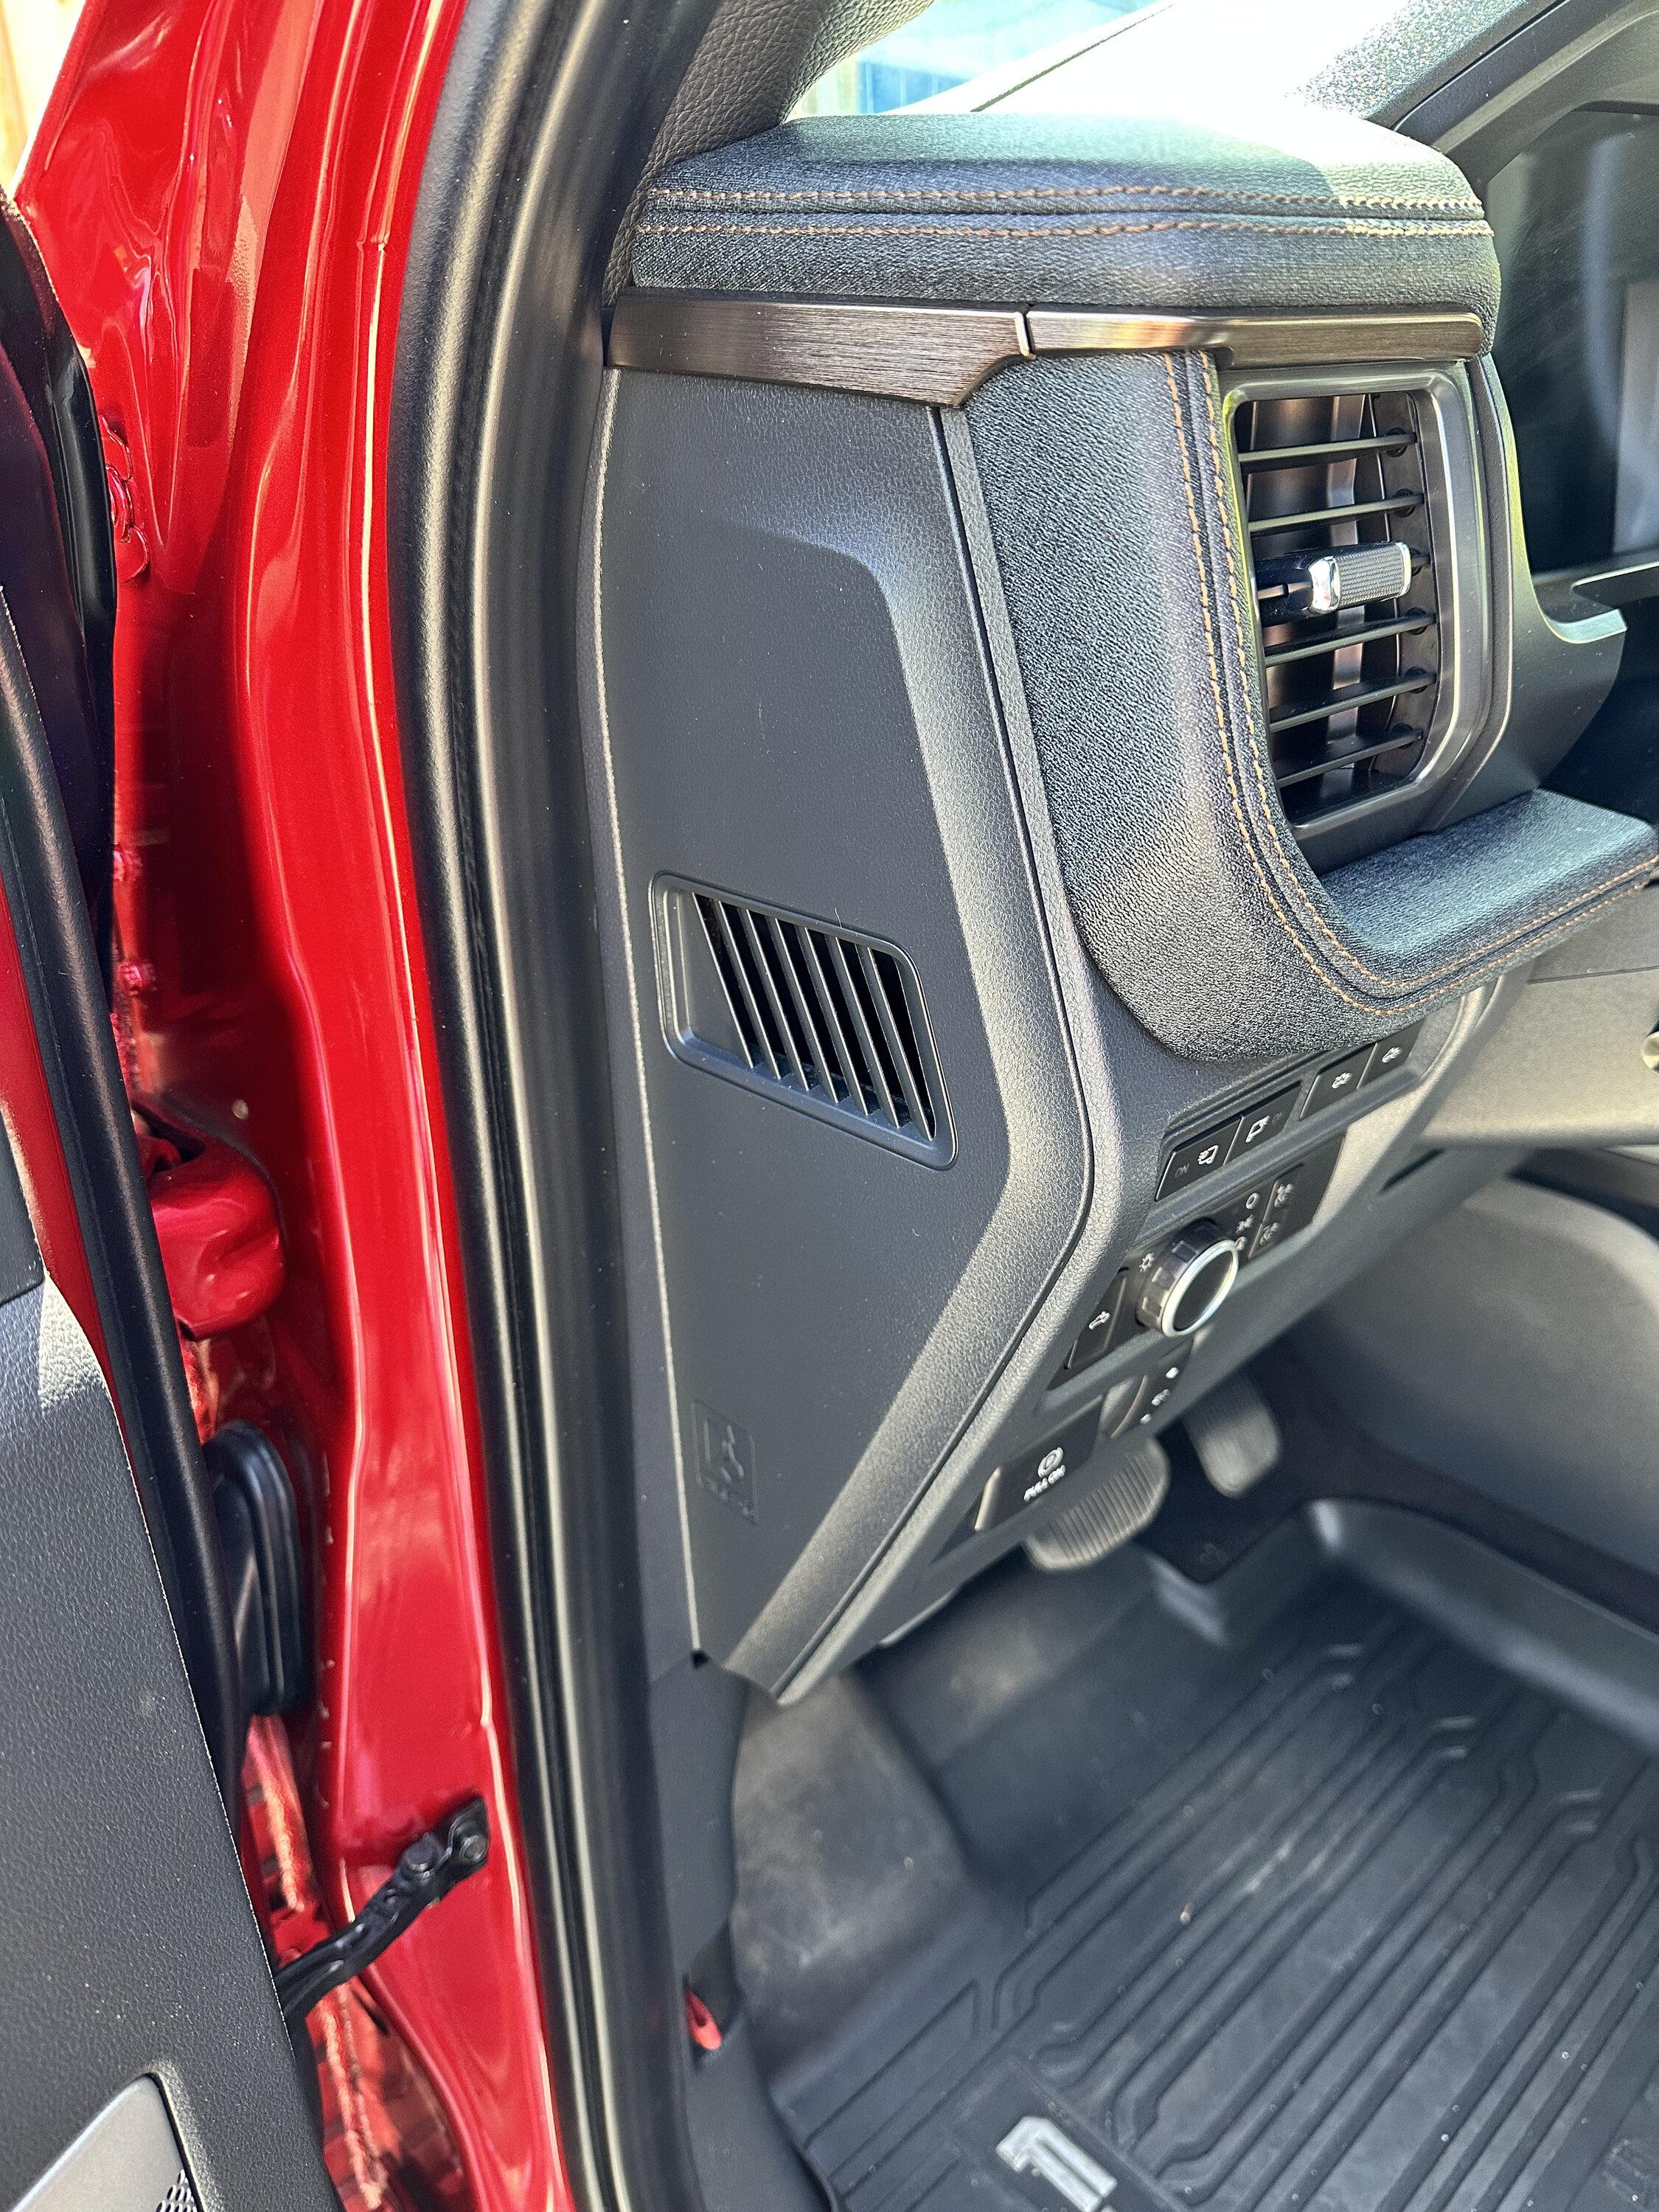
The speaker wires then go behind this vent trim:

Ford F-150 Lightning Sounds Good Stereo Behind the Seat kit installation 04 vent trim


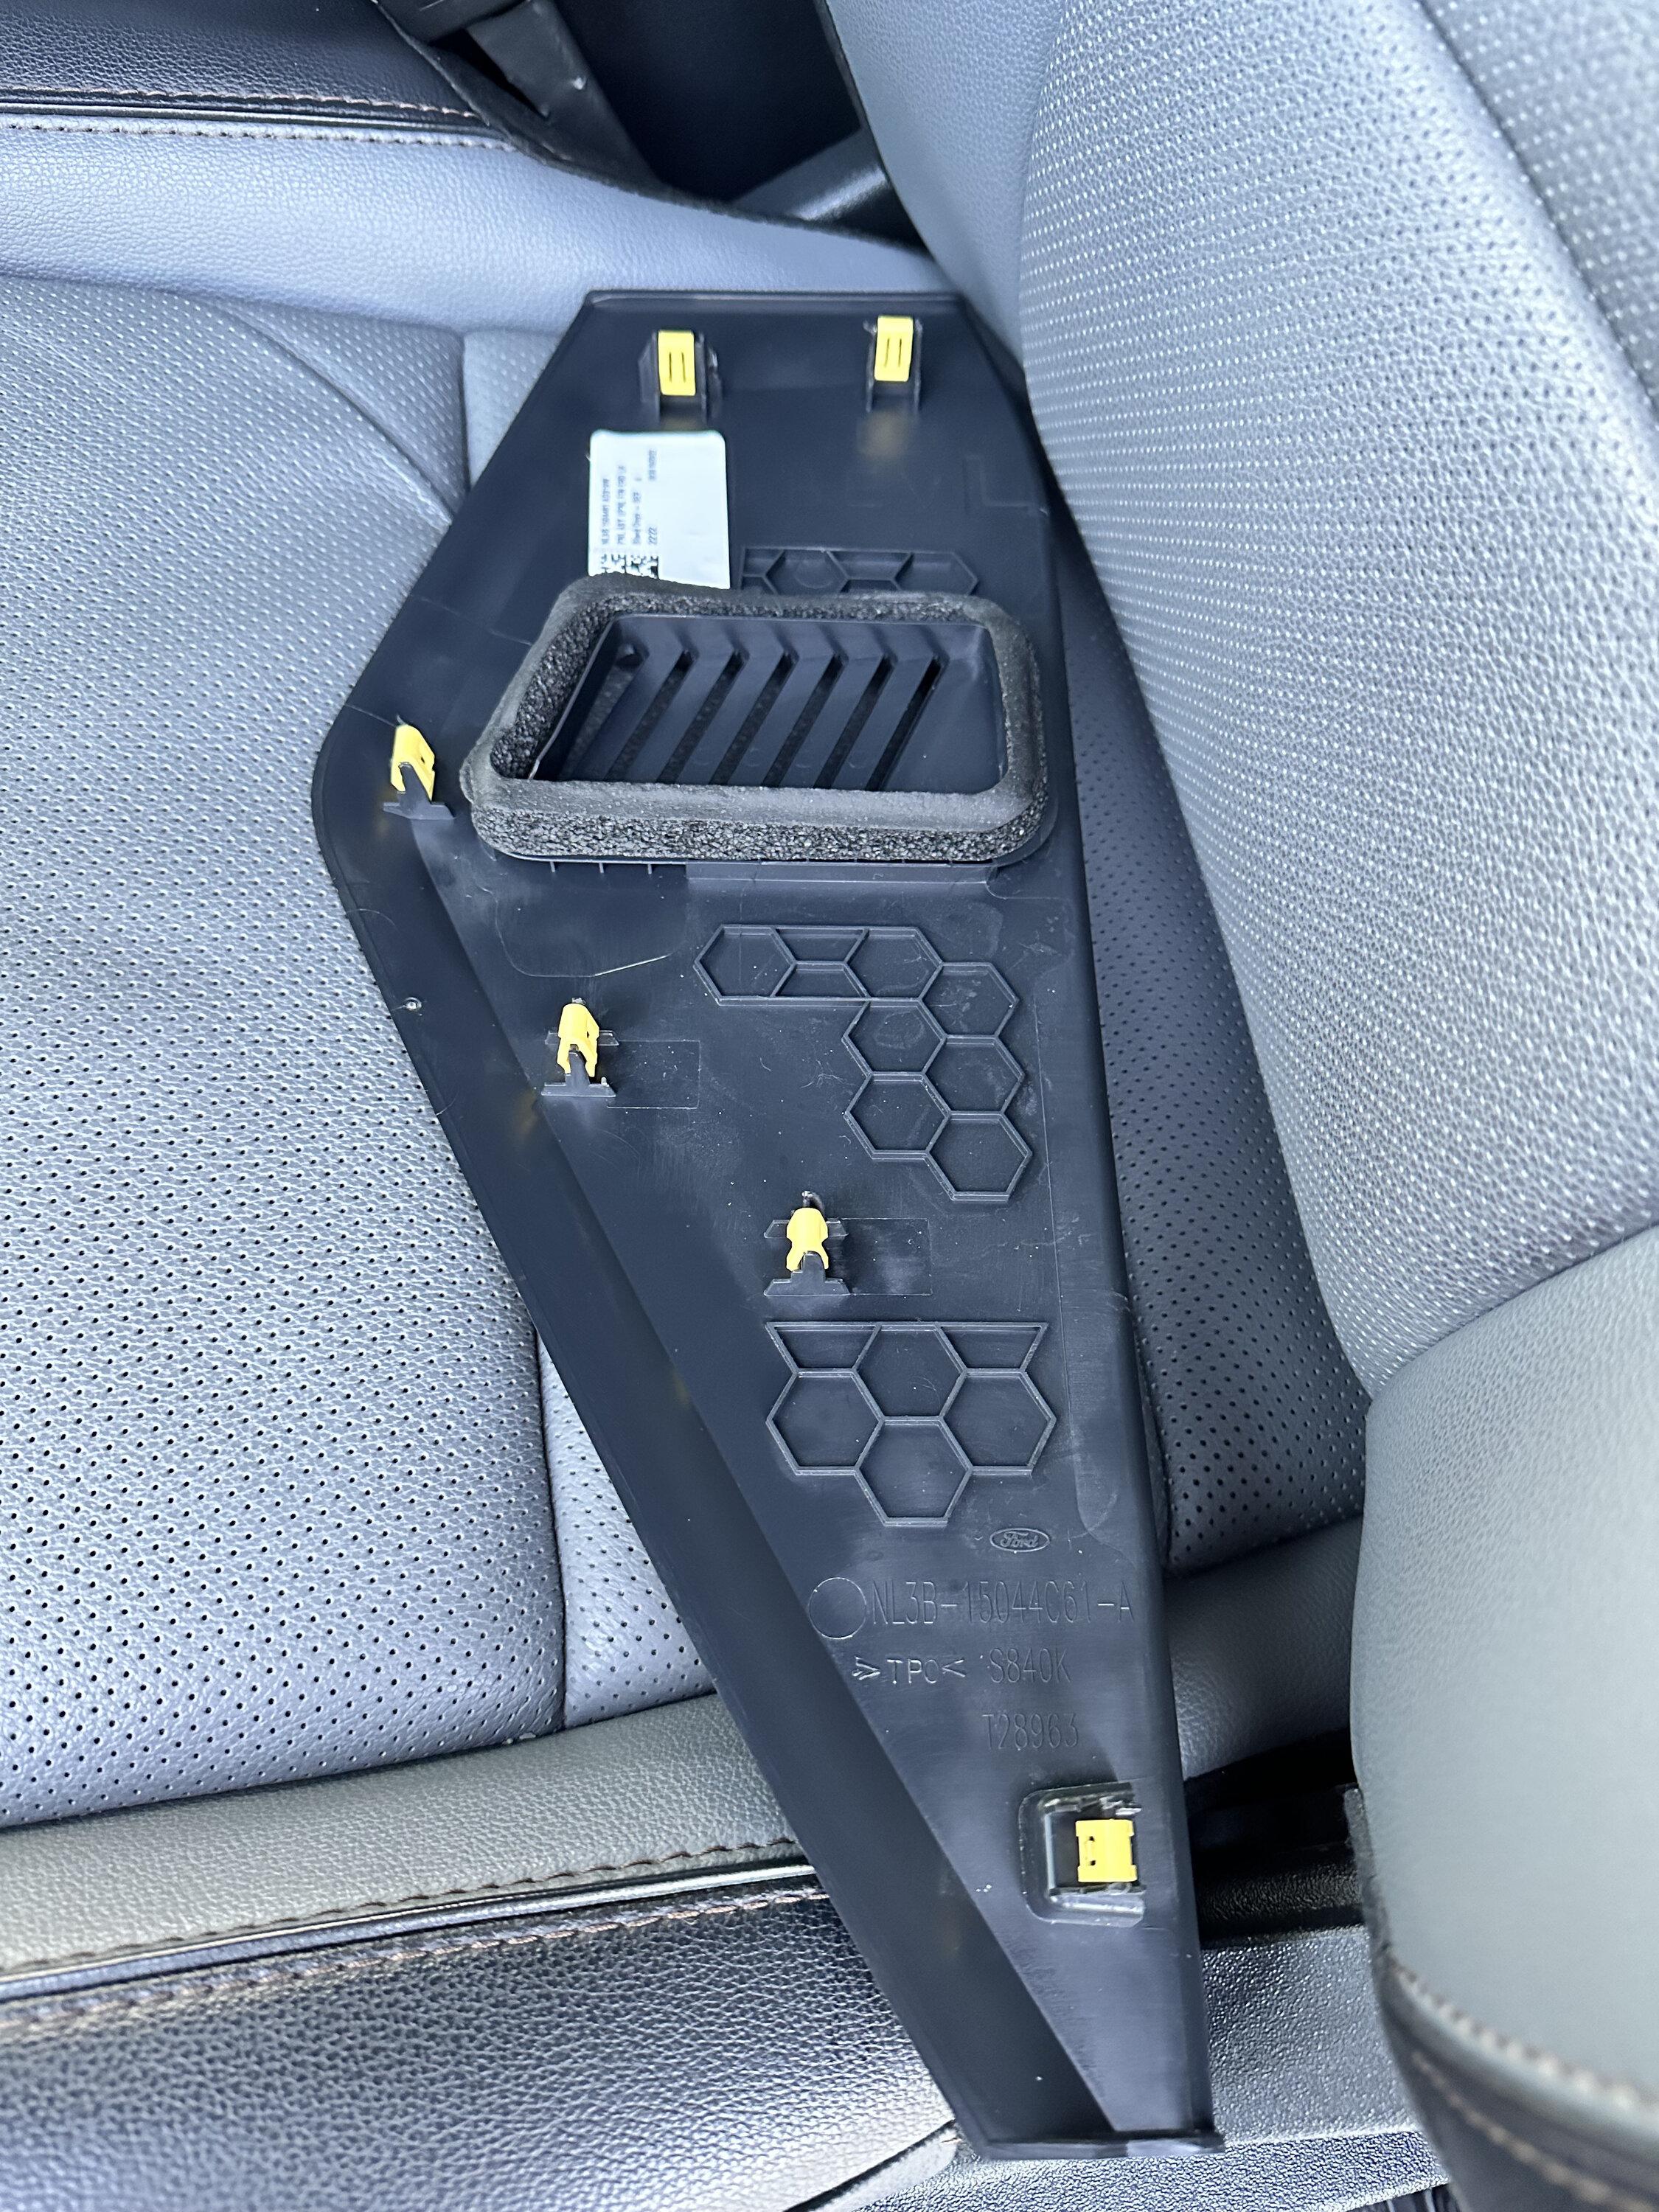
back side pic:

Ford F-150 Lightning Sounds Good Stereo Behind the Seat kit installation 05 vent trim removed


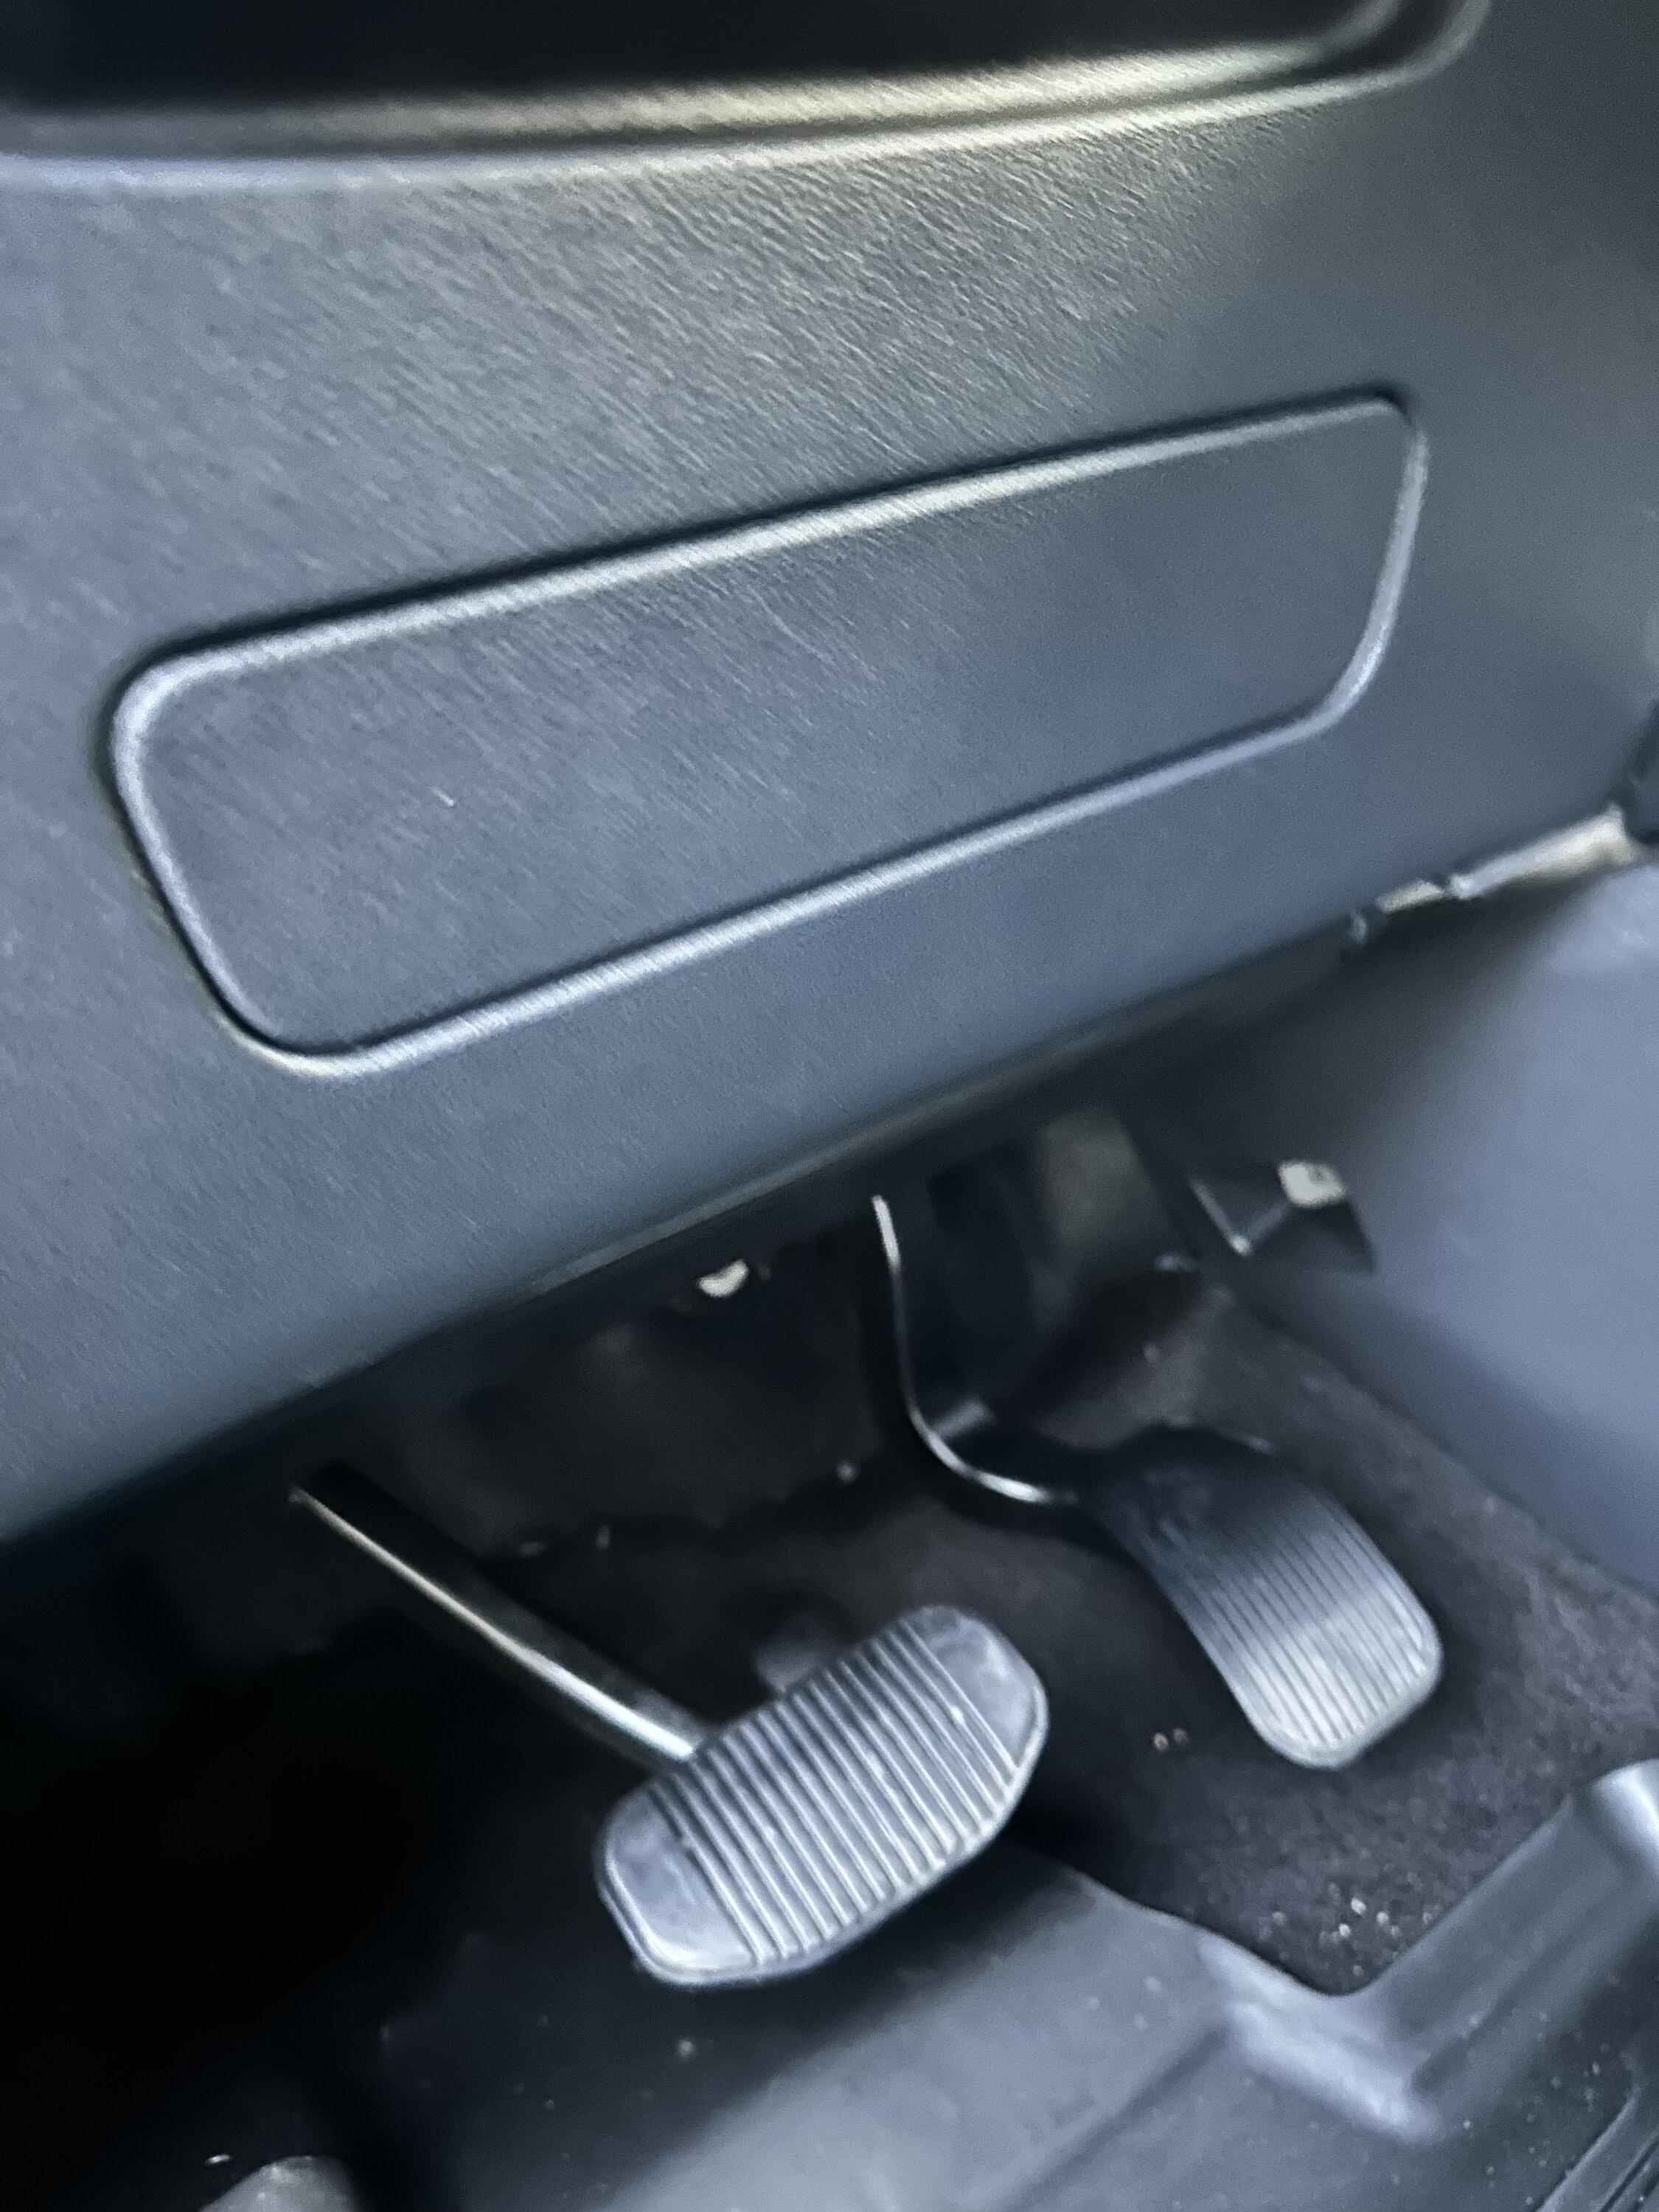
The sub knob wiring I took across underneath the dash and then up into the steering column. The soft cowl on the column just pops right off which gives lots of room to work. Underneath the steering wheel, this panel pops out easily with a trim tool, and has a couple of screws behind it, which when removed allow the whole underside panel here to come off:

Ford F-150 Lightning Sounds Good Stereo Behind the Seat kit installation 01 trim panel


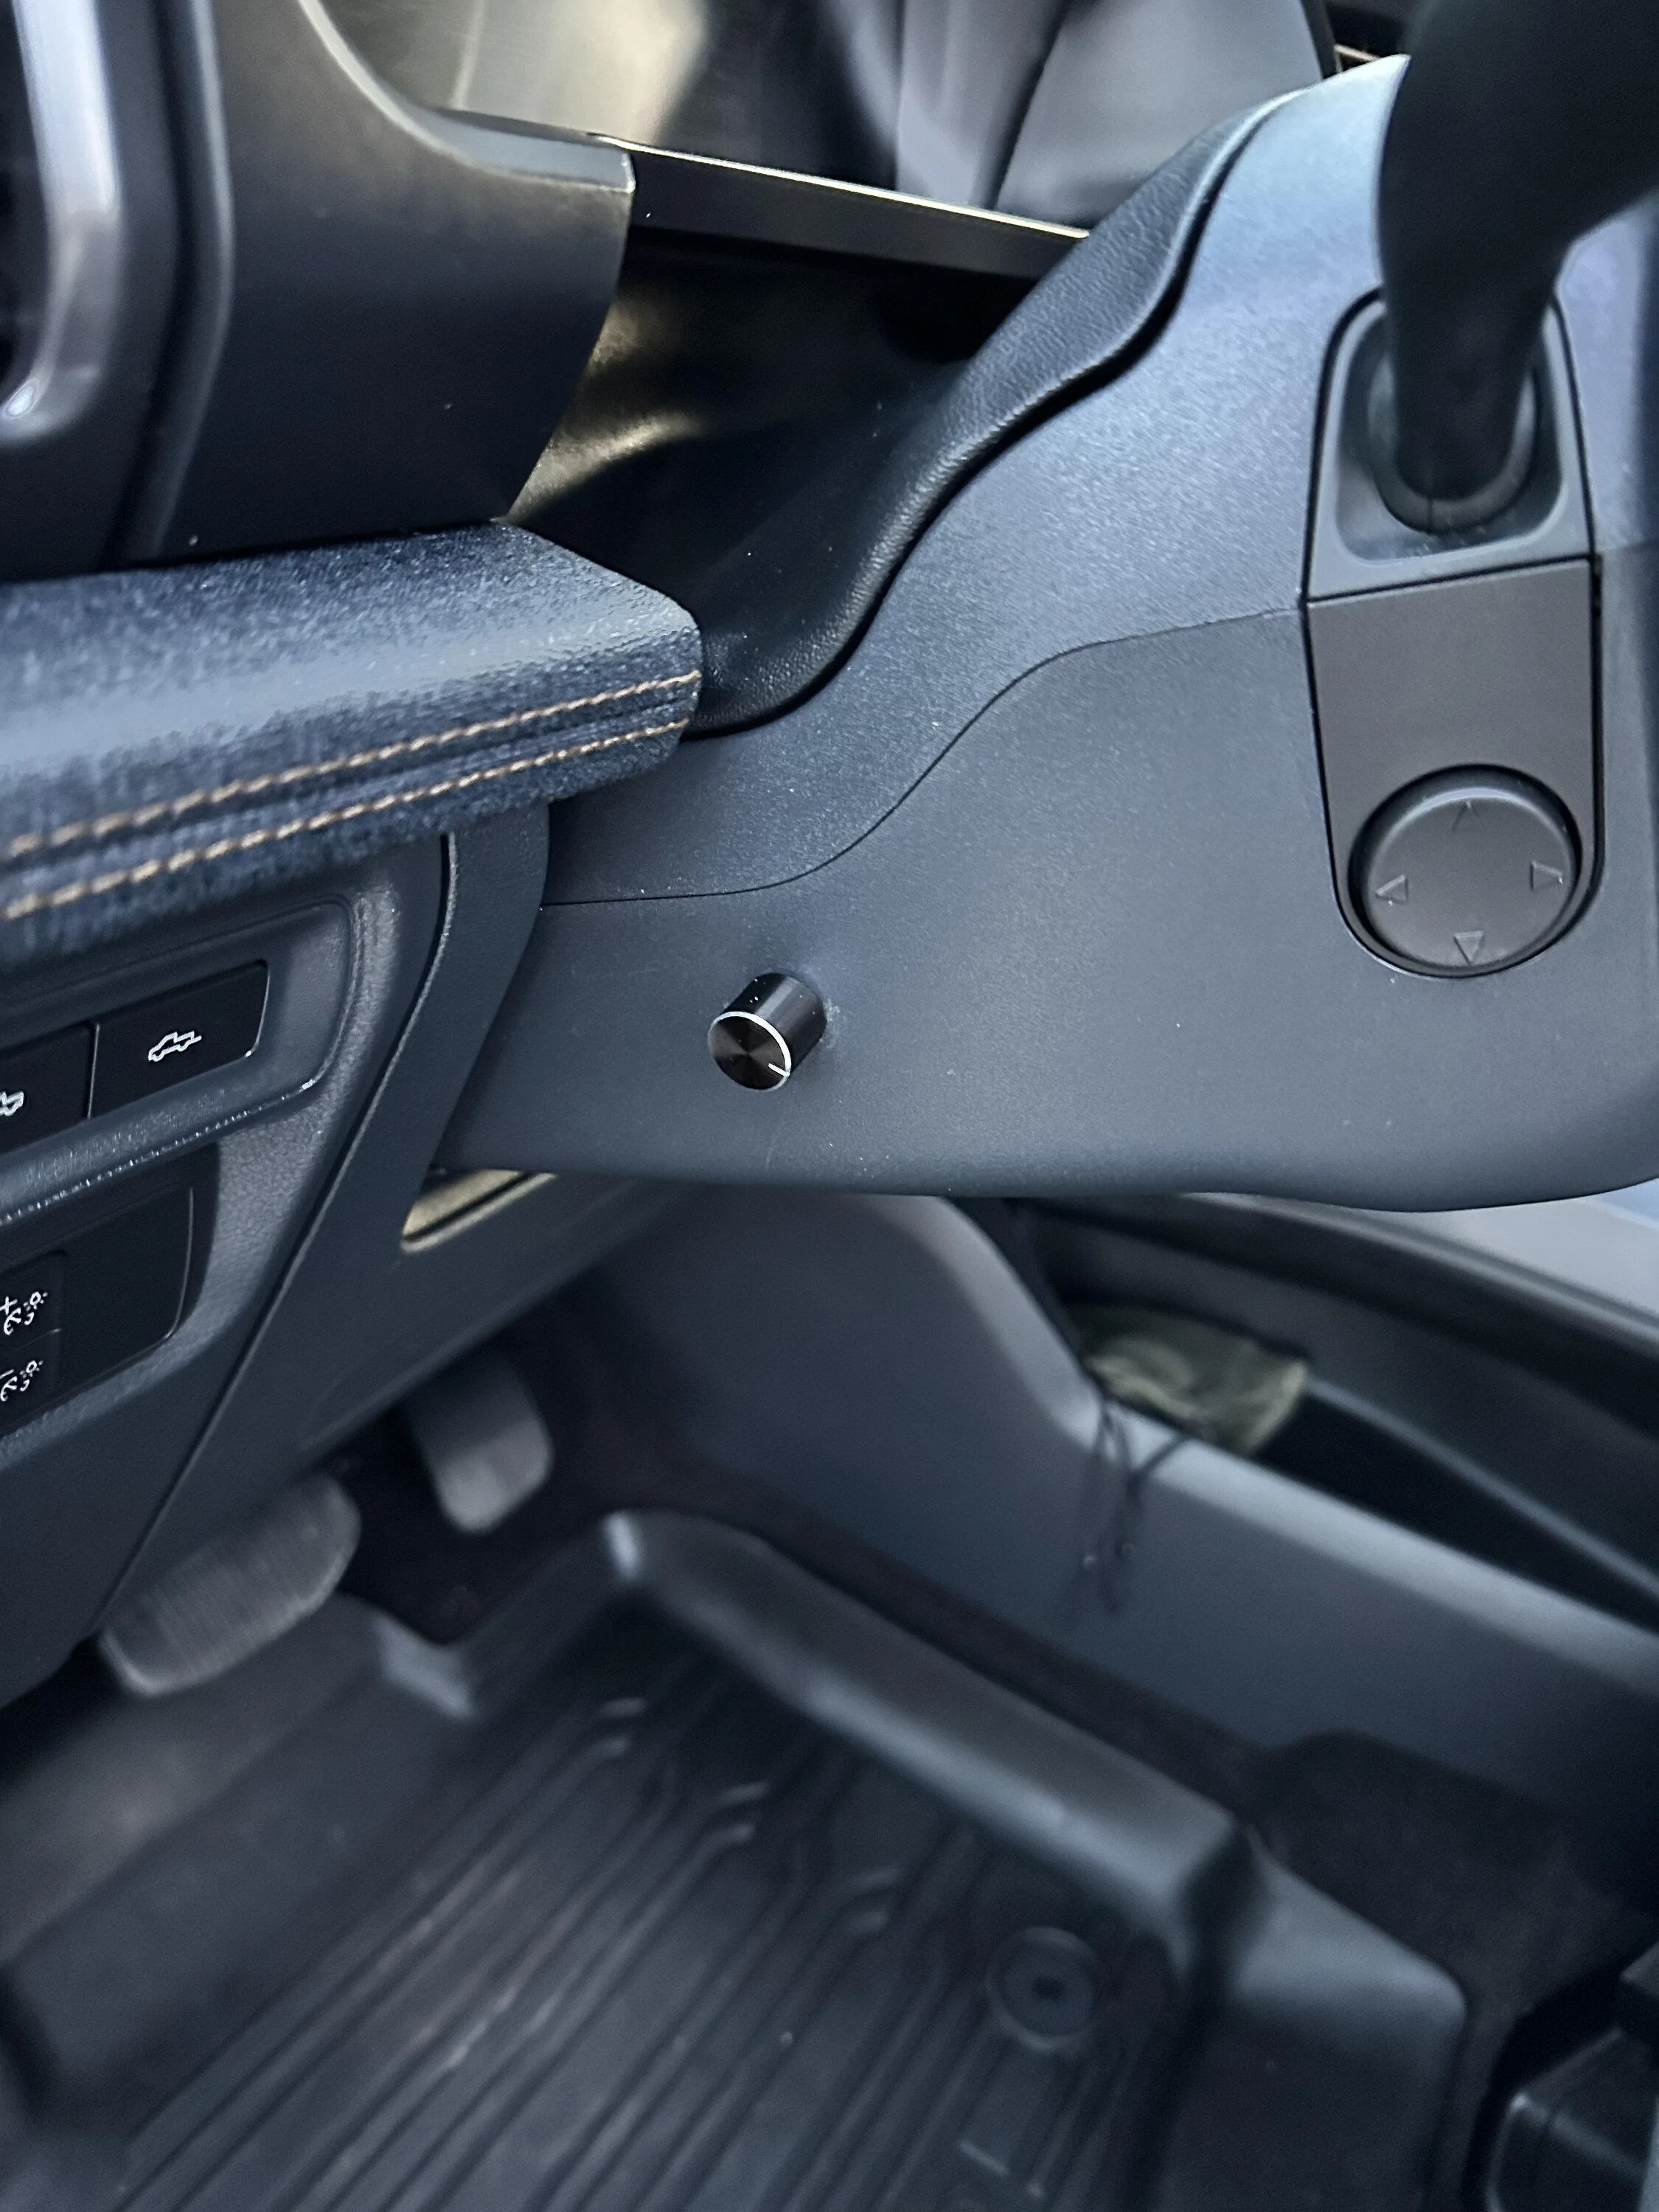
Here's a picture of the sub knob installed. I might have put it a bit far towards the front of the vehicle, but 1) it's not that bad and 2) I don't need to adjust it that much anyway.

Ford F-150 Lightning Sounds Good Stereo Behind the Seat kit installation 02 sub knob
 
OP
OP
kvasiir

kvasiir

Well-known member
Joined
Nov 20, 2022
Threads
2
Messages
78
Reaction score
91
Location
San Jose, CA
Vehicles
2022 F-150 Lightning Lariat Rapid Red
Occupation
Engineer
Power wires! Starting with the battery panel in the frunk - just slide it up and pop it off. It's a bit tricky to put back on - you kind of have to push all four corners to align everything all at once, and that takes more hands than I have.

Ford F-150 Lightning Sounds Good Stereo Behind the Seat kit installation 01 battery cover


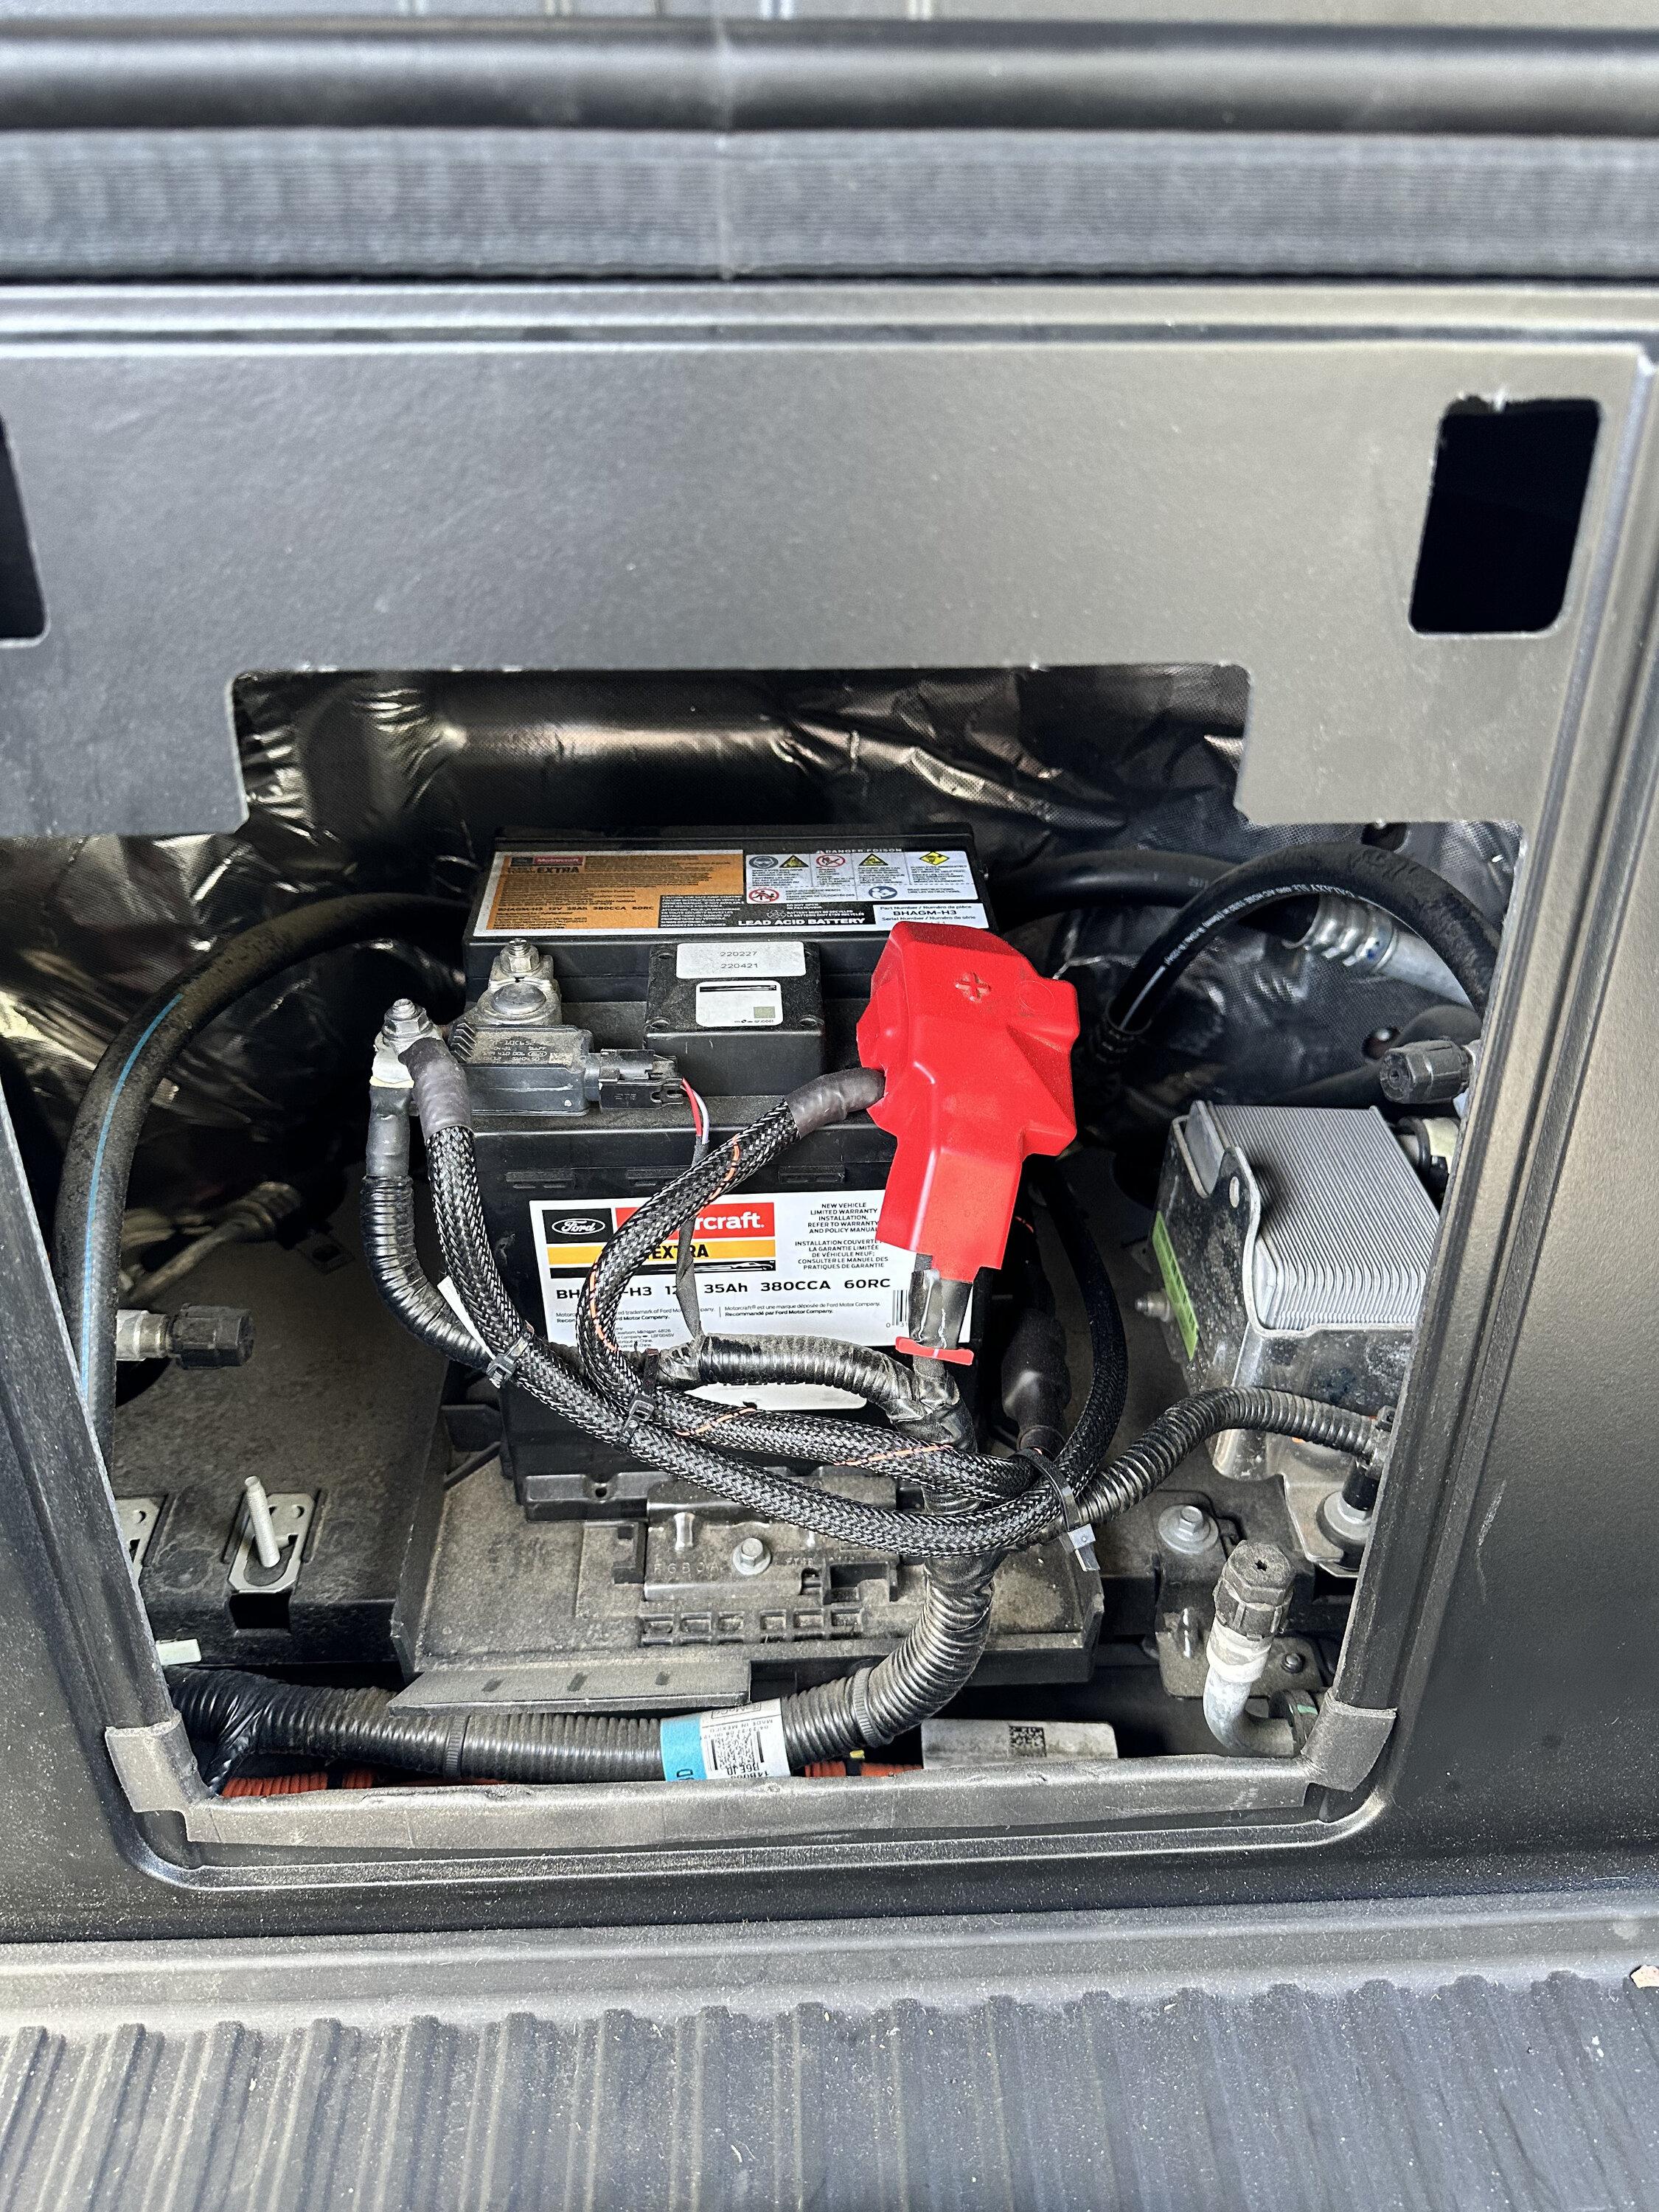
The wiring I fished through with a semi-rigid plastic wire pulling assembly I got with an in-wall power/signaling kit for TV wall installation. After the fact you can see here in the battery compartment:

Ford F-150 Lightning Sounds Good Stereo Behind the Seat kit installation 02 battery


Then heading down and back under the truck:

Ford F-150 Lightning Sounds Good Stereo Behind the Seat kit installation 03 routin


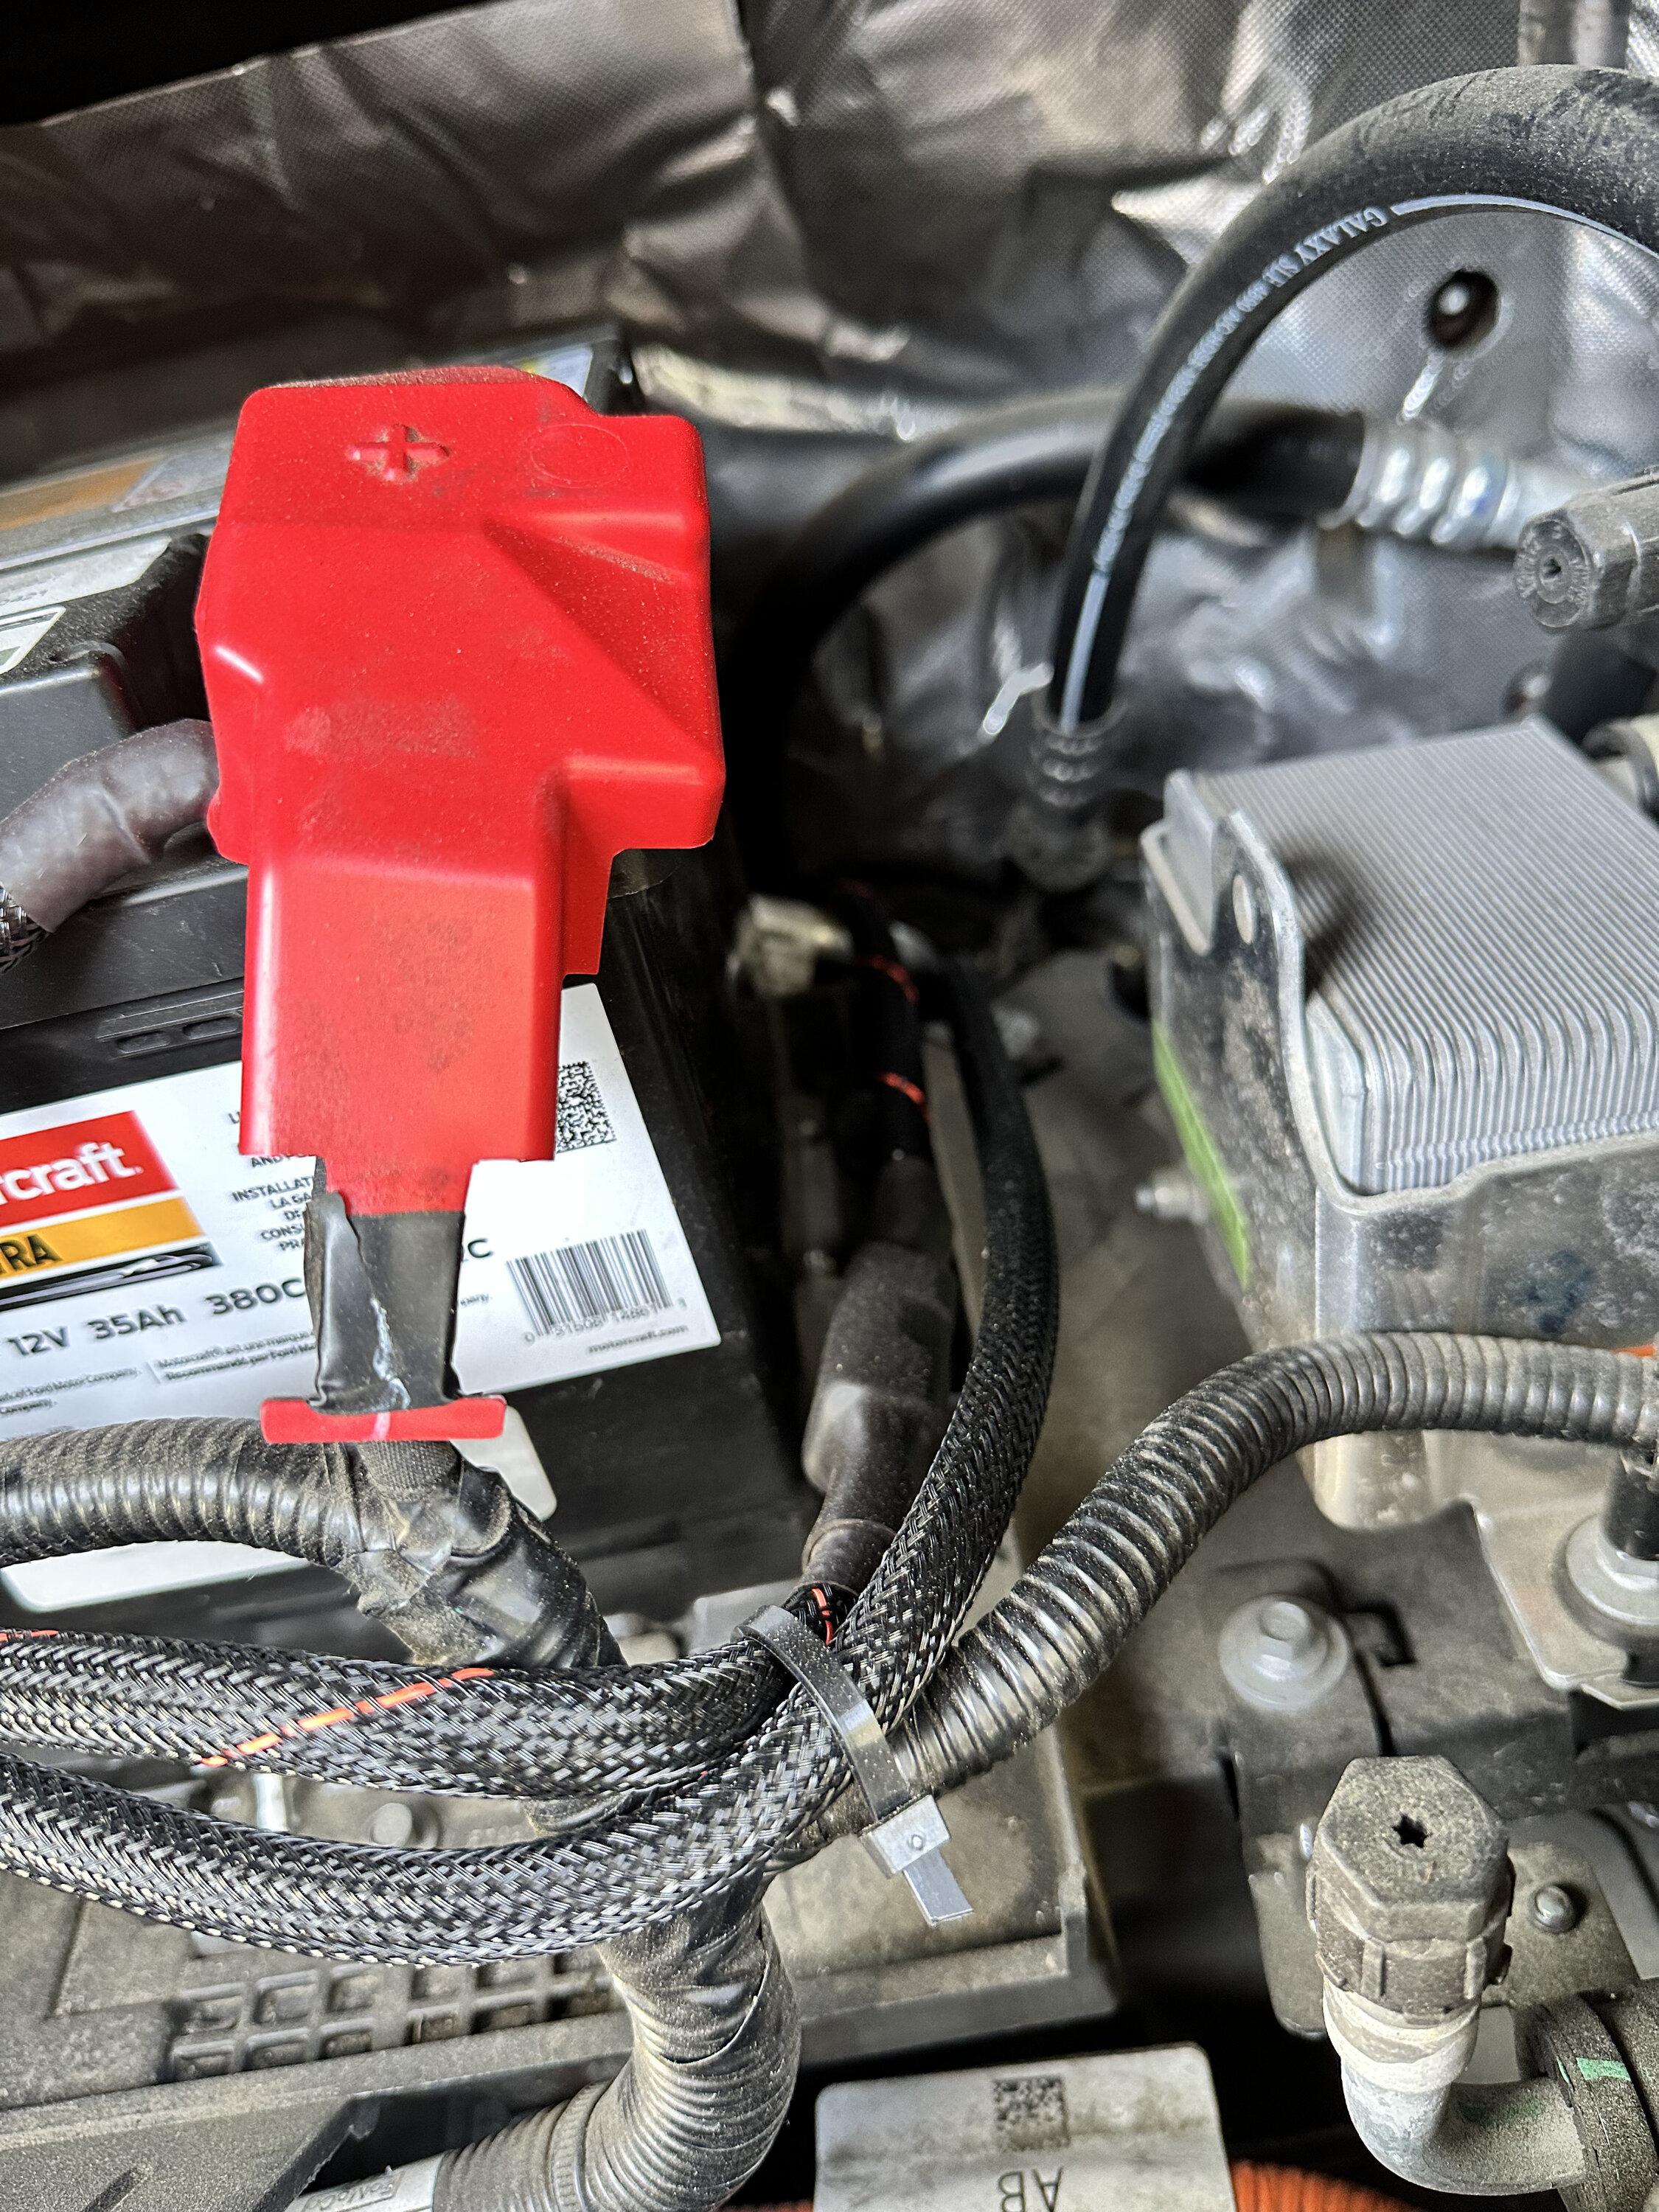
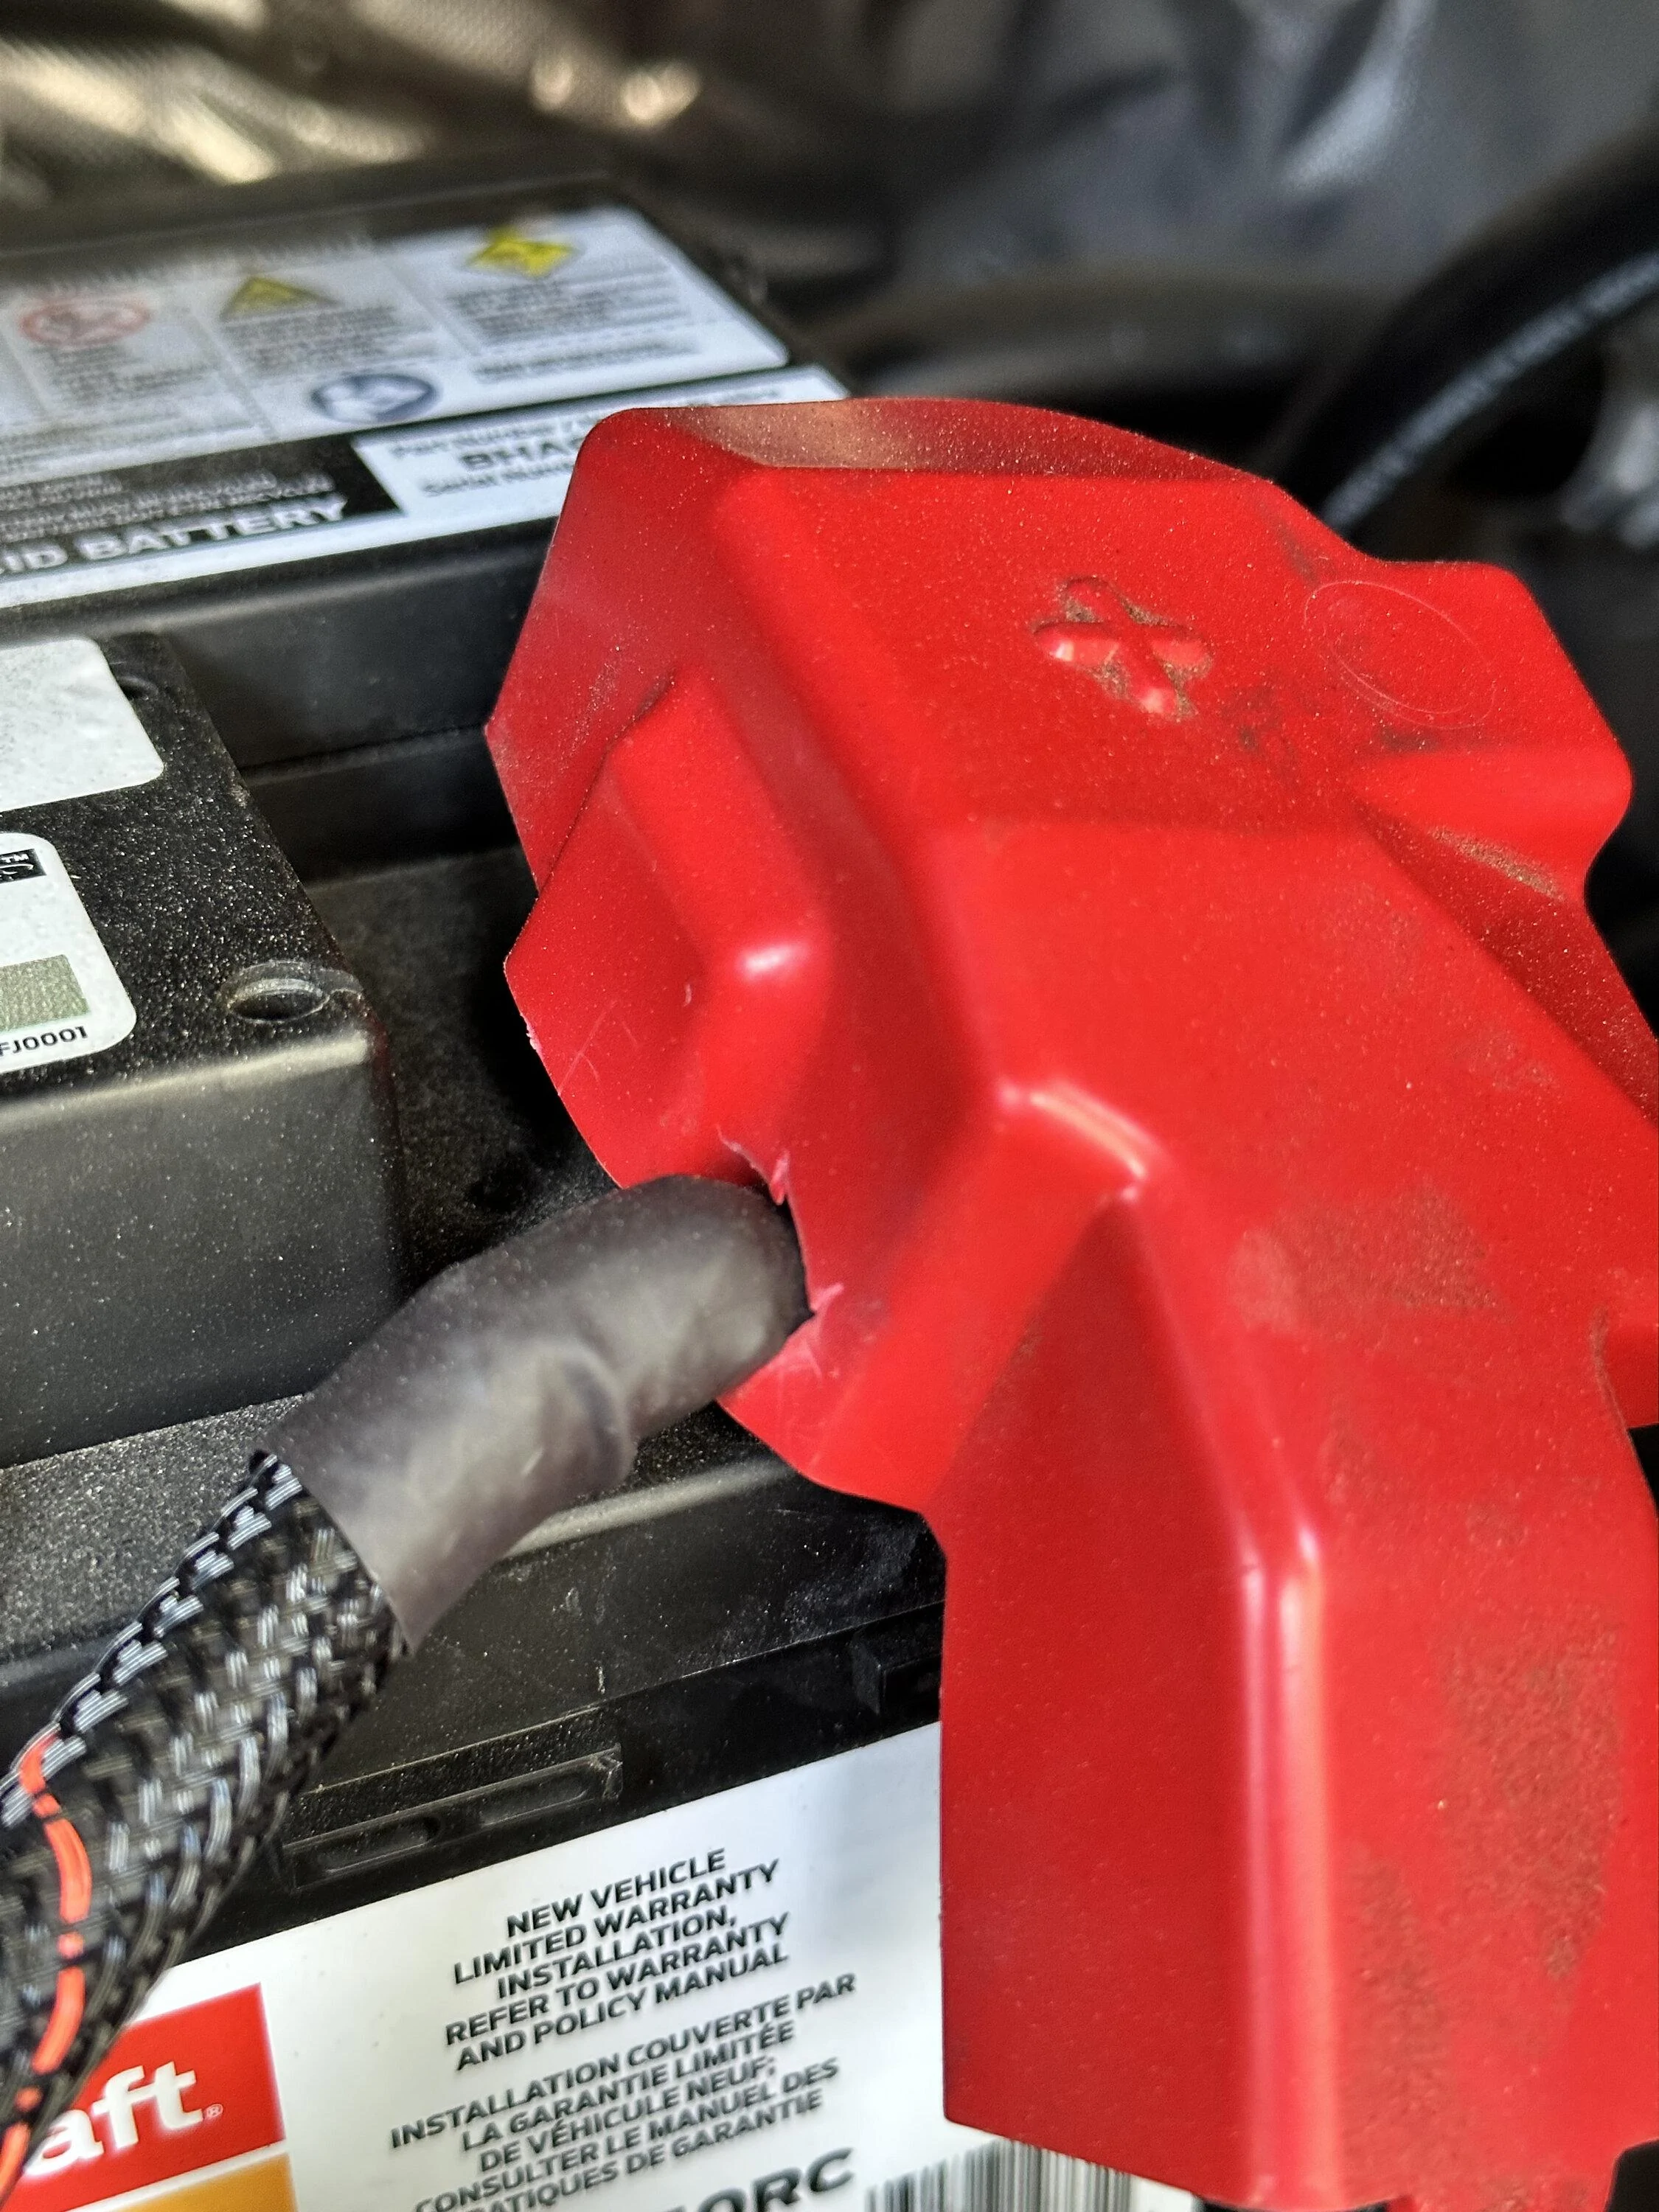
I made a little notch in the positive terminal cover with some wire cutters and a sharp knife.

Ford F-150 Lightning Sounds Good Stereo Behind the Seat kit installation 04 notch
 
OP
OP
kvasiir

kvasiir

Well-known member
Joined
Nov 20, 2022
Threads
2
Messages
78
Reaction score
91
Location
San Jose, CA
Vehicles
2022 F-150 Lightning Lariat Rapid Red
Occupation
Engineer
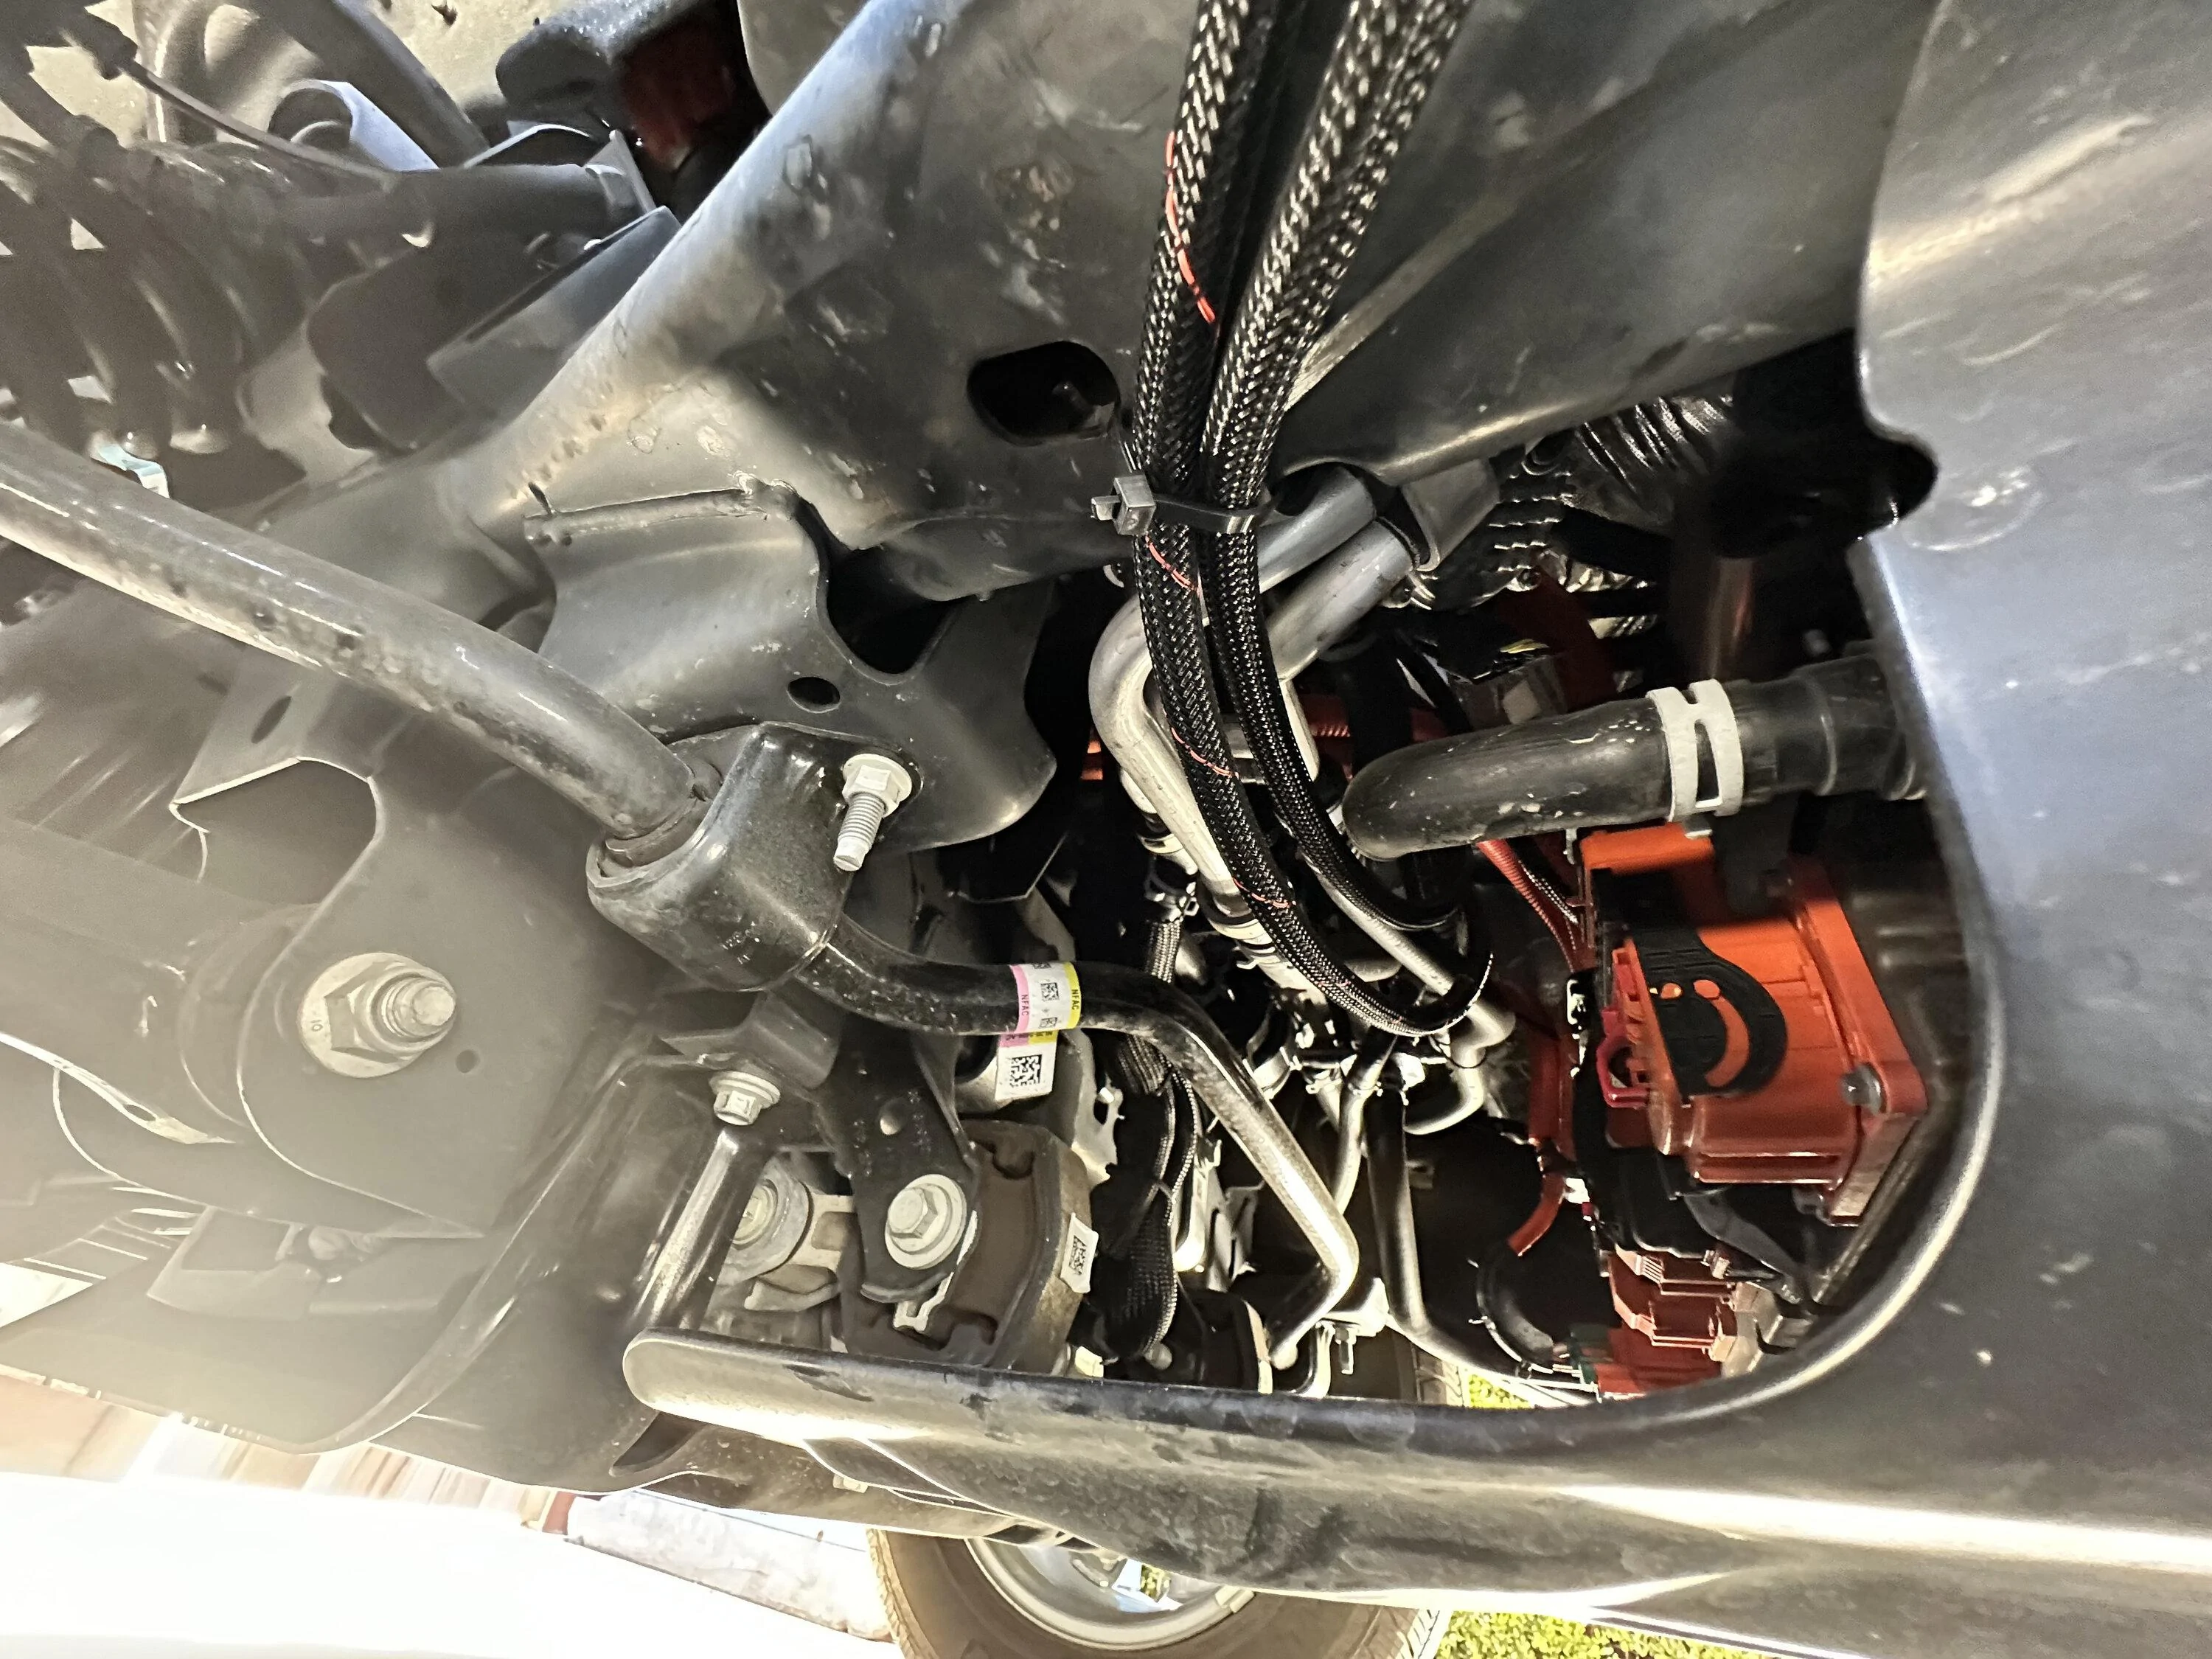
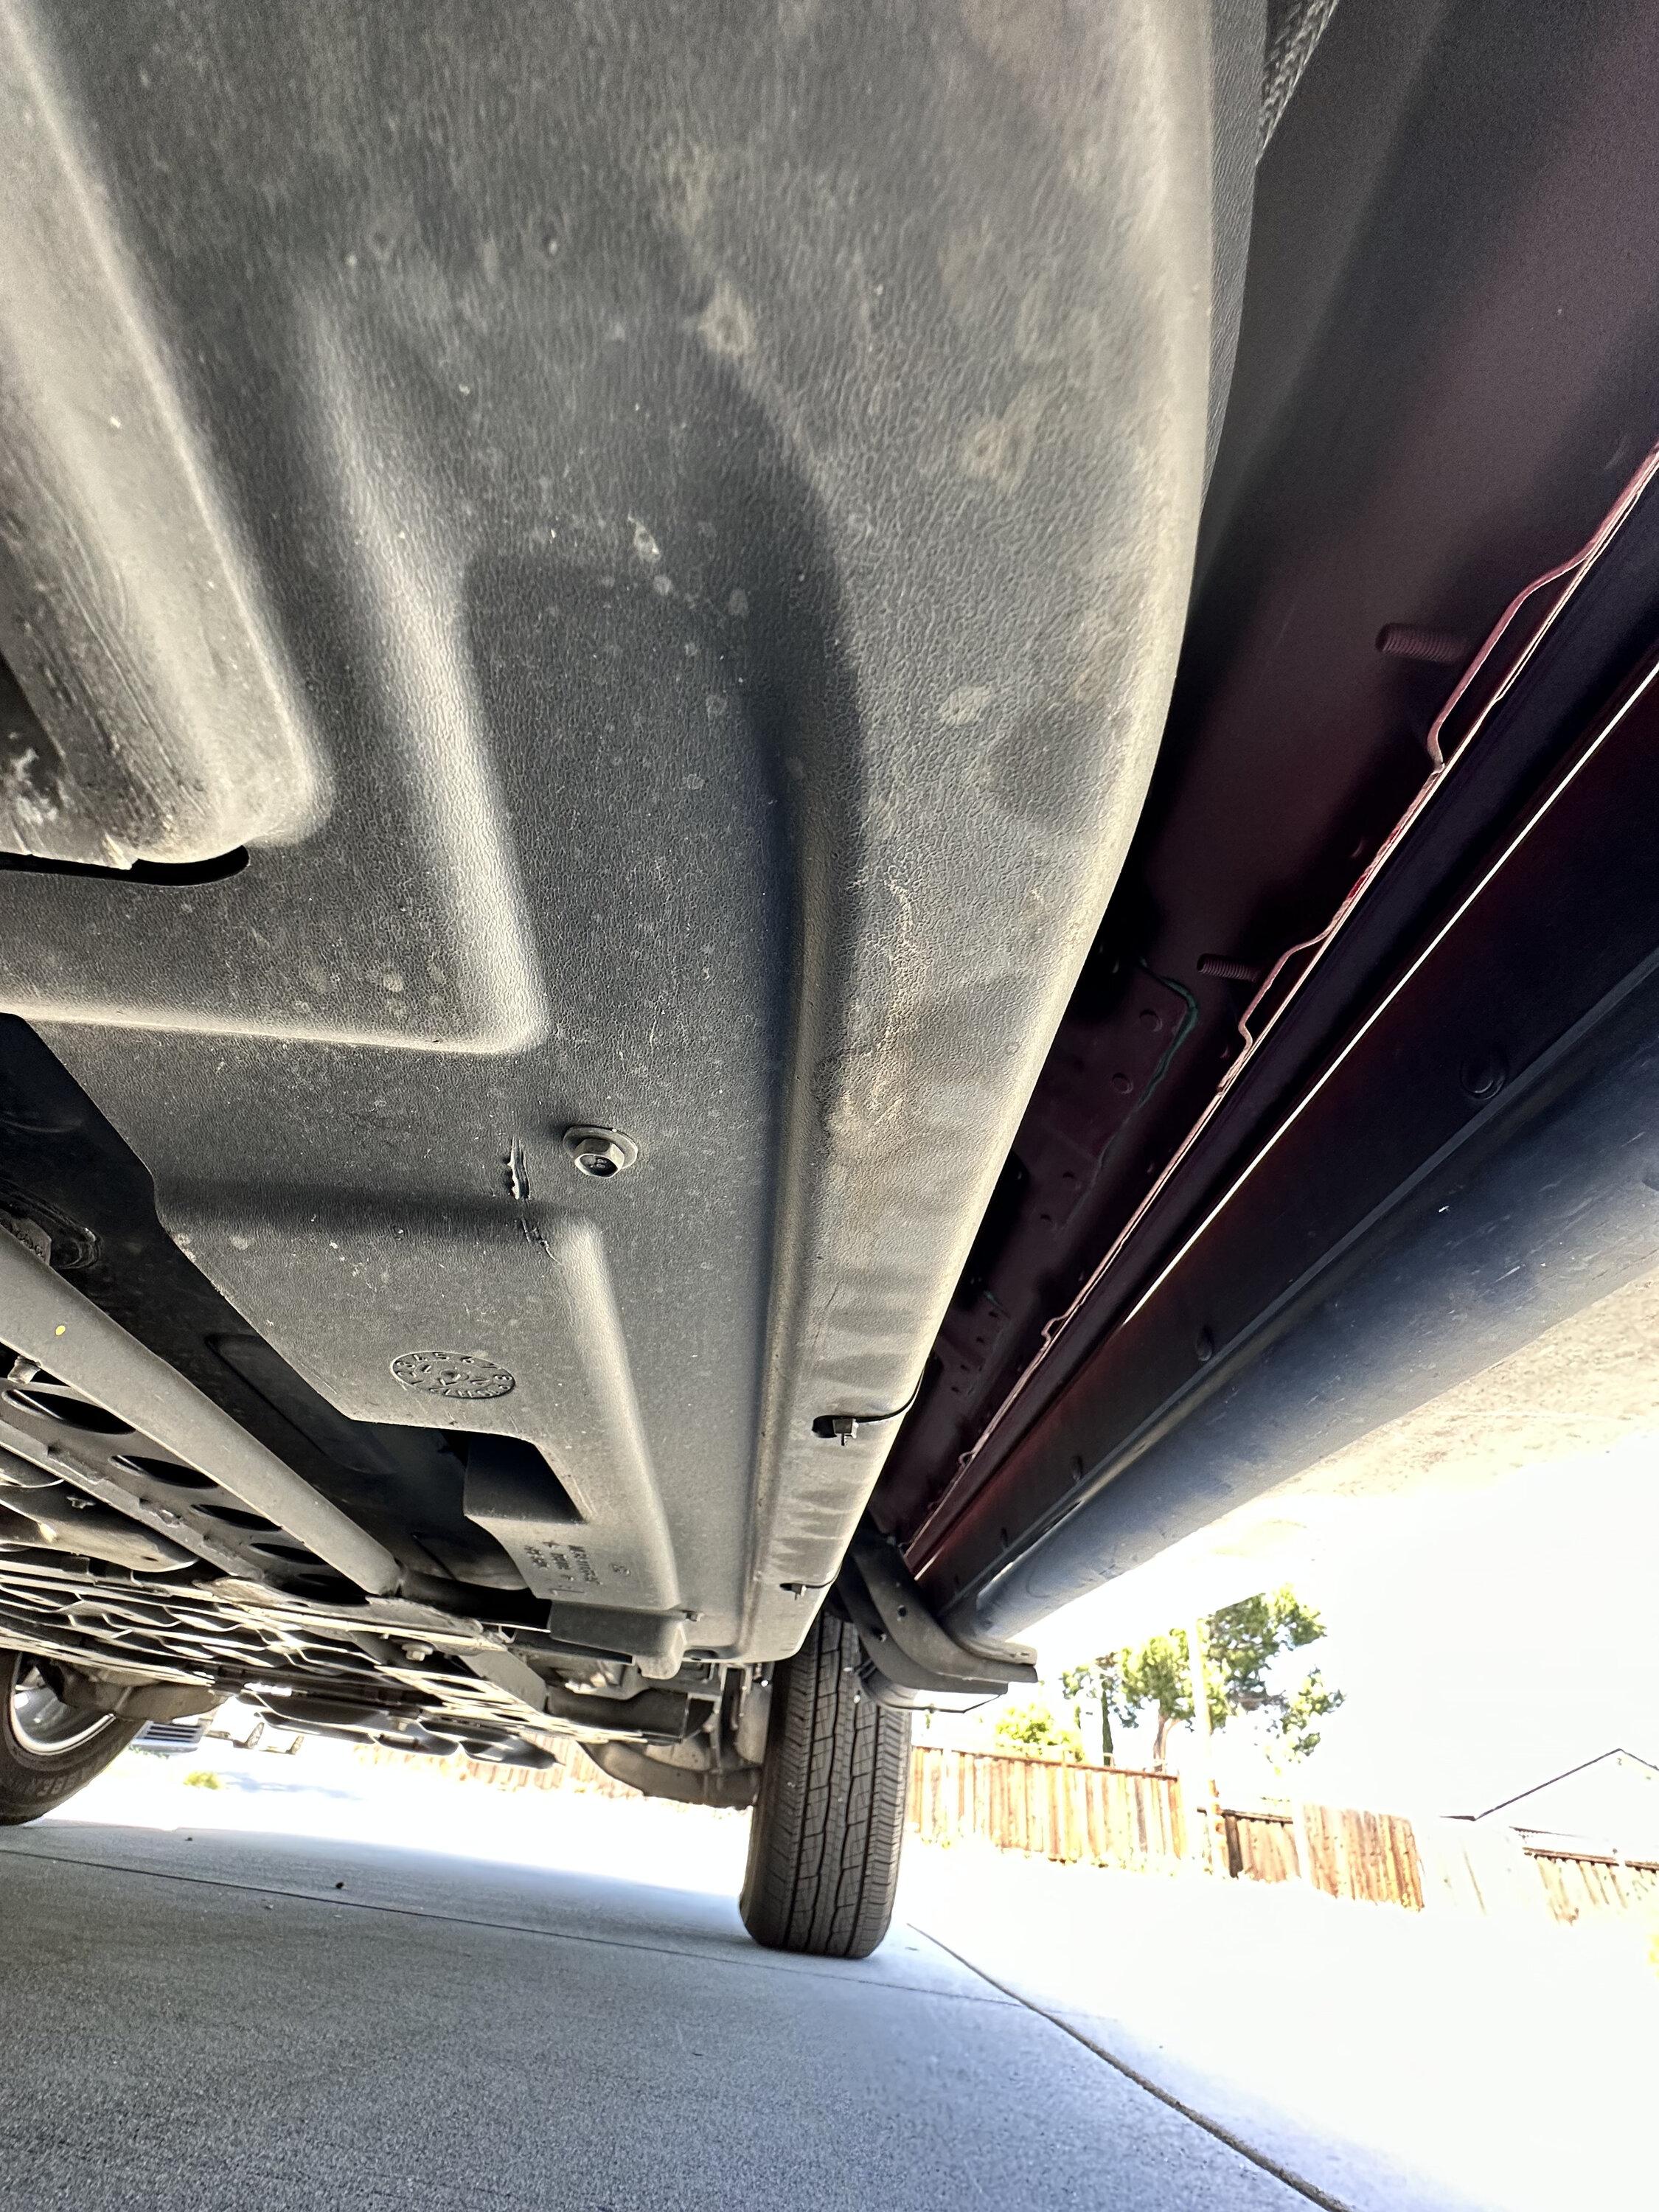
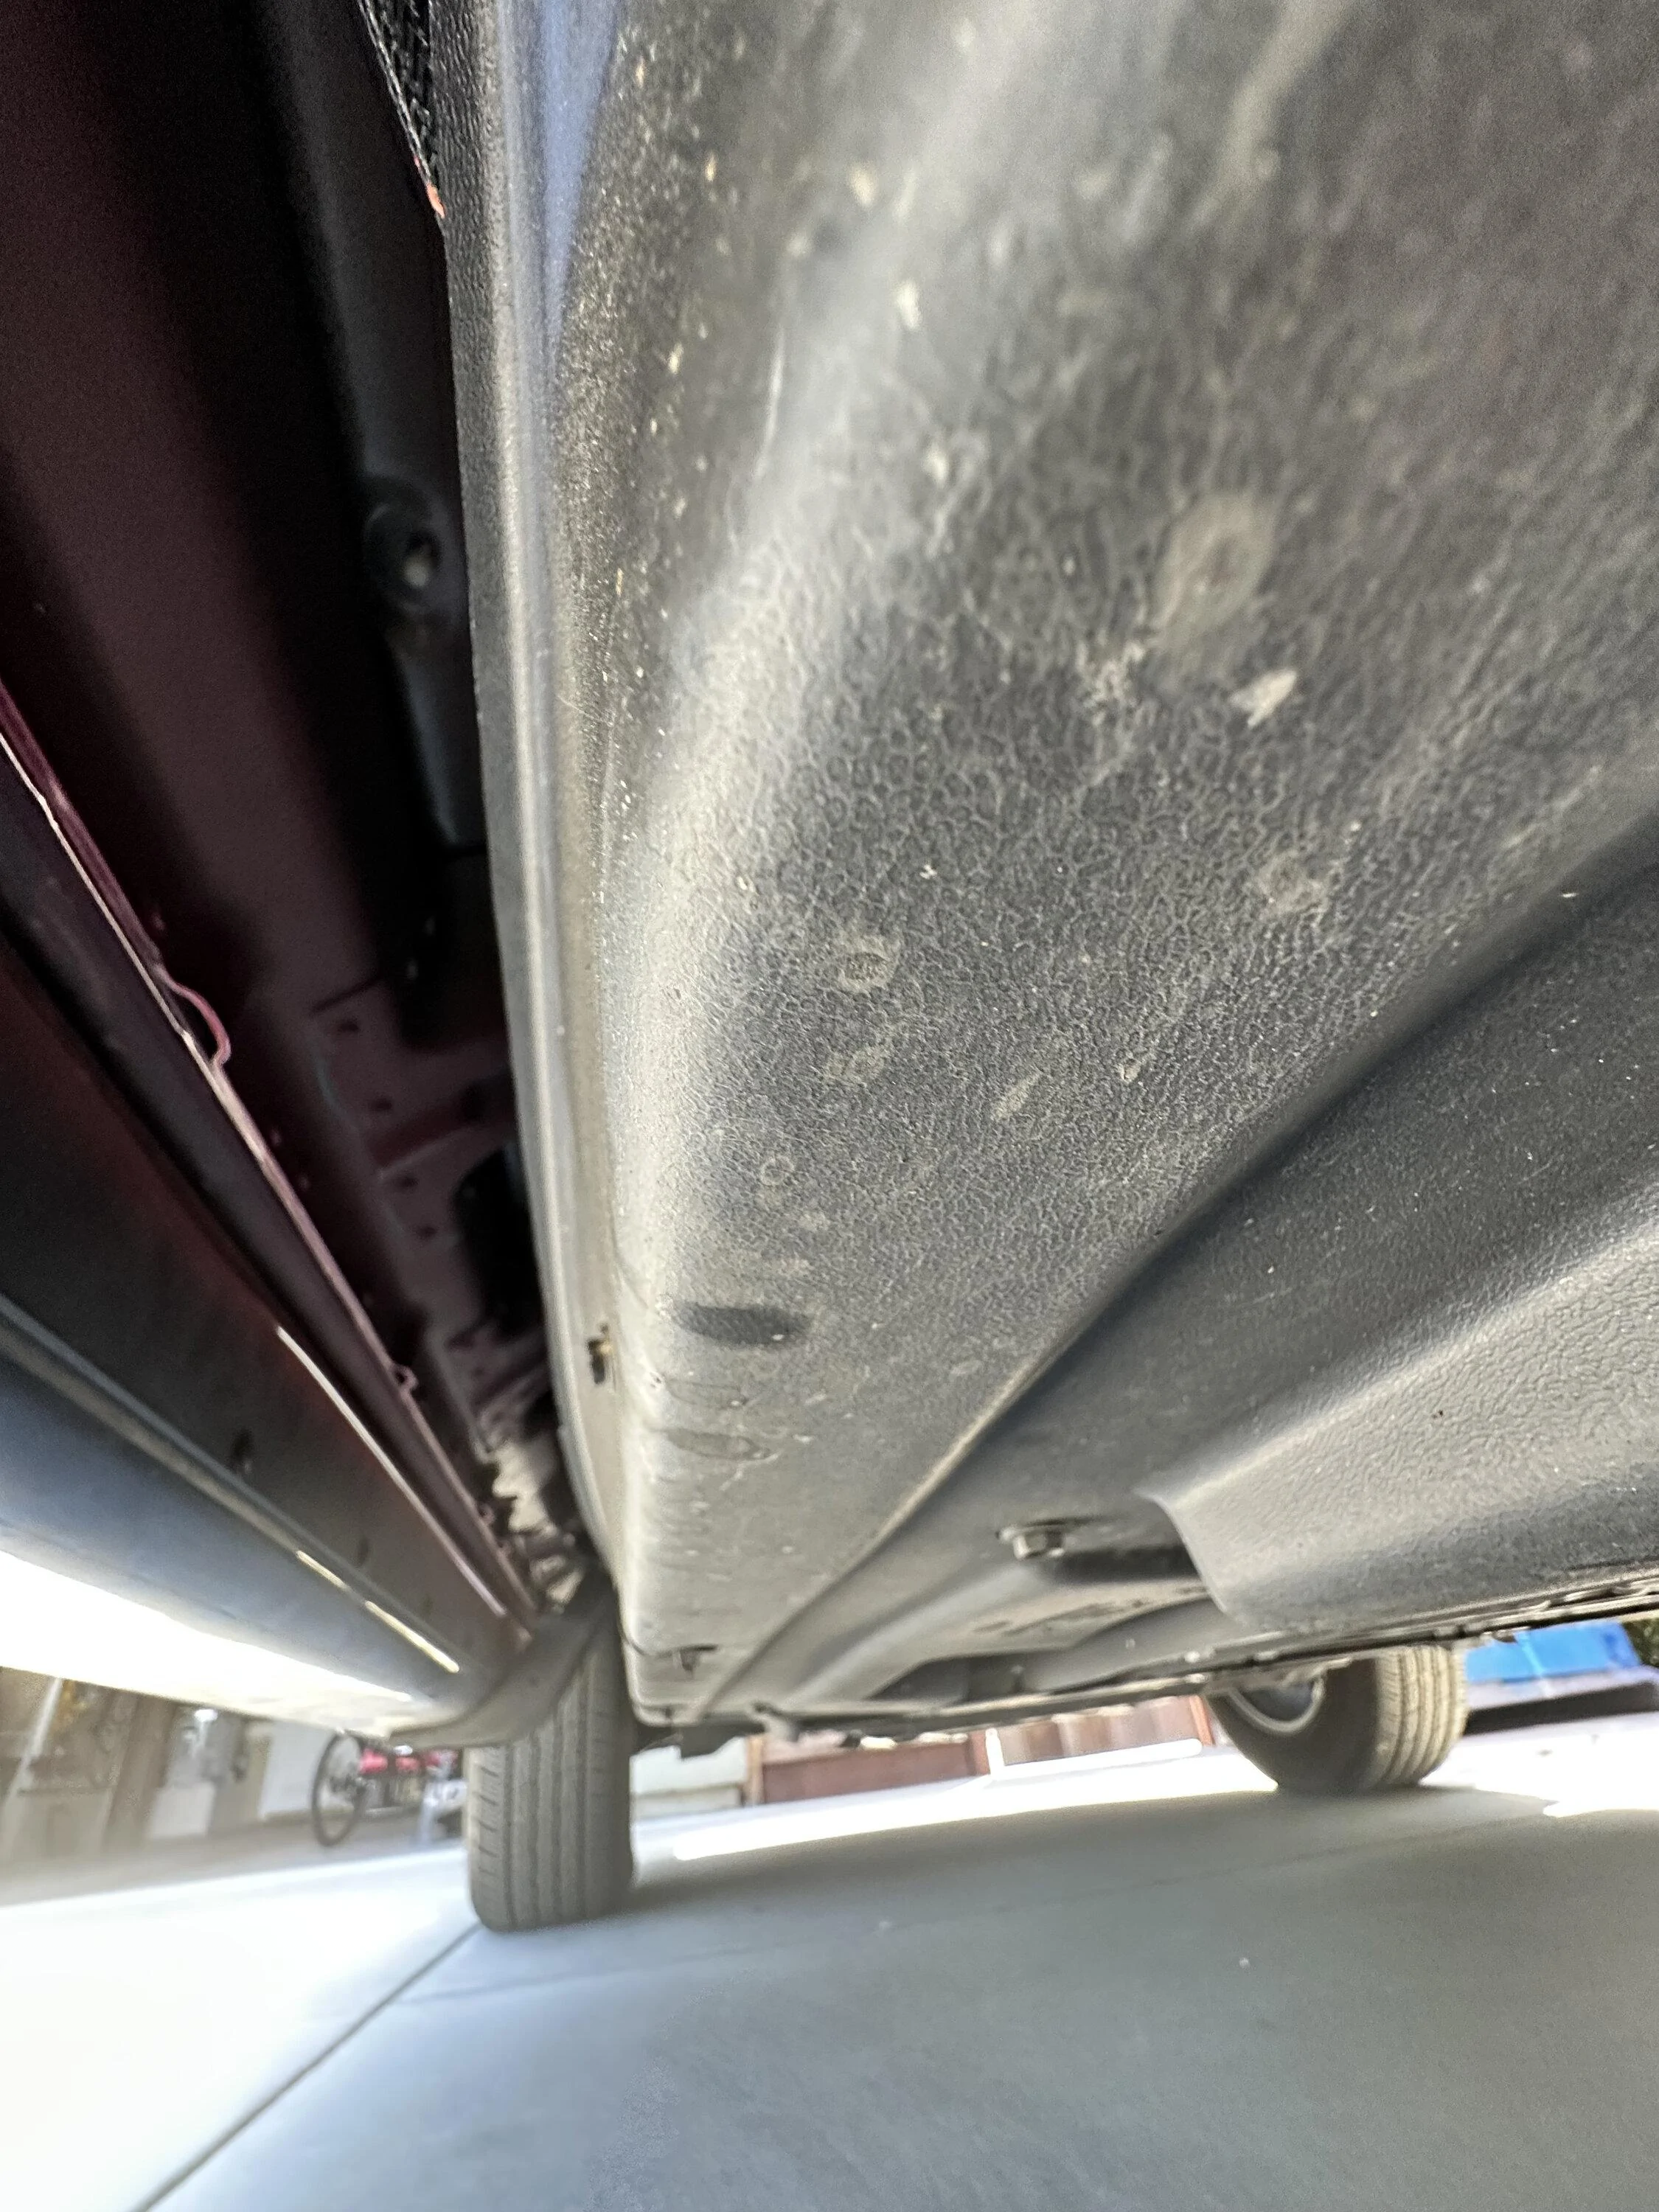
Underneath the truck (confusing angles from here on out, be warned), first down from the battery and then off towards the driver side:

Ford F-150 Lightning Sounds Good Stereo Behind the Seat kit installation 05 underside routing 1


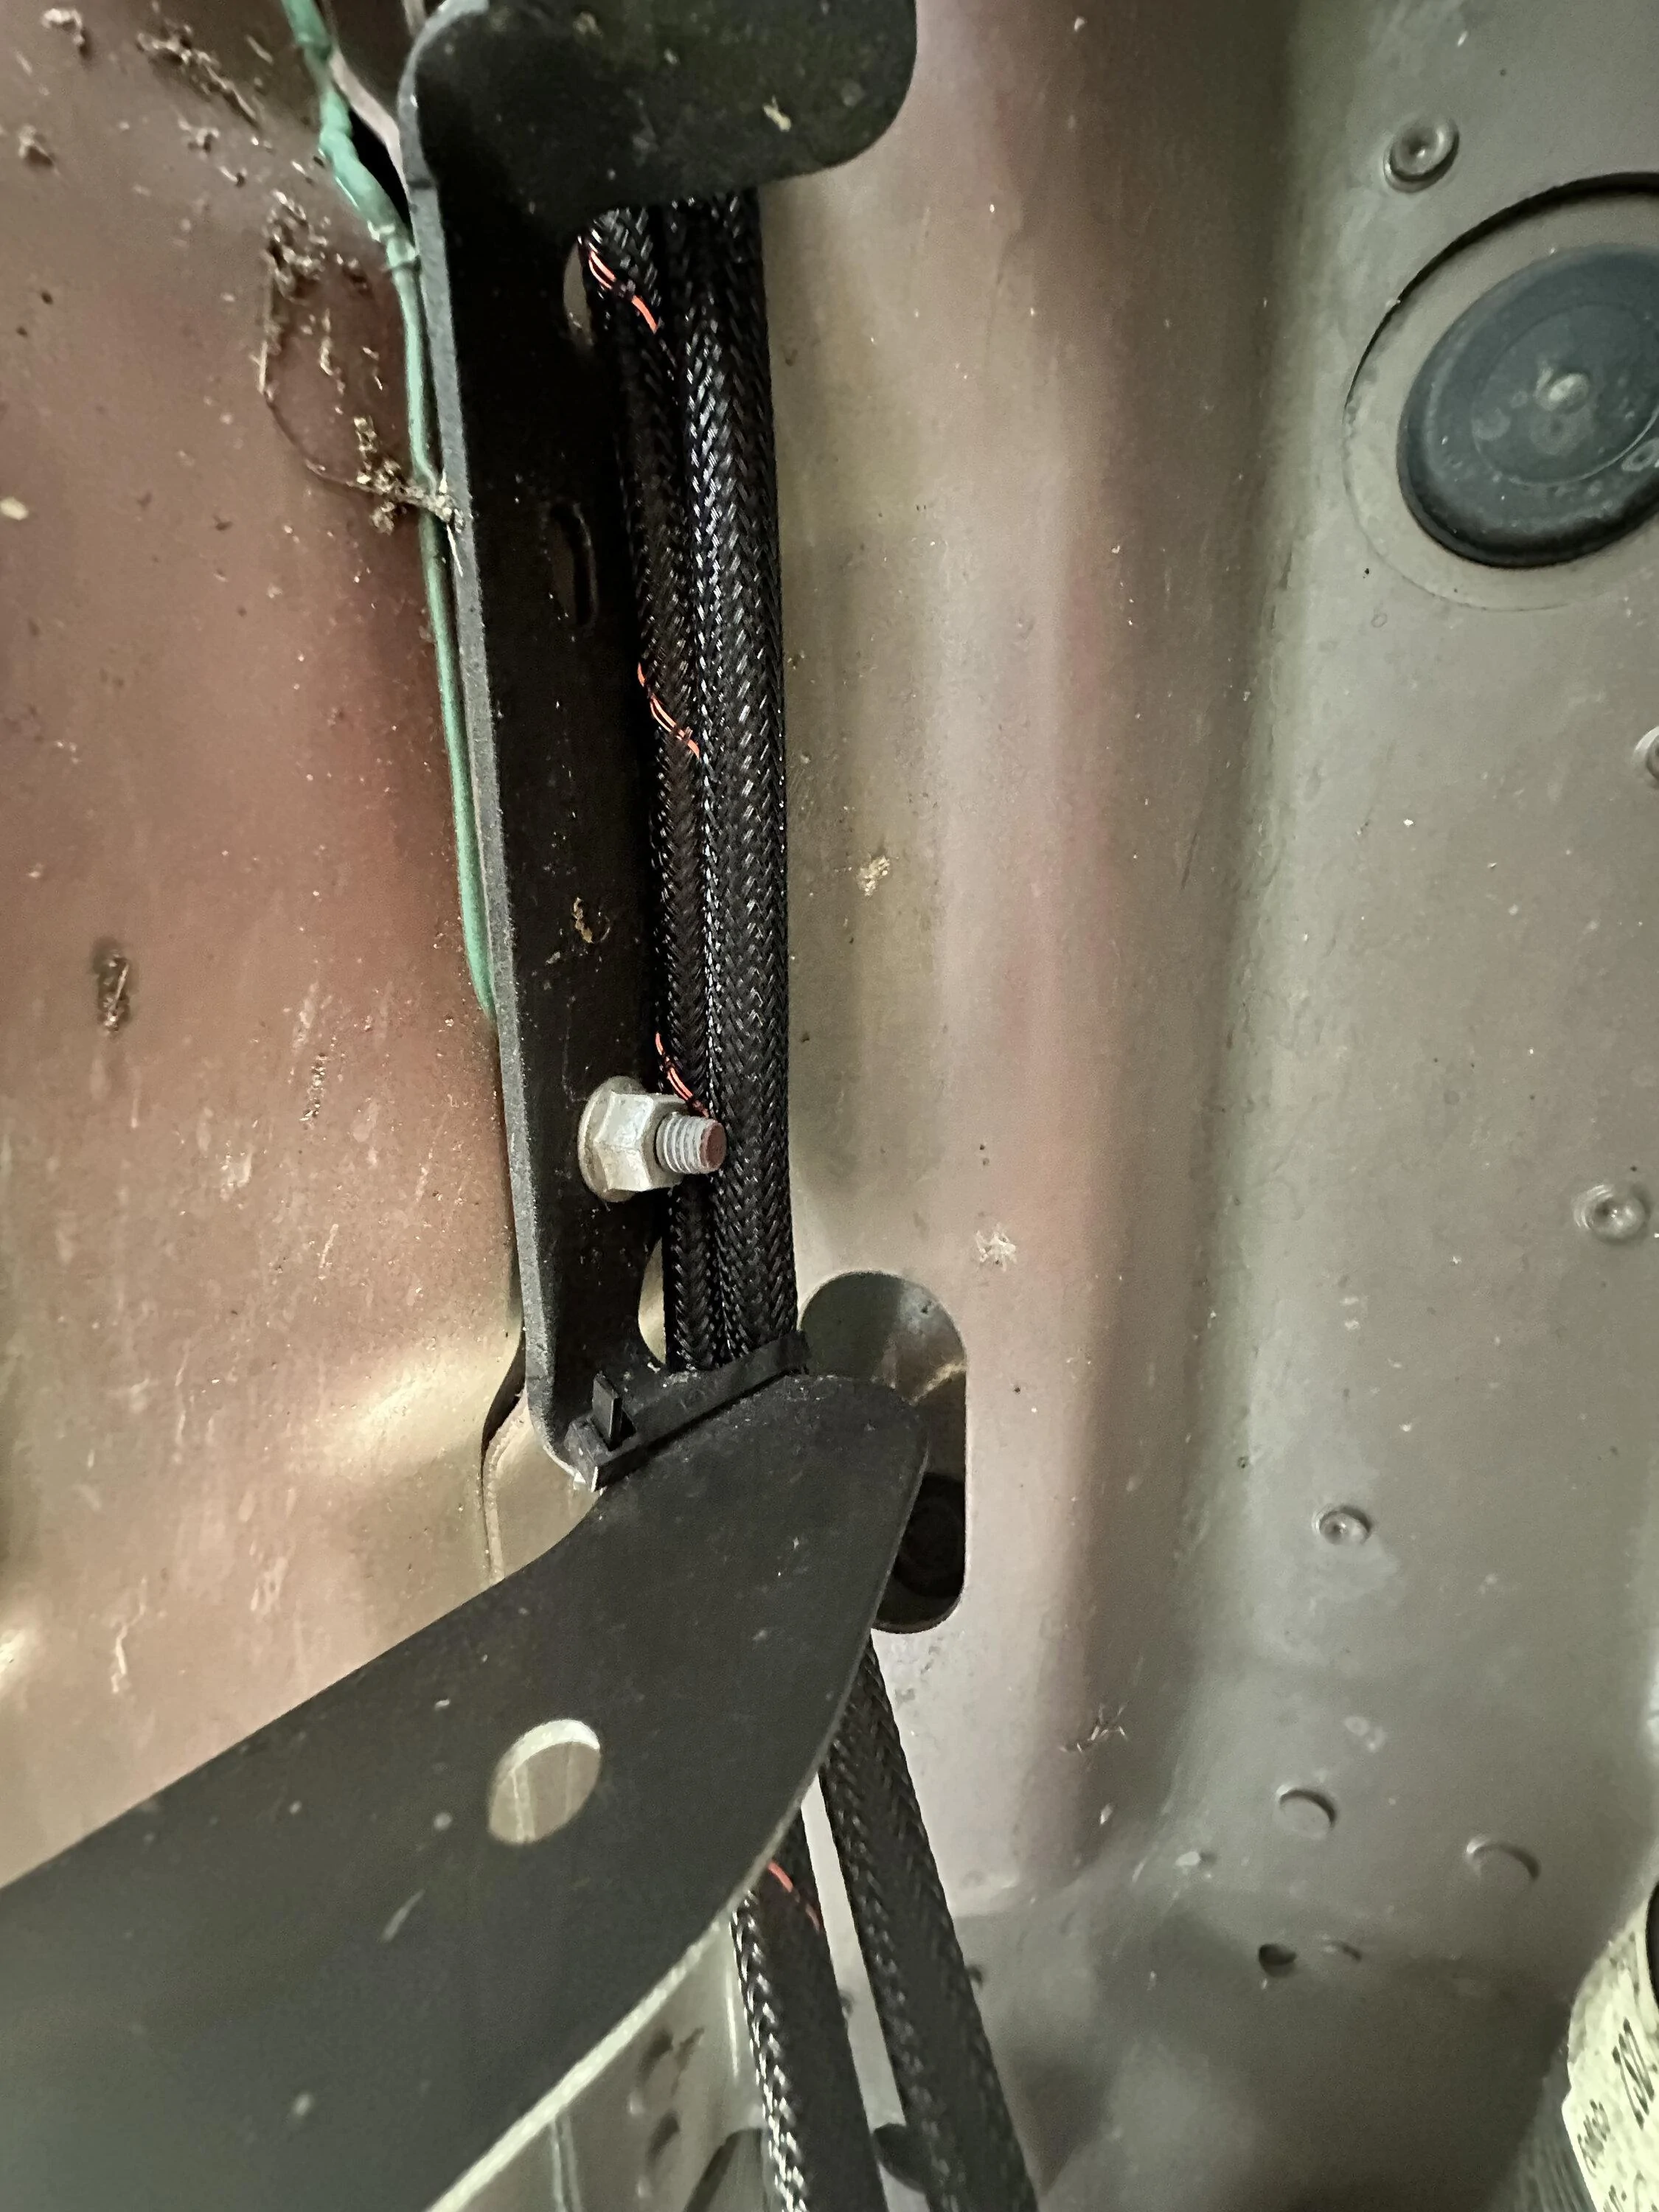
Then I zip tied the cables to the running board. Not a lot of spots to pick from down here...

Ford F-150 Lightning Sounds Good Stereo Behind the Seat kit installation 06 zip tie to running board


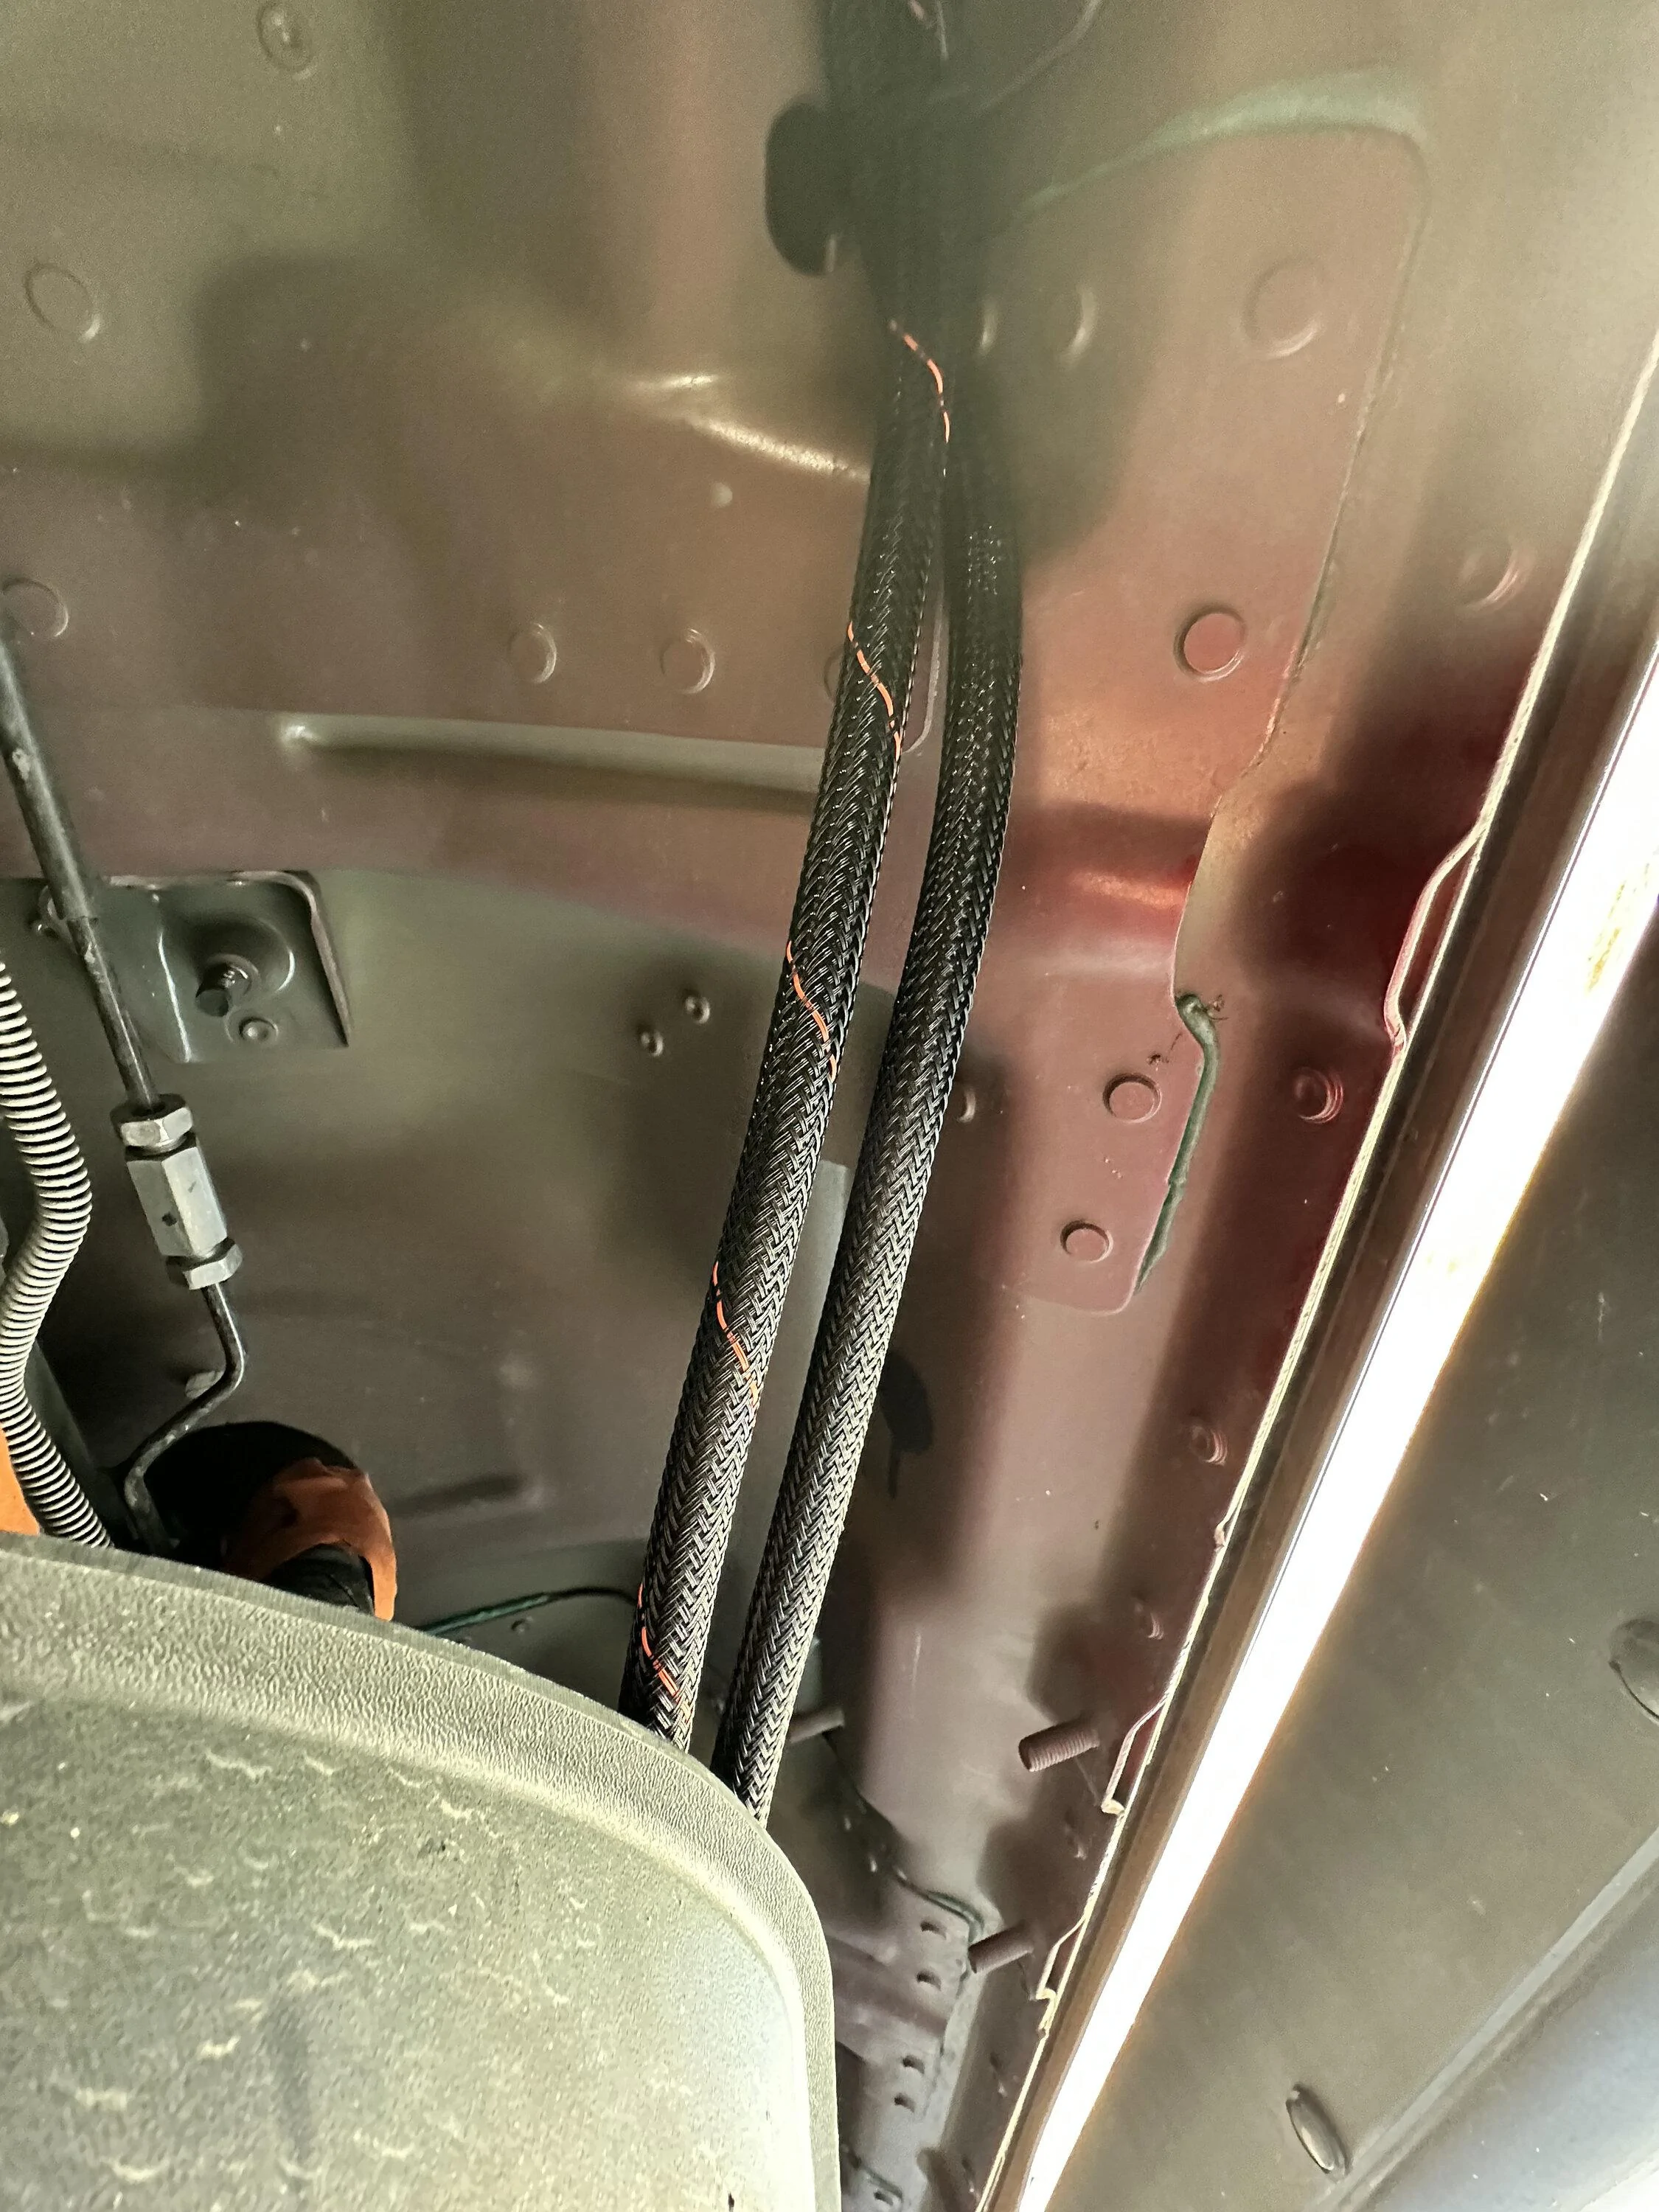
Then into the big plastic bucket:

Ford F-150 Lightning Sounds Good Stereo Behind the Seat kit installation 07 into the bucket


Drilled a couple of extra holes in the side of it near the existing drain holes to hold things in place with more zip ties. View from the front:

Ford F-150 Lightning Sounds Good Stereo Behind the Seat kit installation 08 from front


and from the rear:

Ford F-150 Lightning Sounds Good Stereo Behind the Seat kit installation 09 from rear


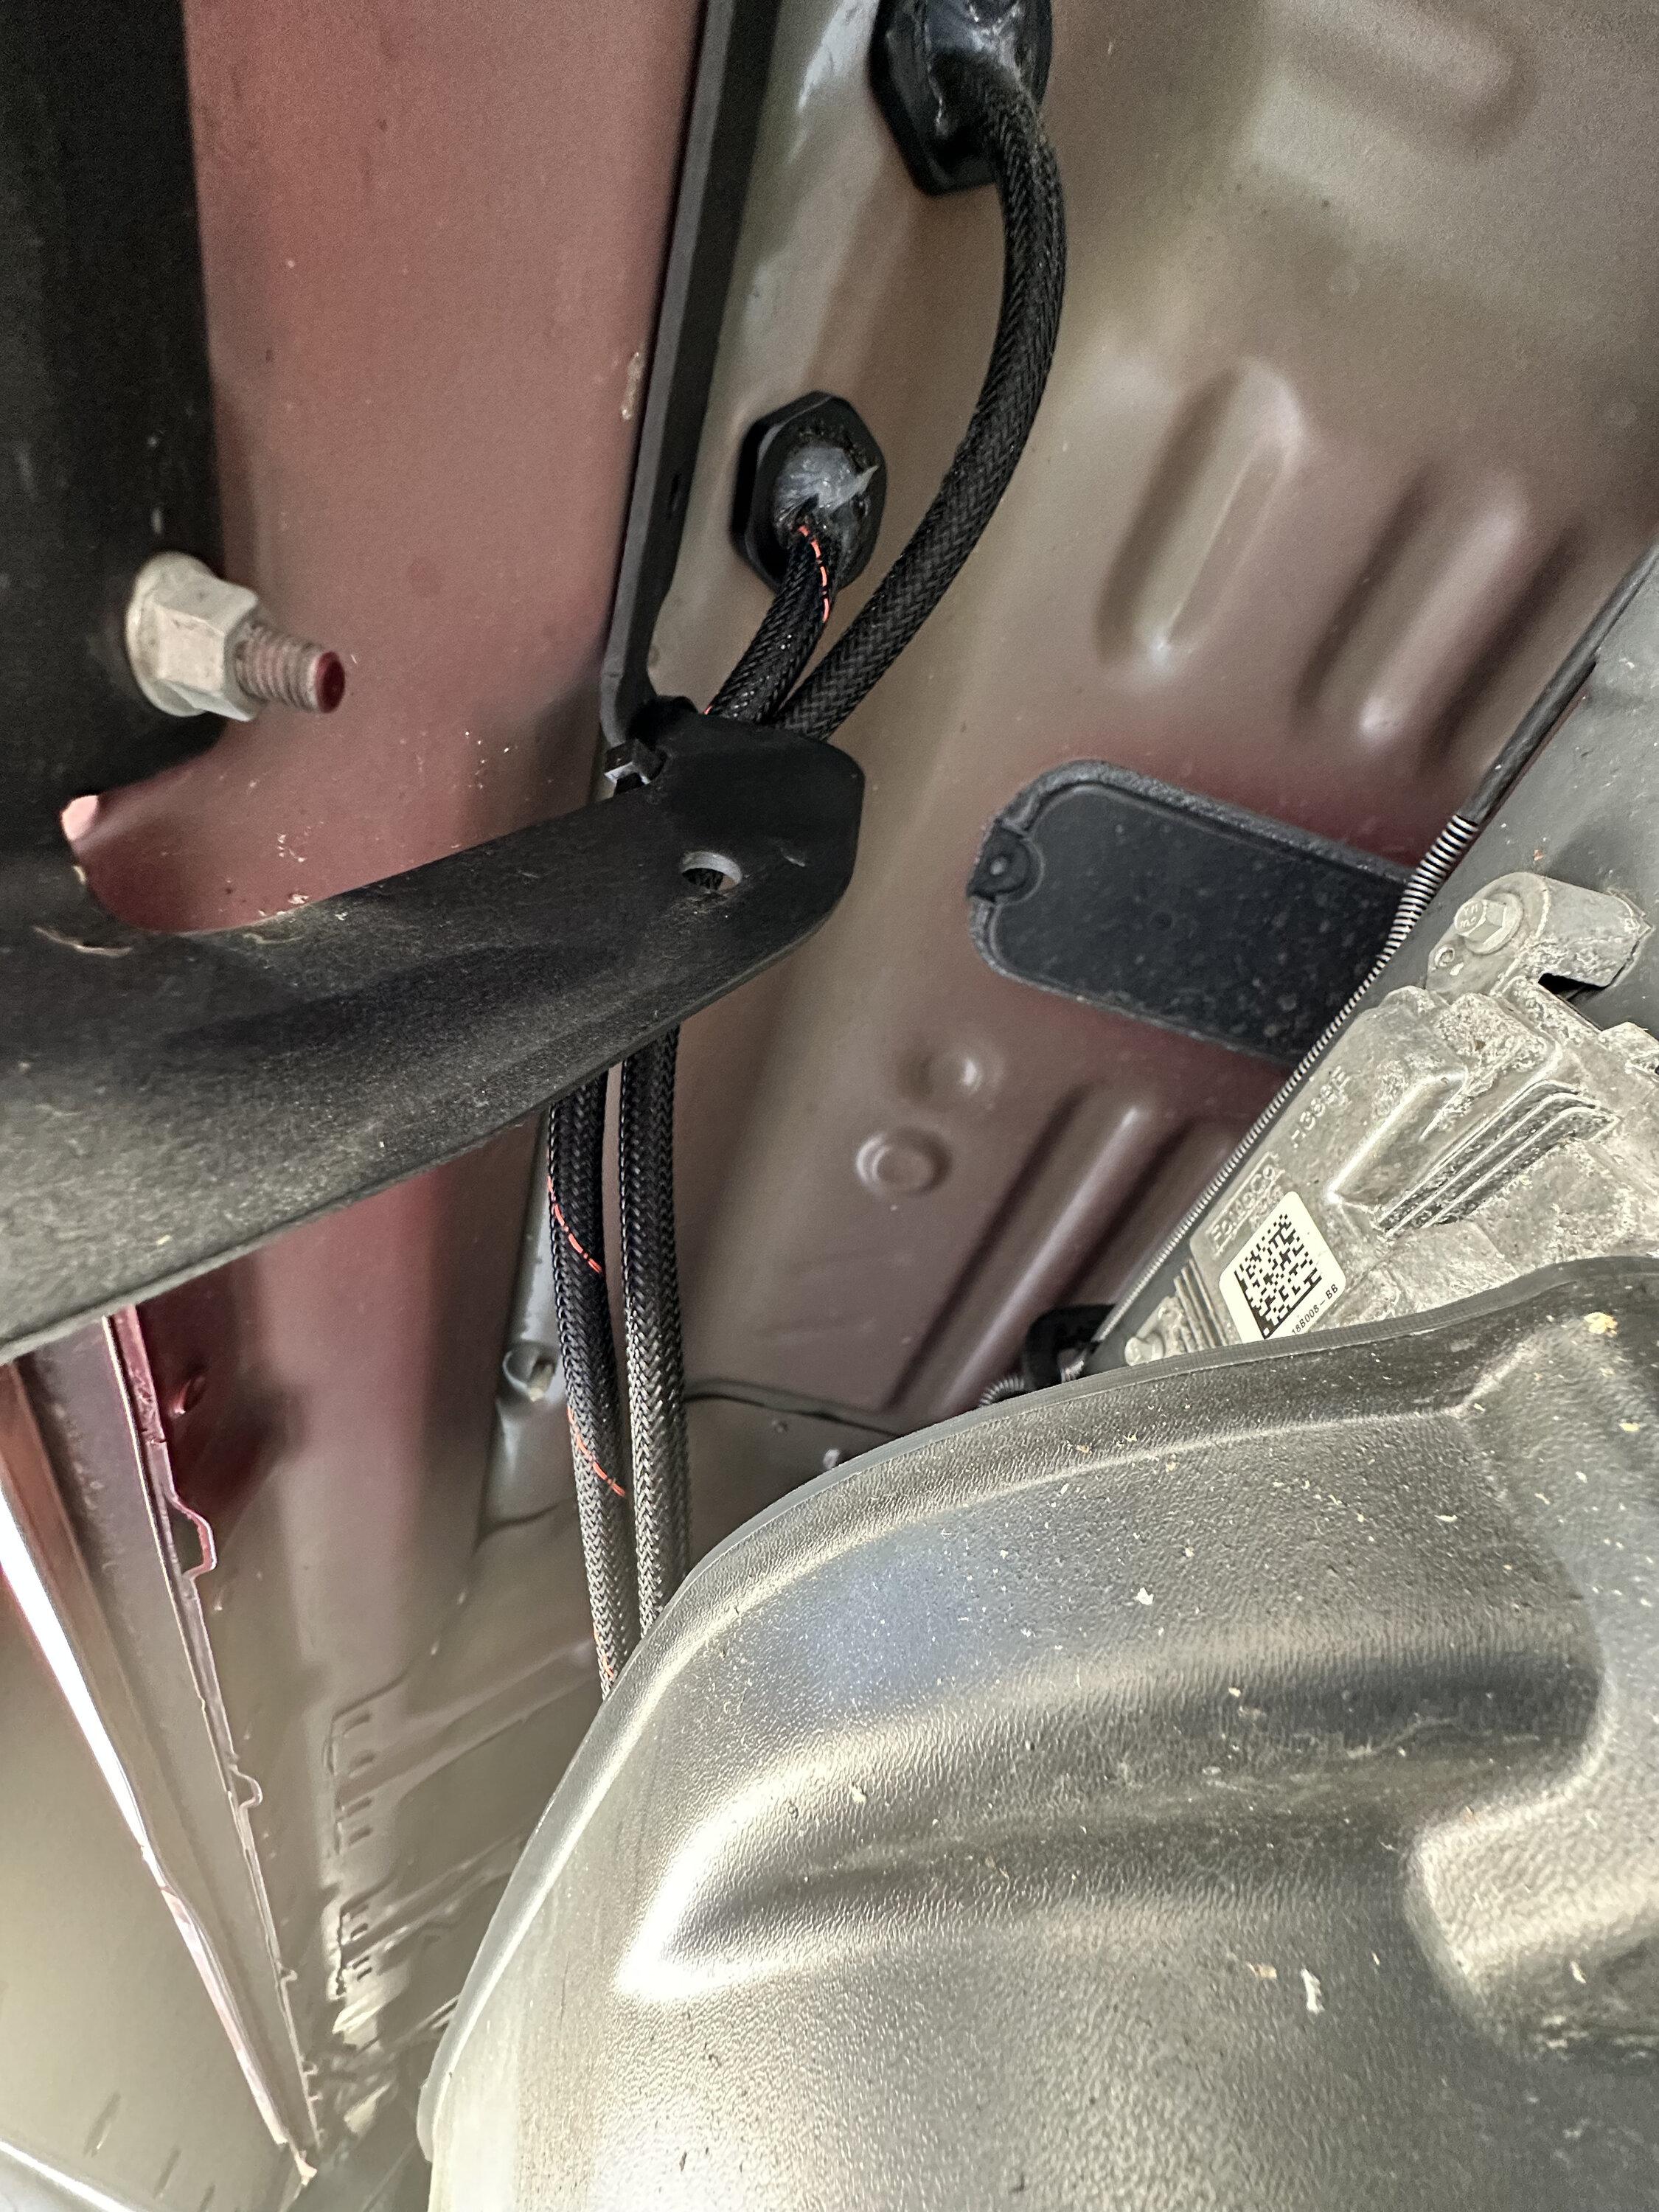
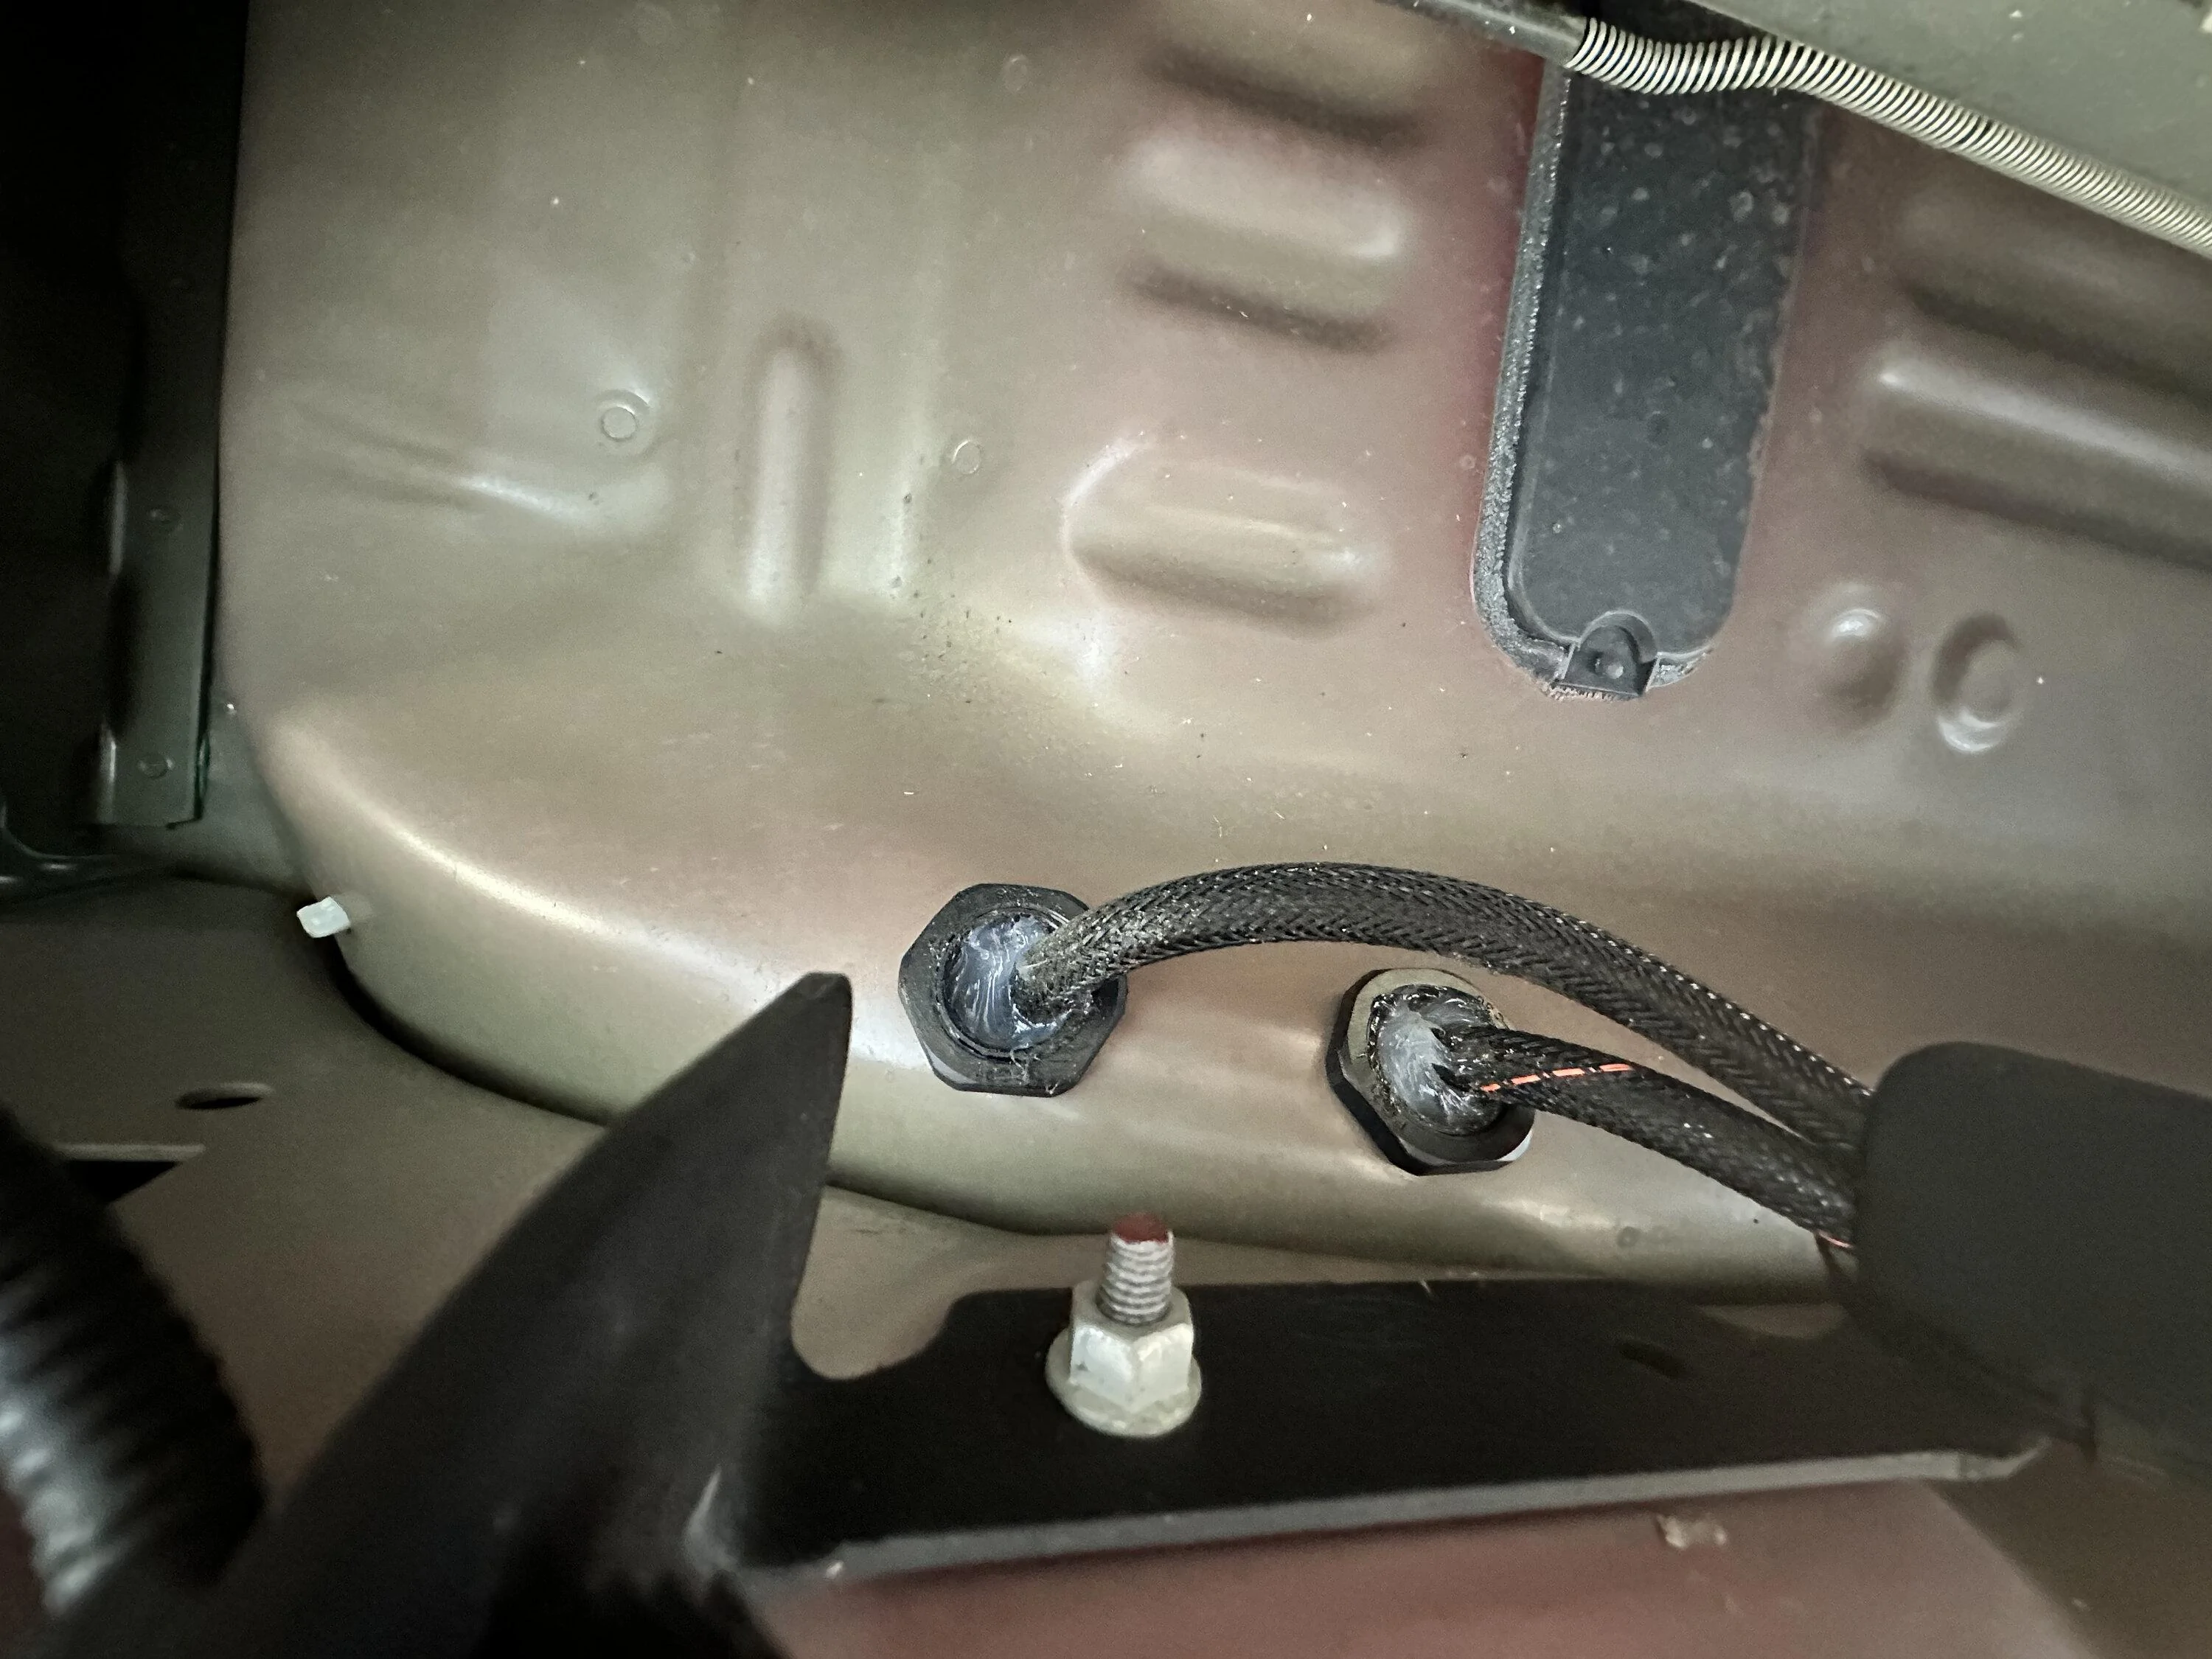
Drilled some holes in the body for the cable glands - WAY TOO BIG for the glands that came with my kit (oops!), but I just got some bigger glands and then filled them up with silicone afterwards. Measure before you drill, folks!

Ford F-150 Lightning Sounds Good Stereo Behind the Seat kit installation 10 up to glands


Ford F-150 Lightning Sounds Good Stereo Behind the Seat kit installation 11 glands
 
OP
OP
kvasiir

kvasiir

Well-known member
Joined
Nov 20, 2022
Threads
2
Messages
78
Reaction score
91
Location
San Jose, CA
Vehicles
2022 F-150 Lightning Lariat Rapid Red
Occupation
Engineer
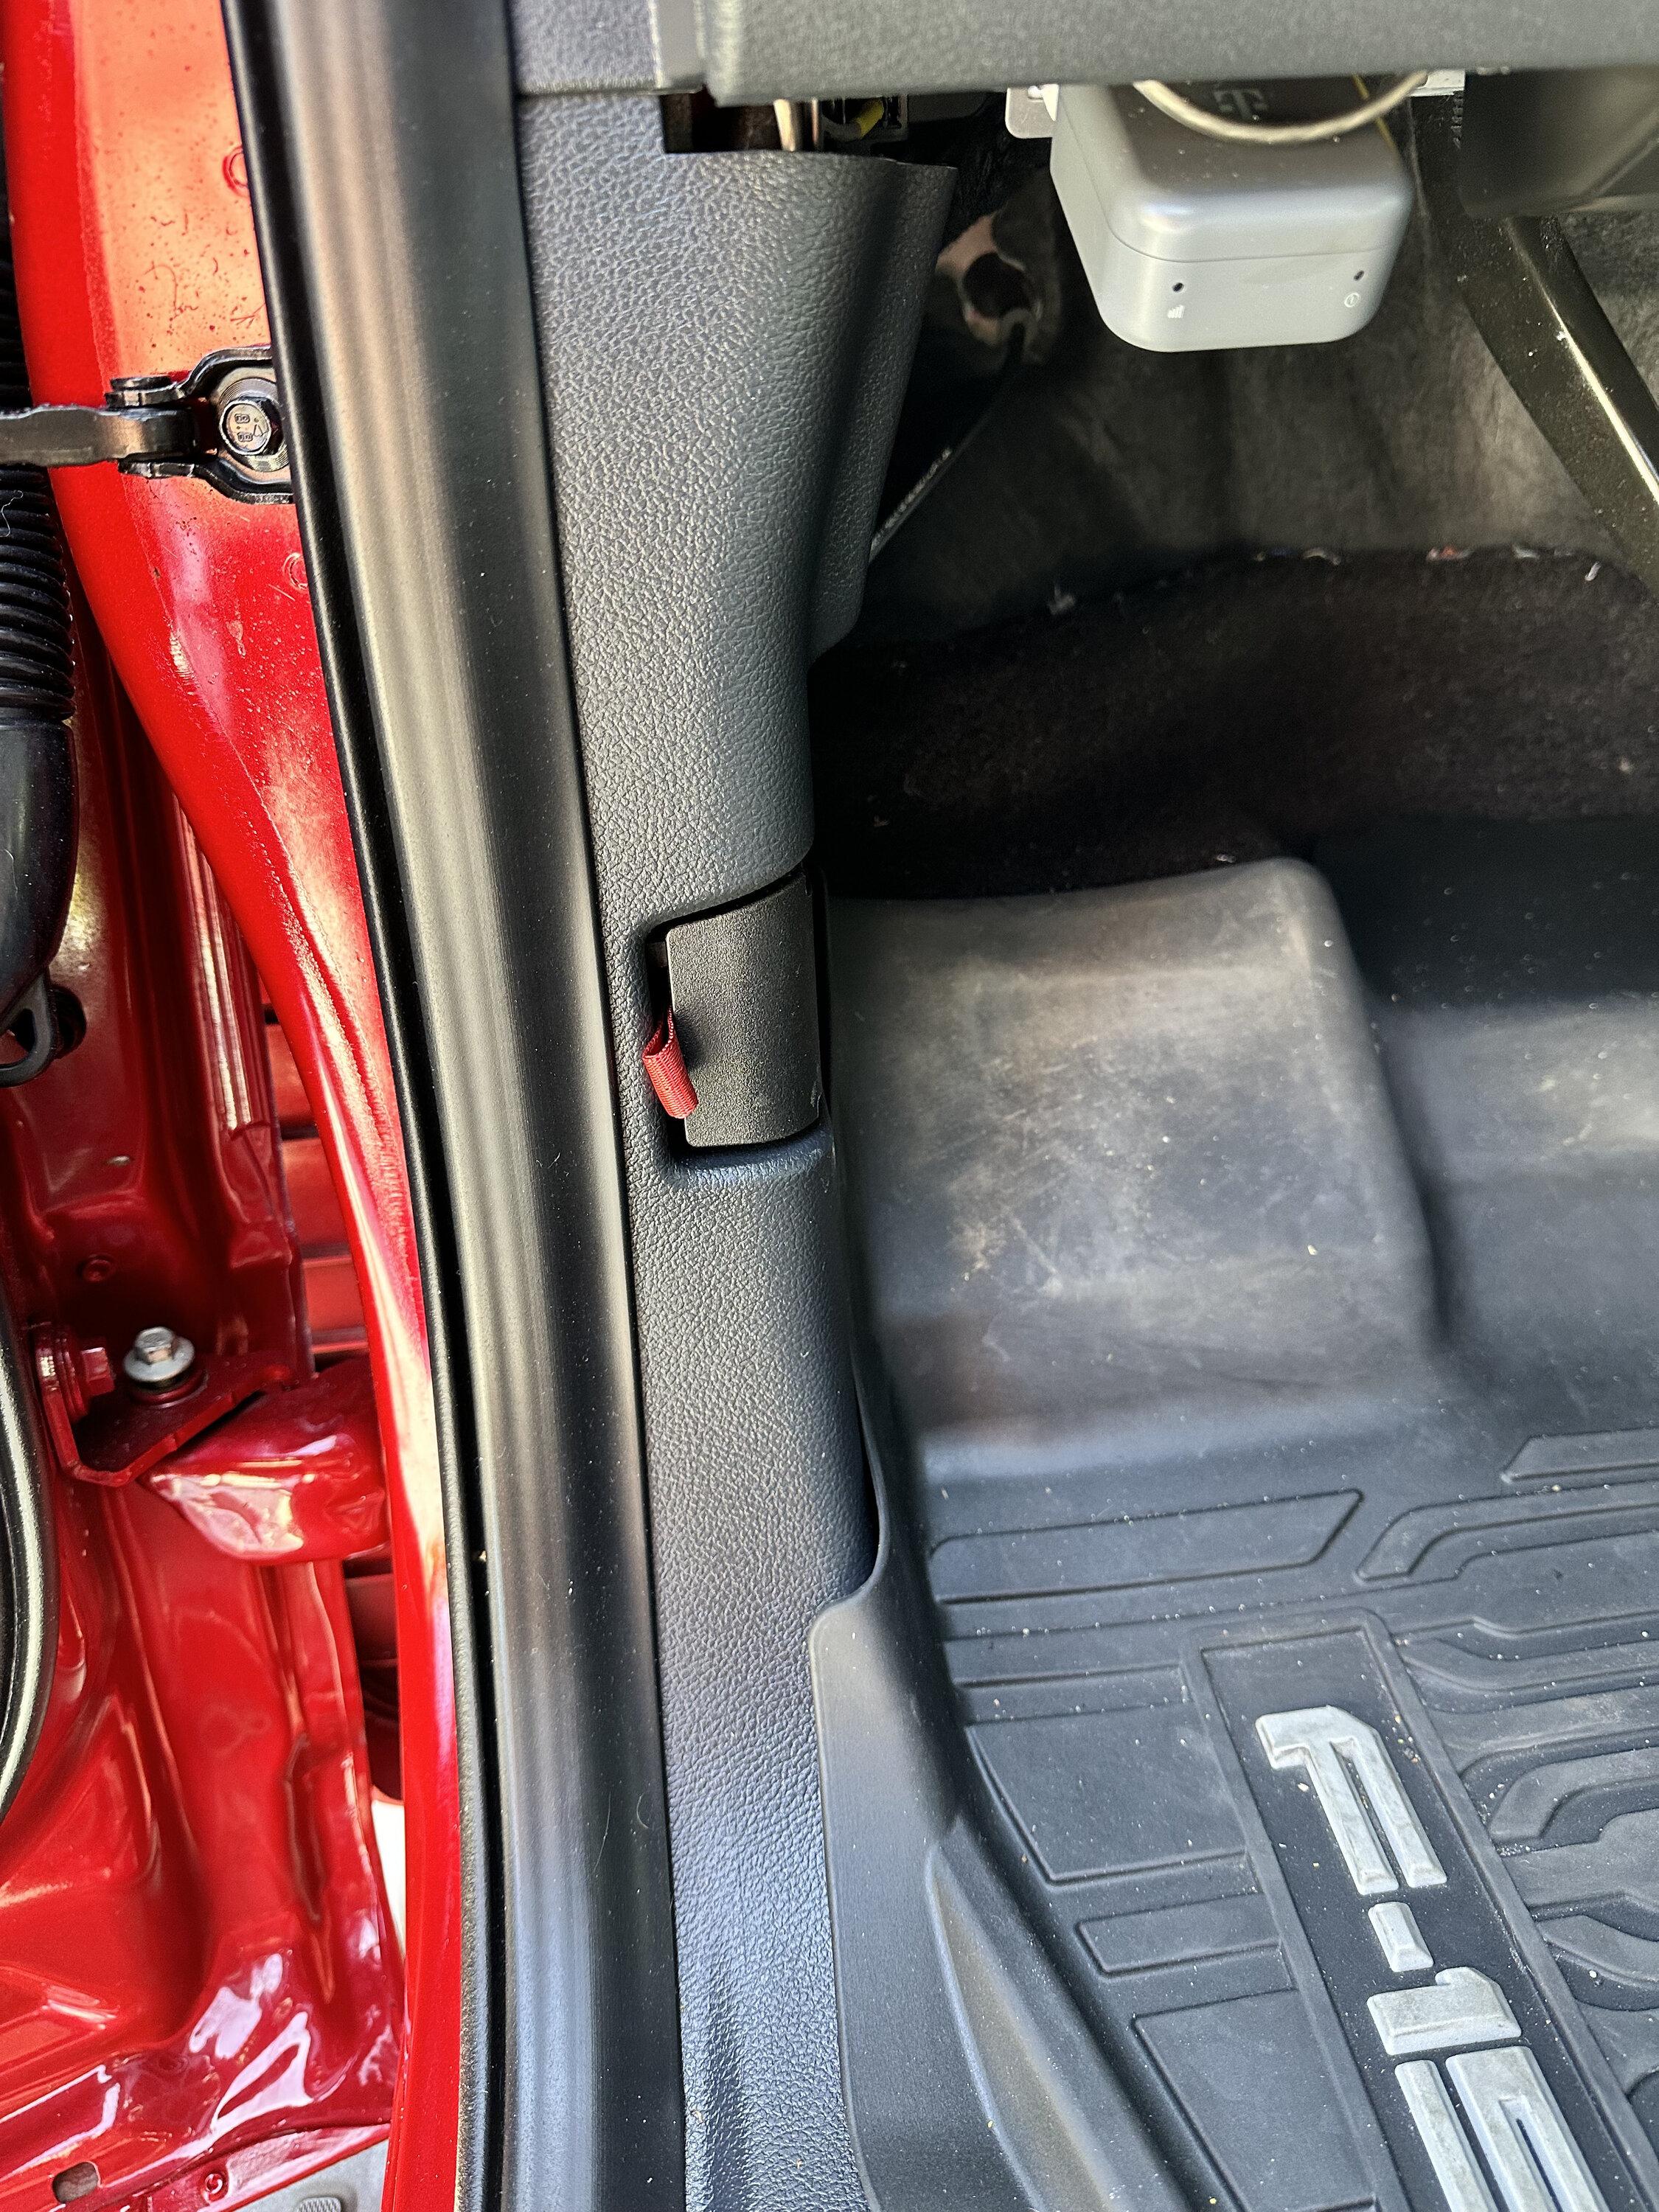
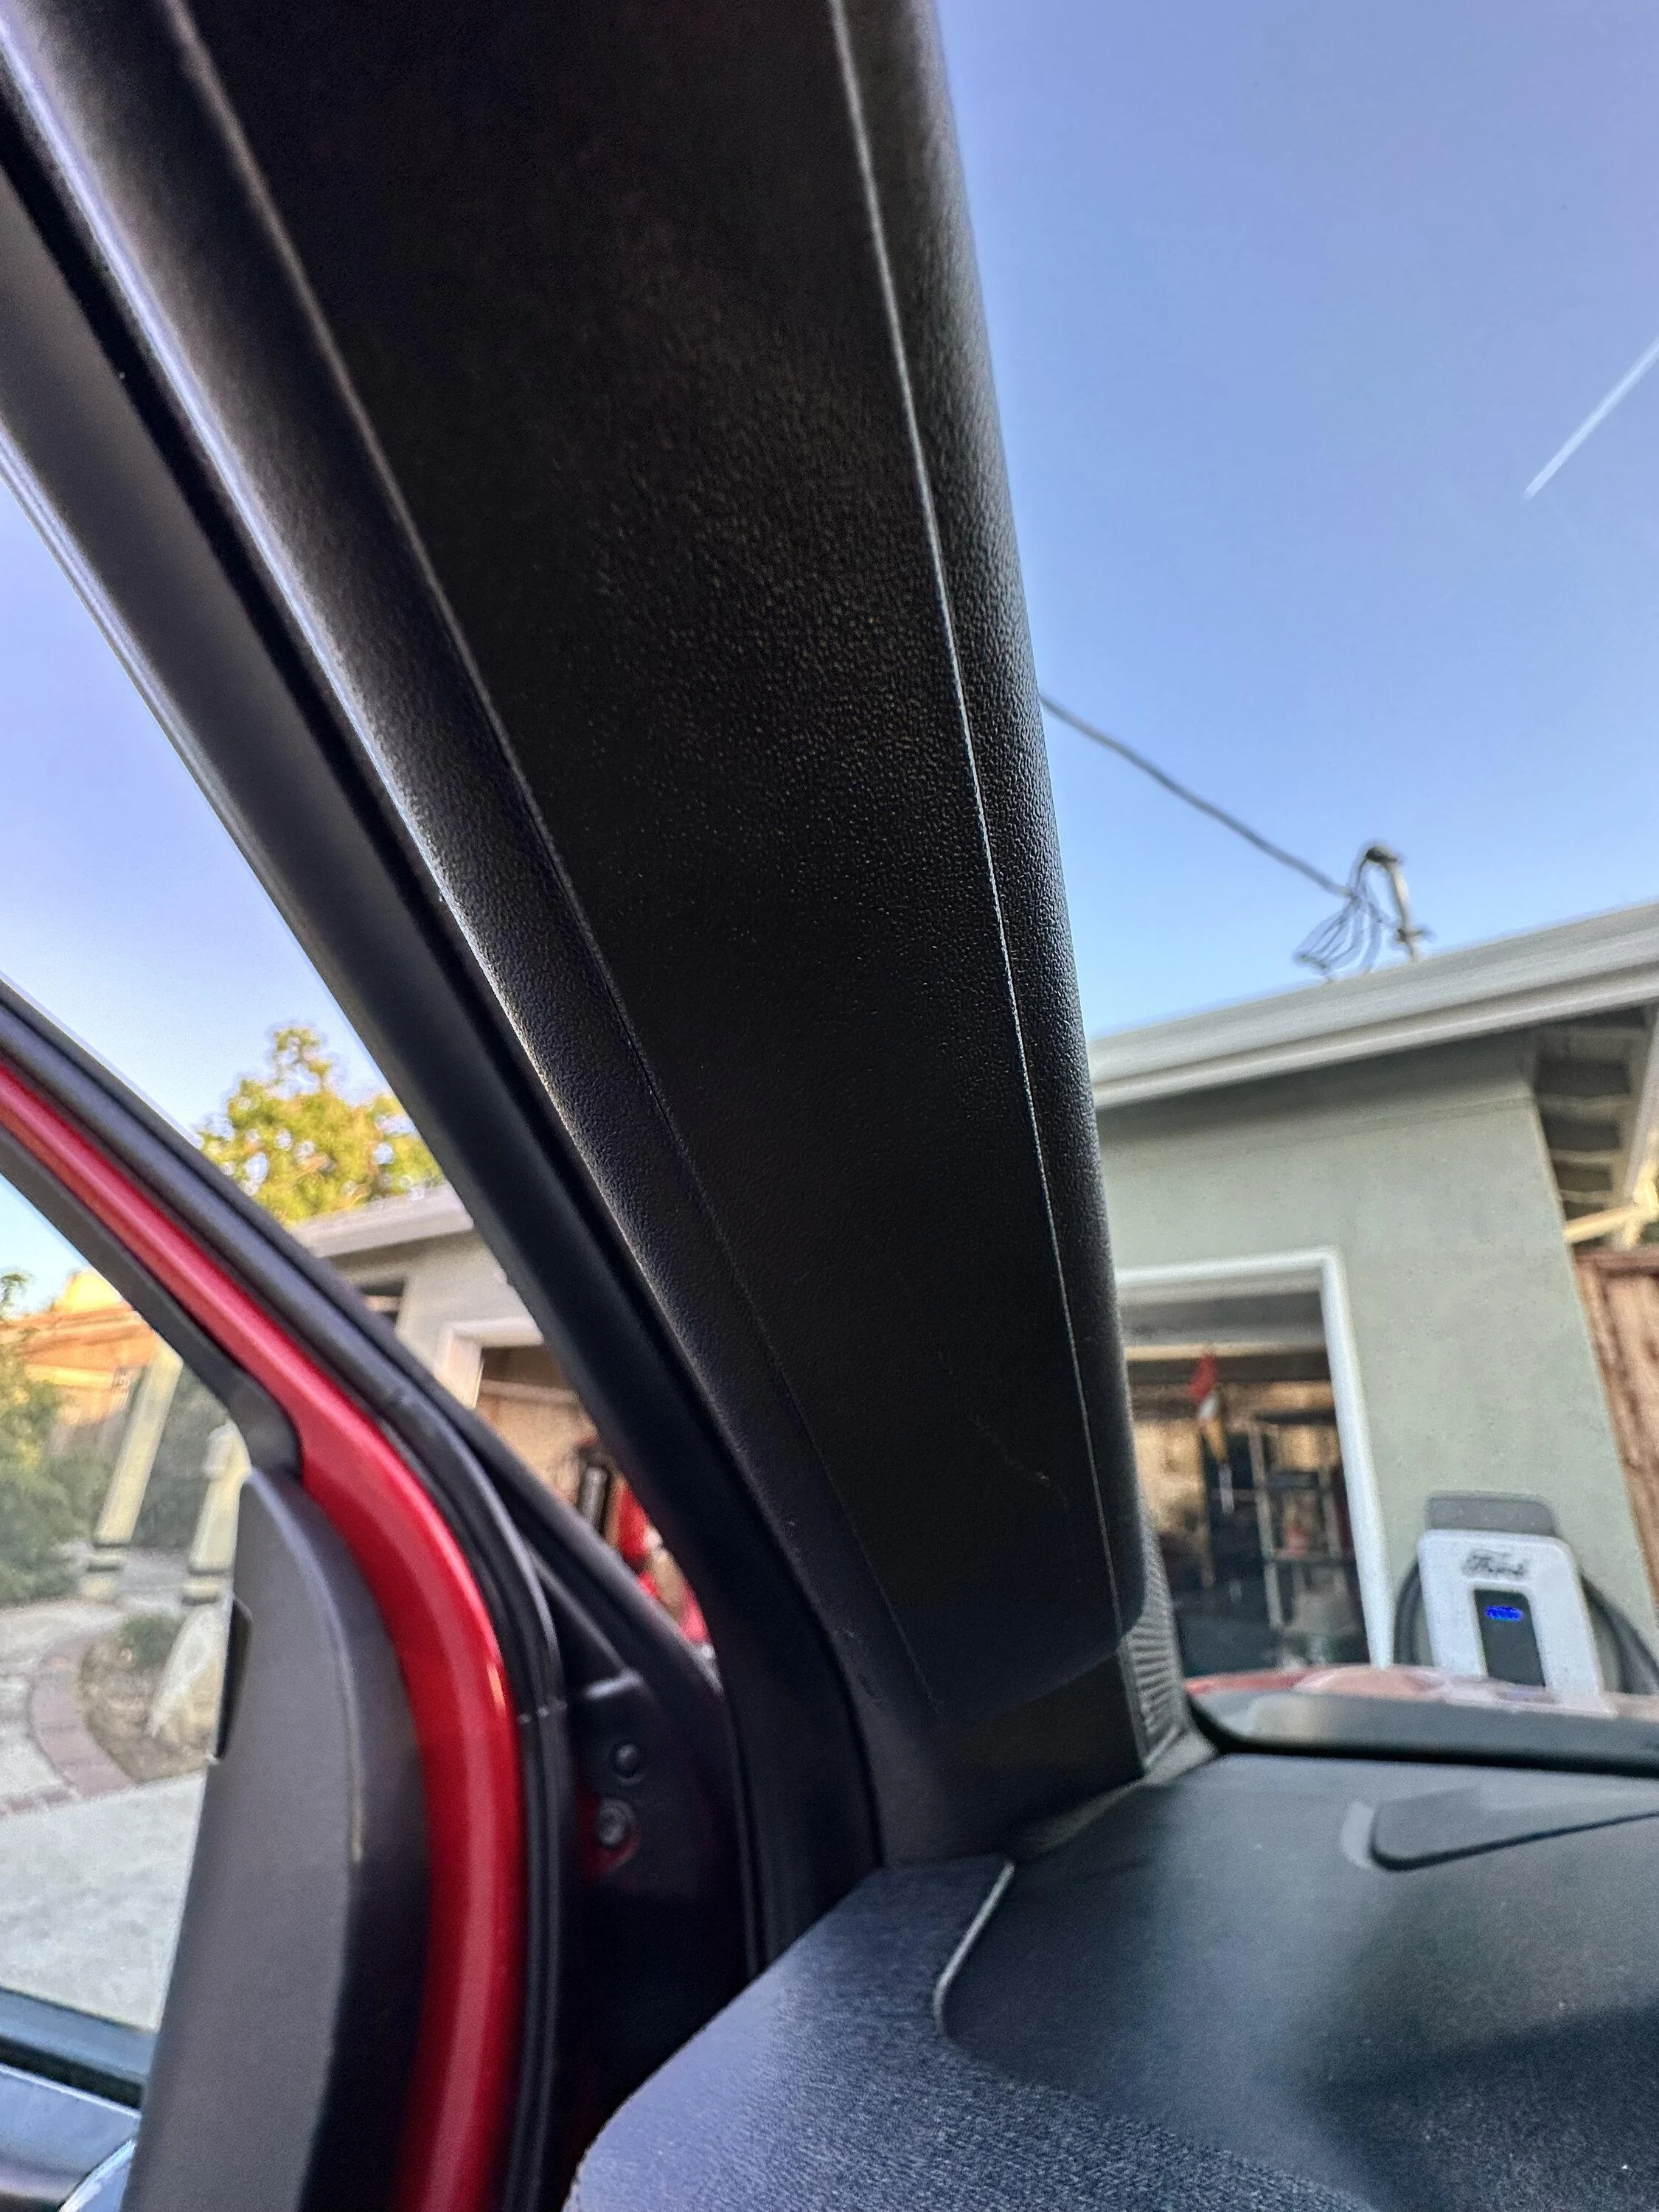
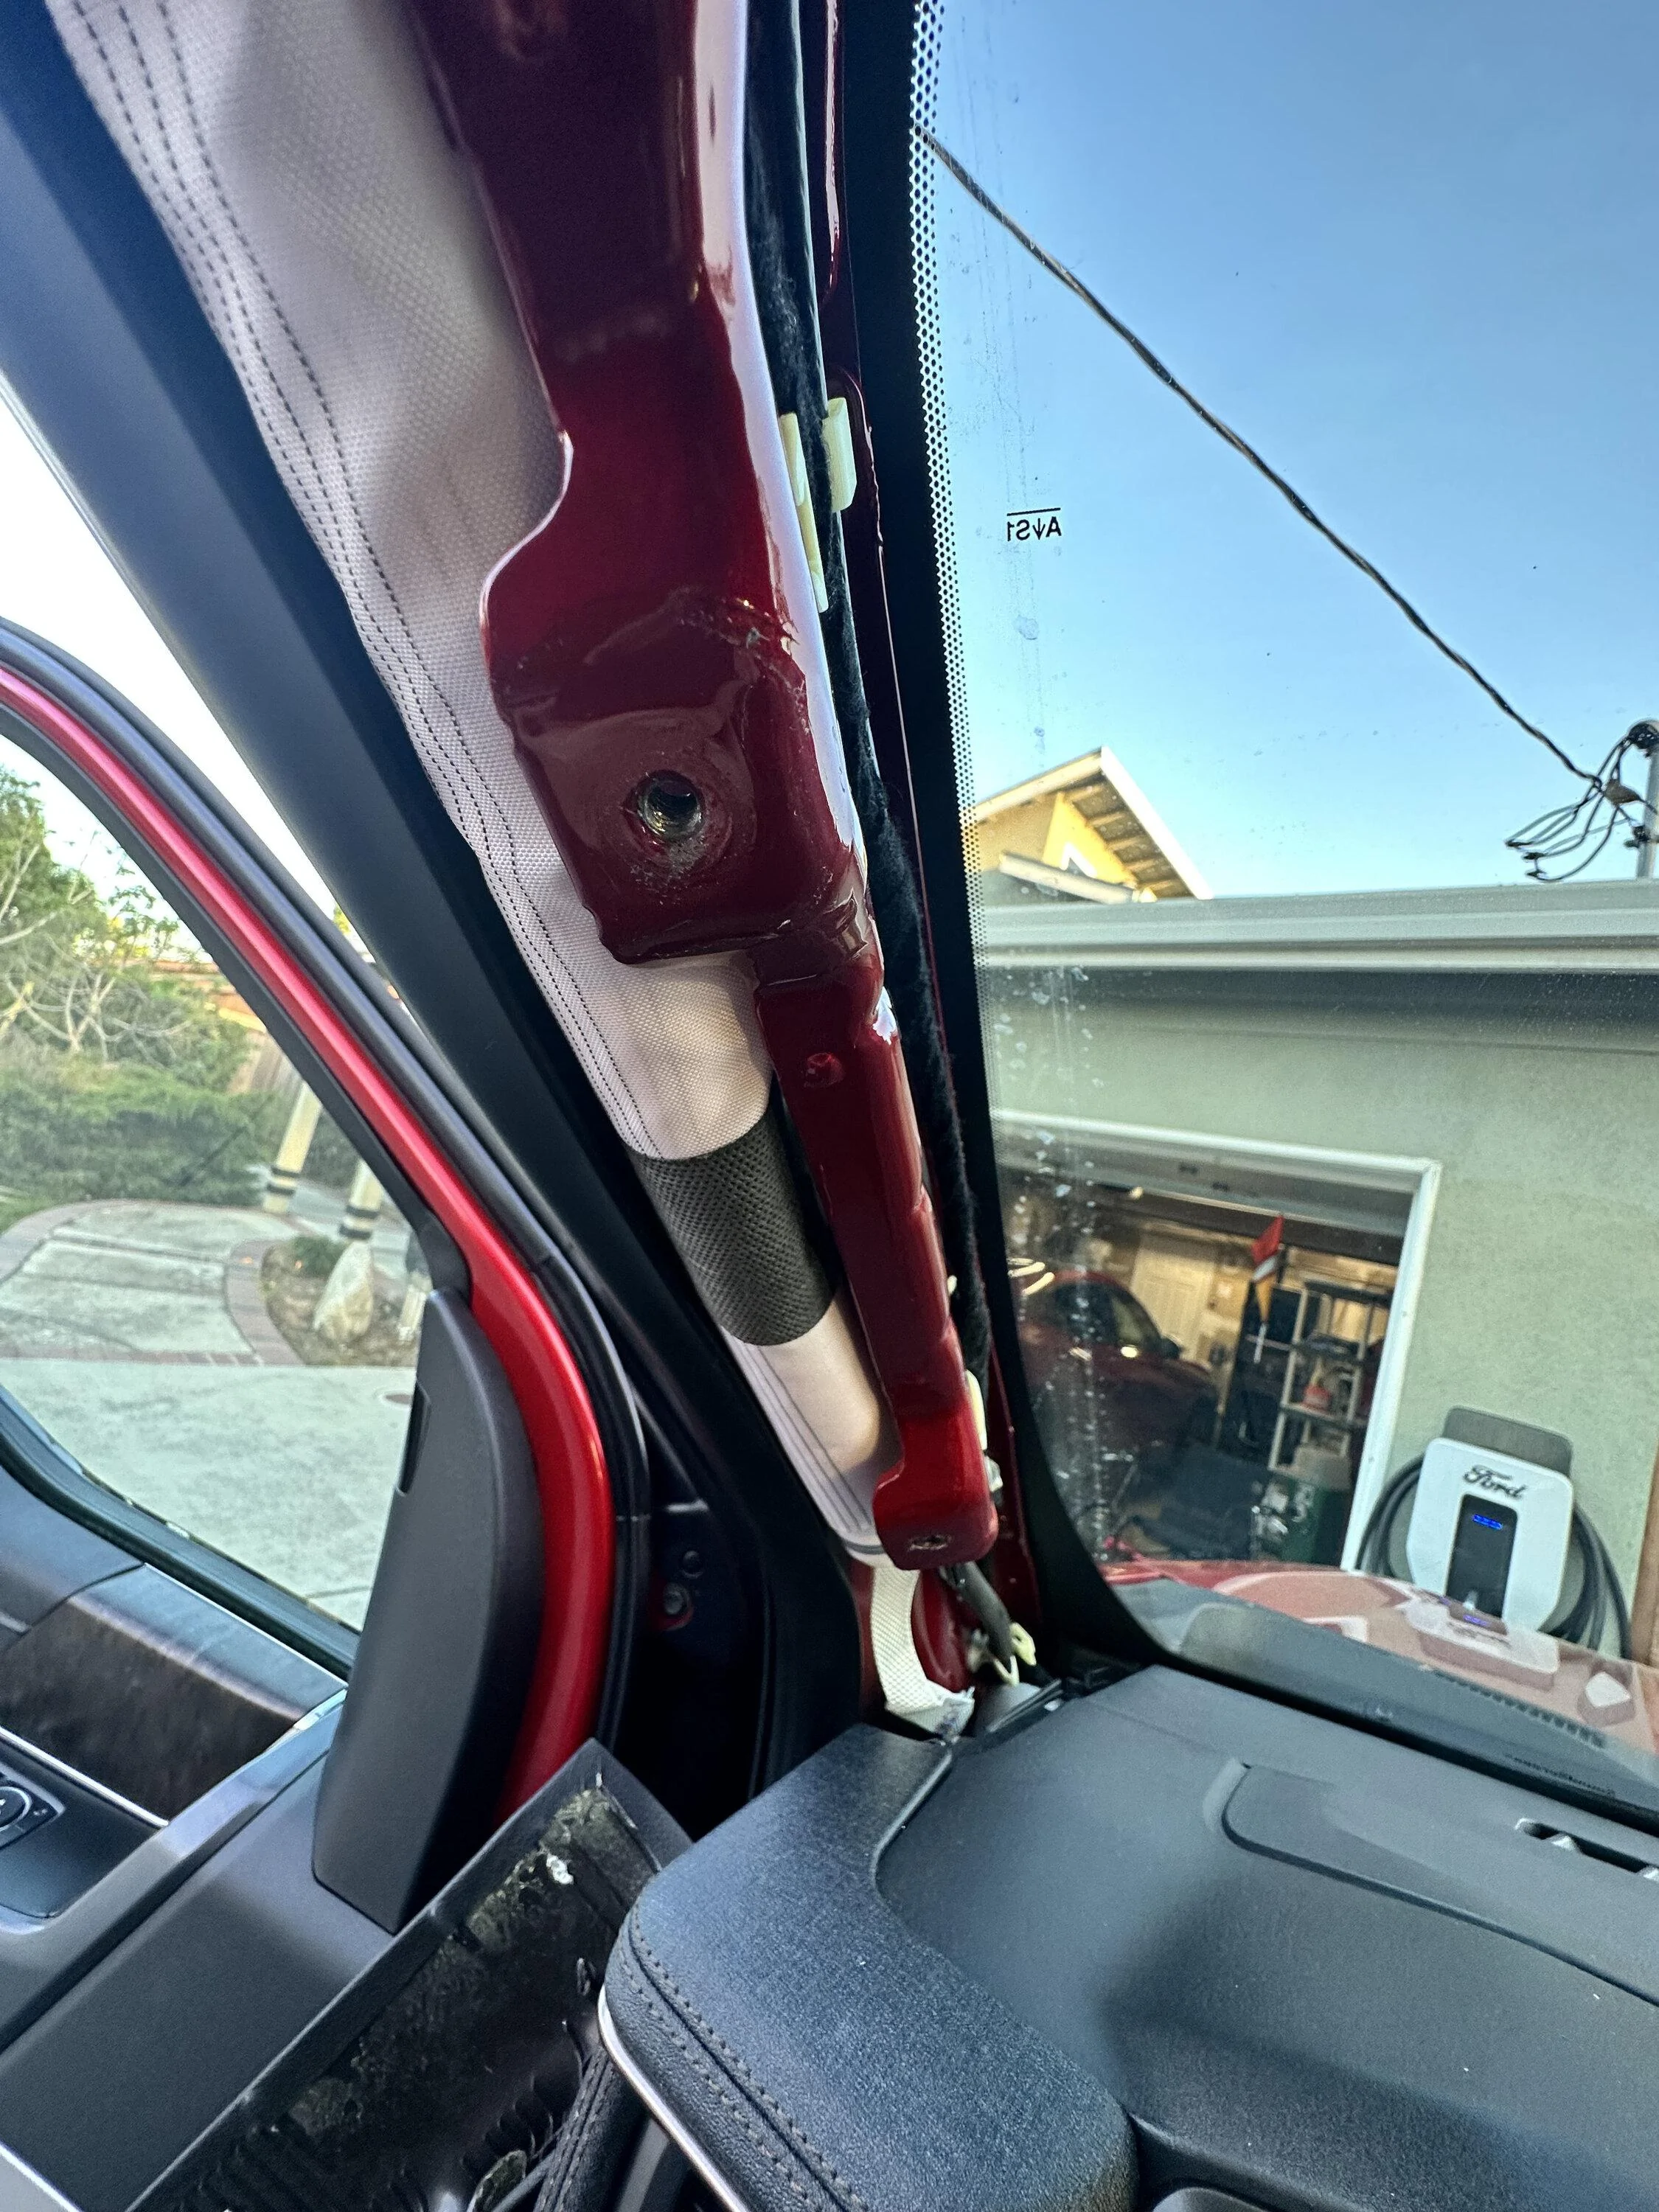
And here are some pics of my new A-pillars and how they got installed. The A-pillars have these covers over the handle assemblies:

Ford F-150 Lightning Sounds Good Stereo Behind the Seat kit installation 01 a pillar


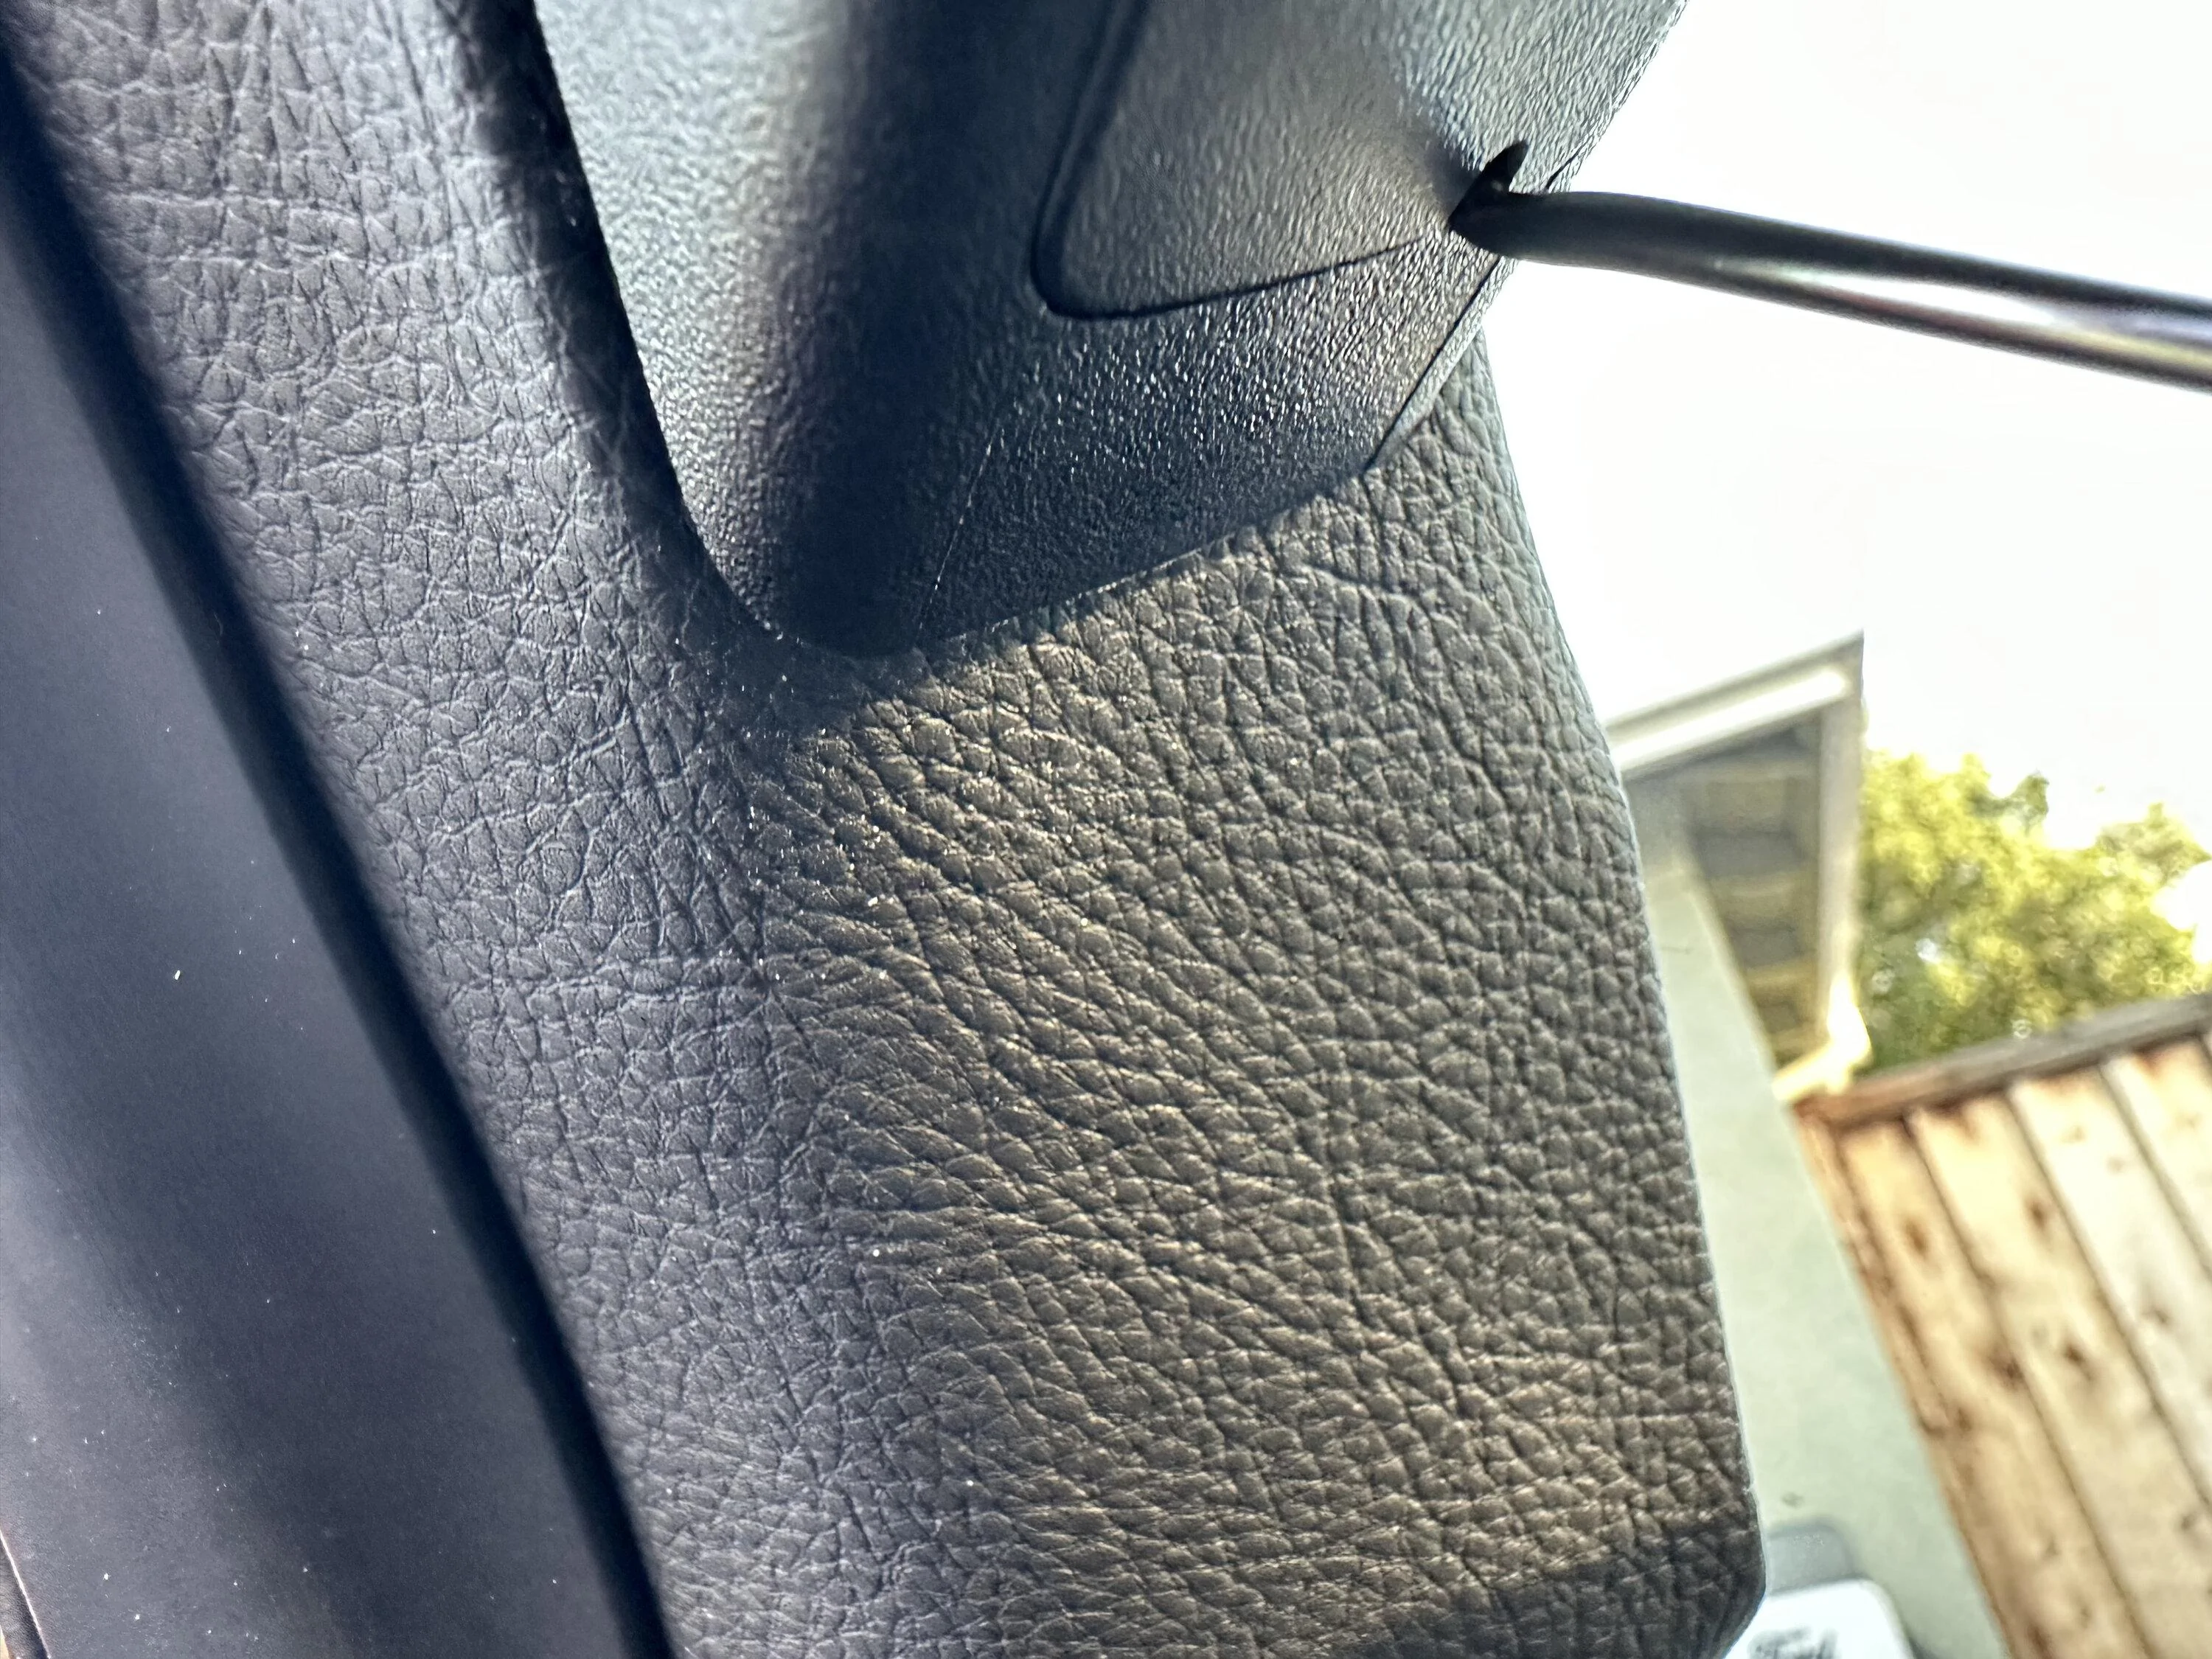
There's a little hole in the bottom you can get a pick into to pop them off. Be careful not to scratch the hell out of everything when you do it (ask me how I know).

Ford F-150 Lightning Sounds Good Stereo Behind the Seat kit installation 02 hook


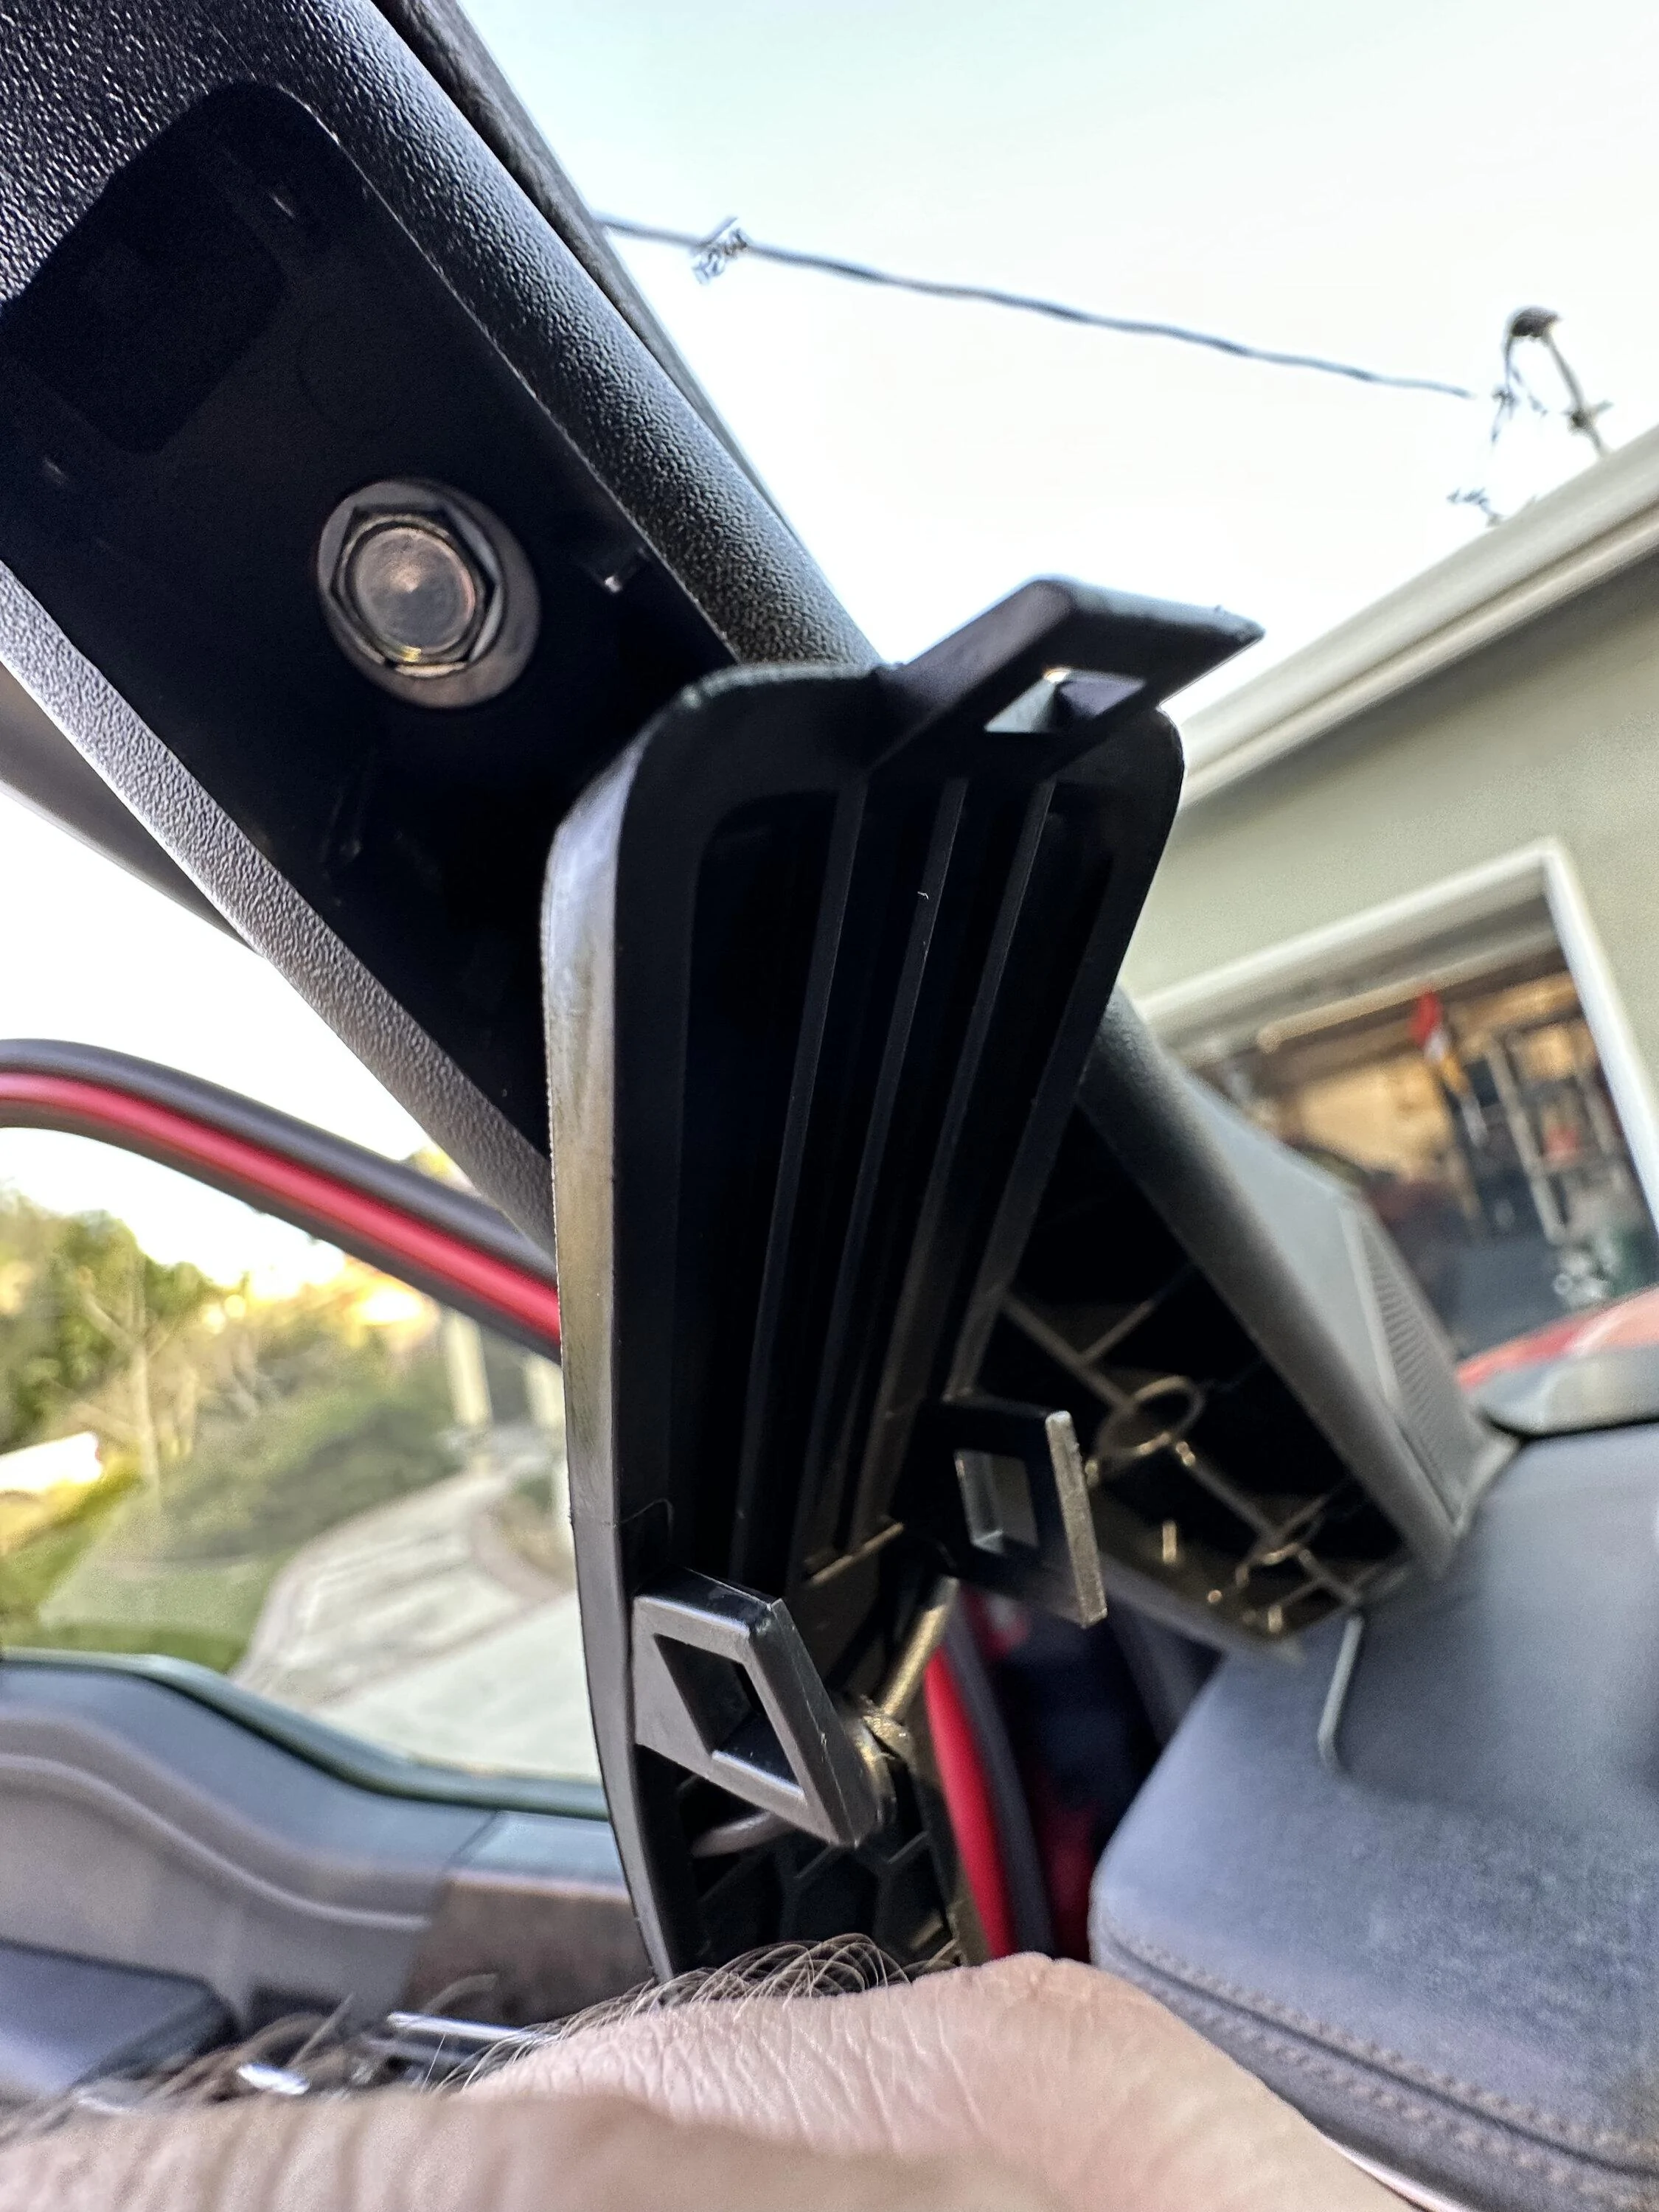
Pics behind showing the upper screw:

Ford F-150 Lightning Sounds Good Stereo Behind the Seat kit installation 03 cover off top bolt


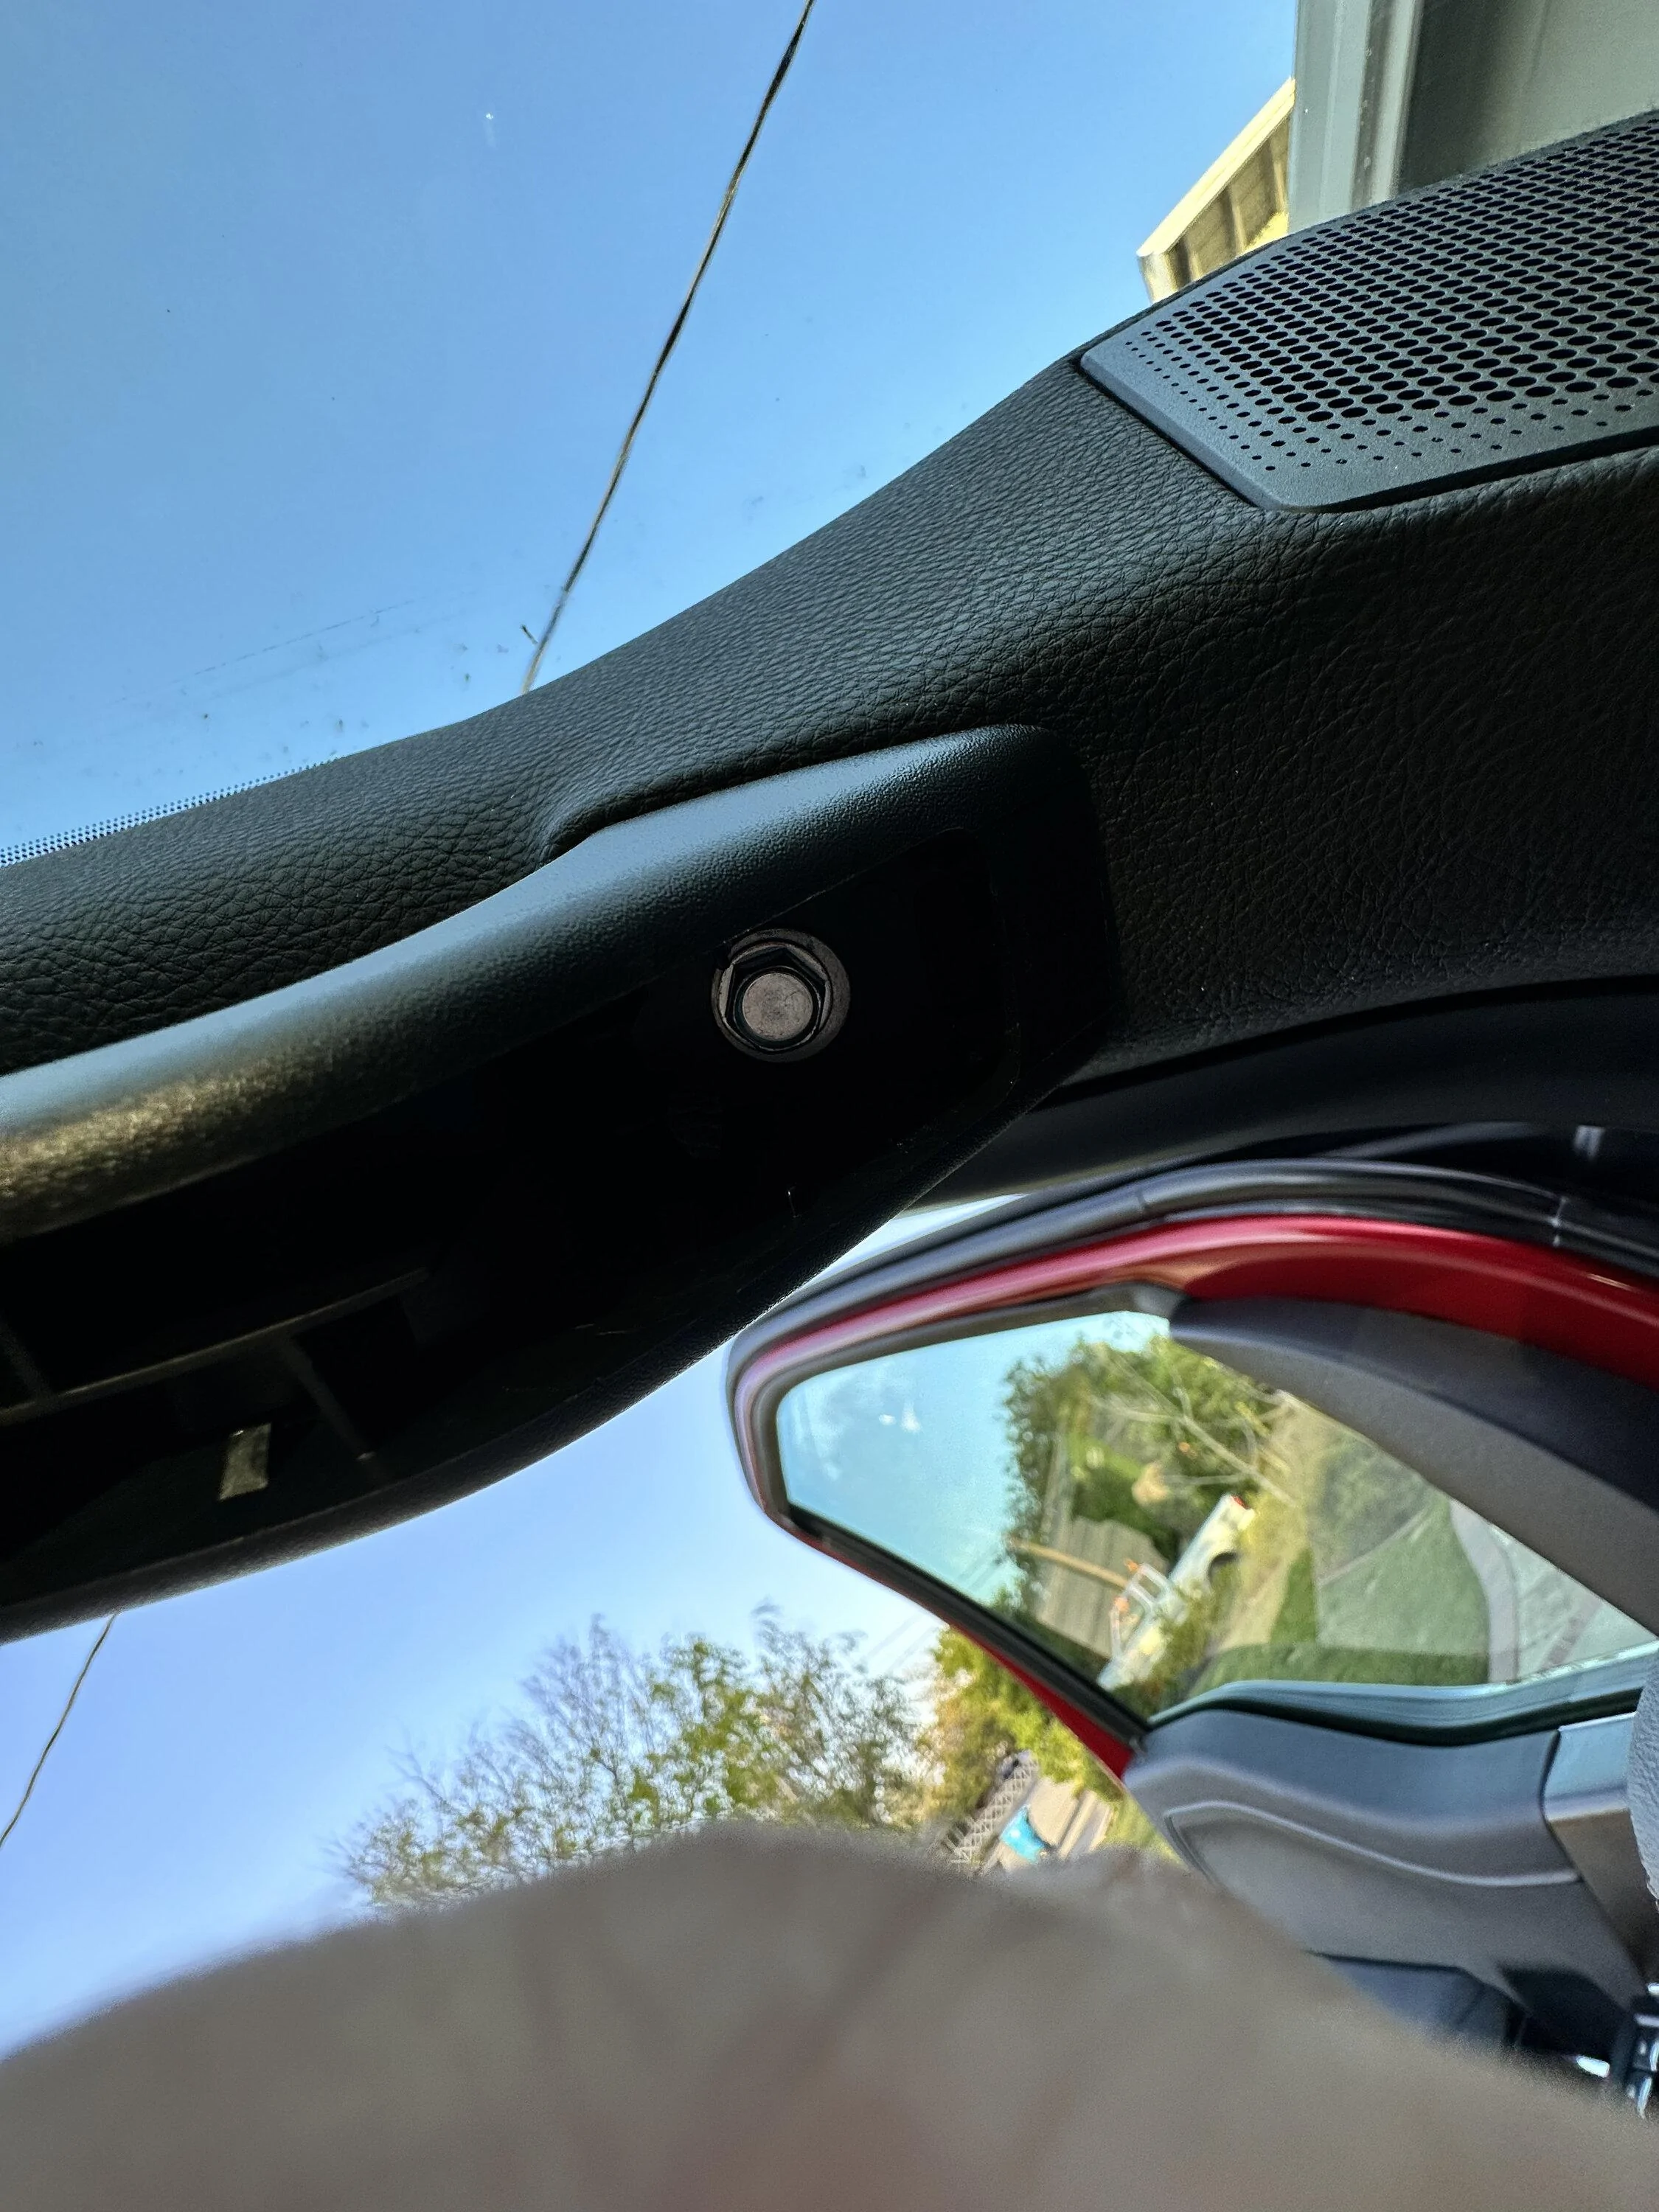
And the lower one:

Ford F-150 Lightning Sounds Good Stereo Behind the Seat kit installation 04 cover off bottom bolt


10 mm hex heads on these. You'll need to move your steering wheel around and out of the way to get an electric screwdriver on easily.

Here's the A-pillar with the trim removed:

Ford F-150 Lightning Sounds Good Stereo Behind the Seat kit installation 05 a pillar off


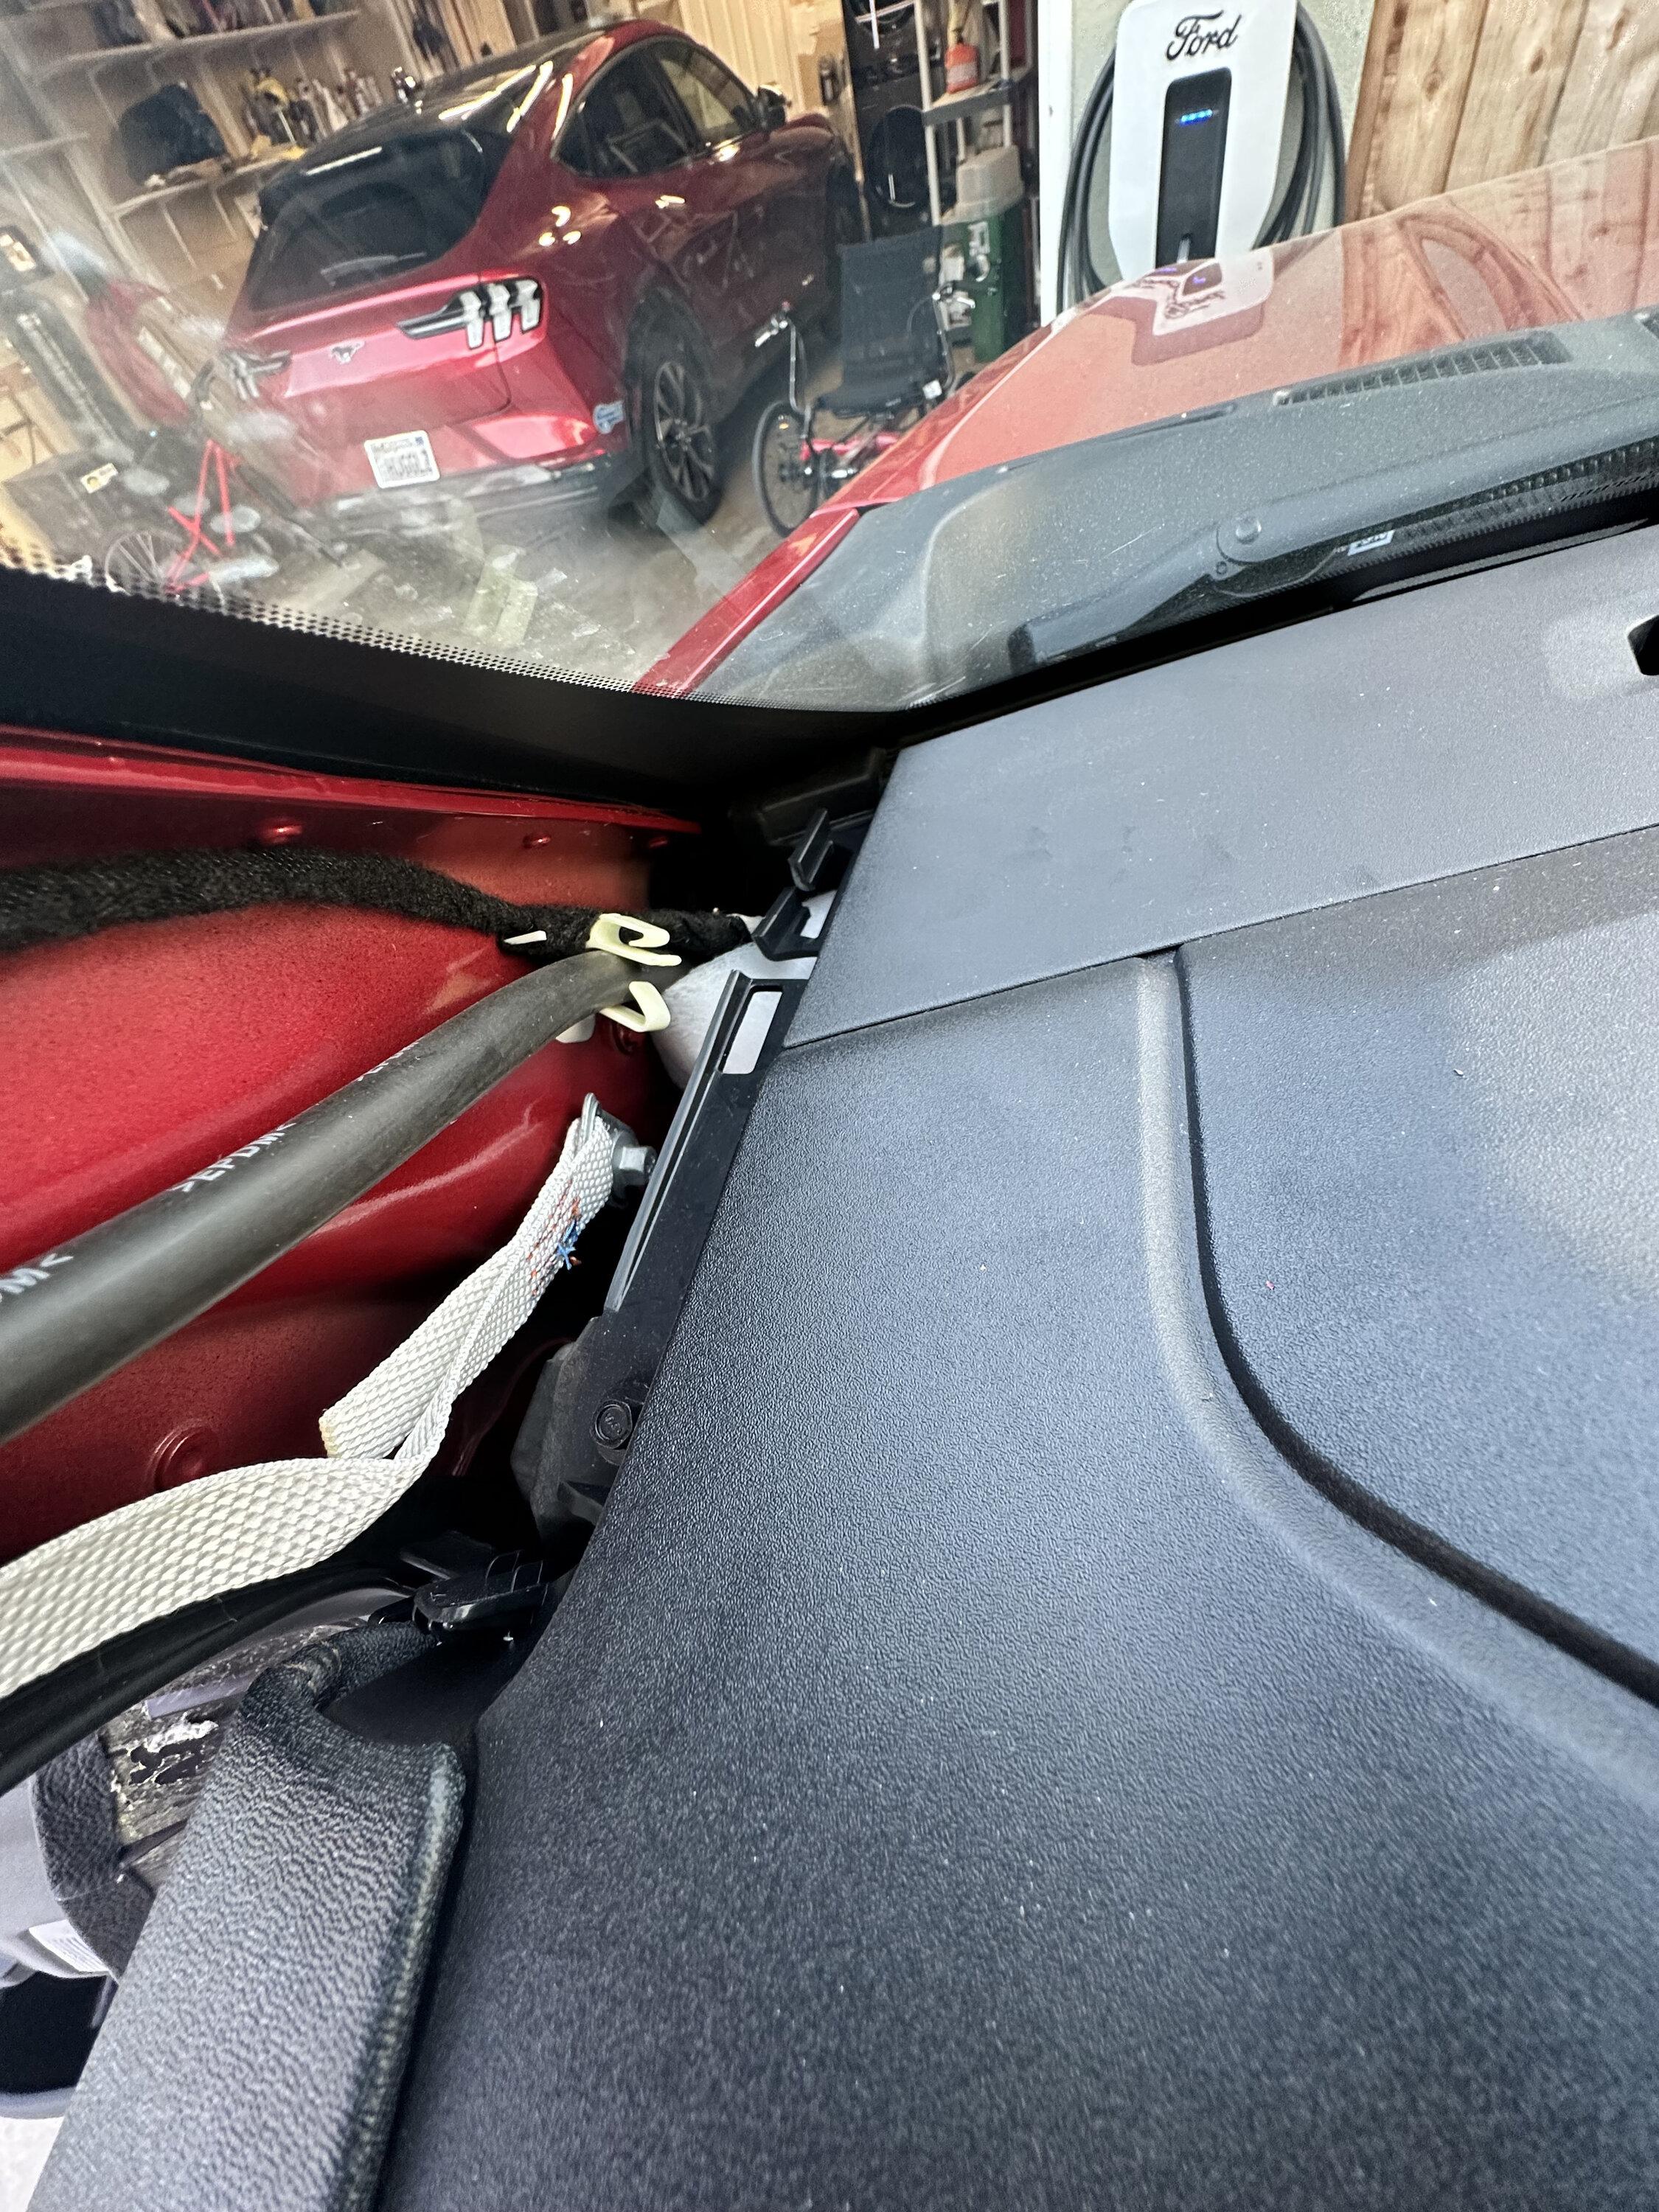
And a closer up picture of the mounting/alignment tab slots next to the dash:

Ford F-150 Lightning Sounds Good Stereo Behind the Seat kit installation 06 a pillar bottom tab slots
 
Last edited:

Sponsored
OP
OP
kvasiir

kvasiir

Well-known member
Joined
Nov 20, 2022
Threads
2
Messages
78
Reaction score
91
Location
San Jose, CA
Vehicles
2022 F-150 Lightning Lariat Rapid Red
Occupation
Engineer
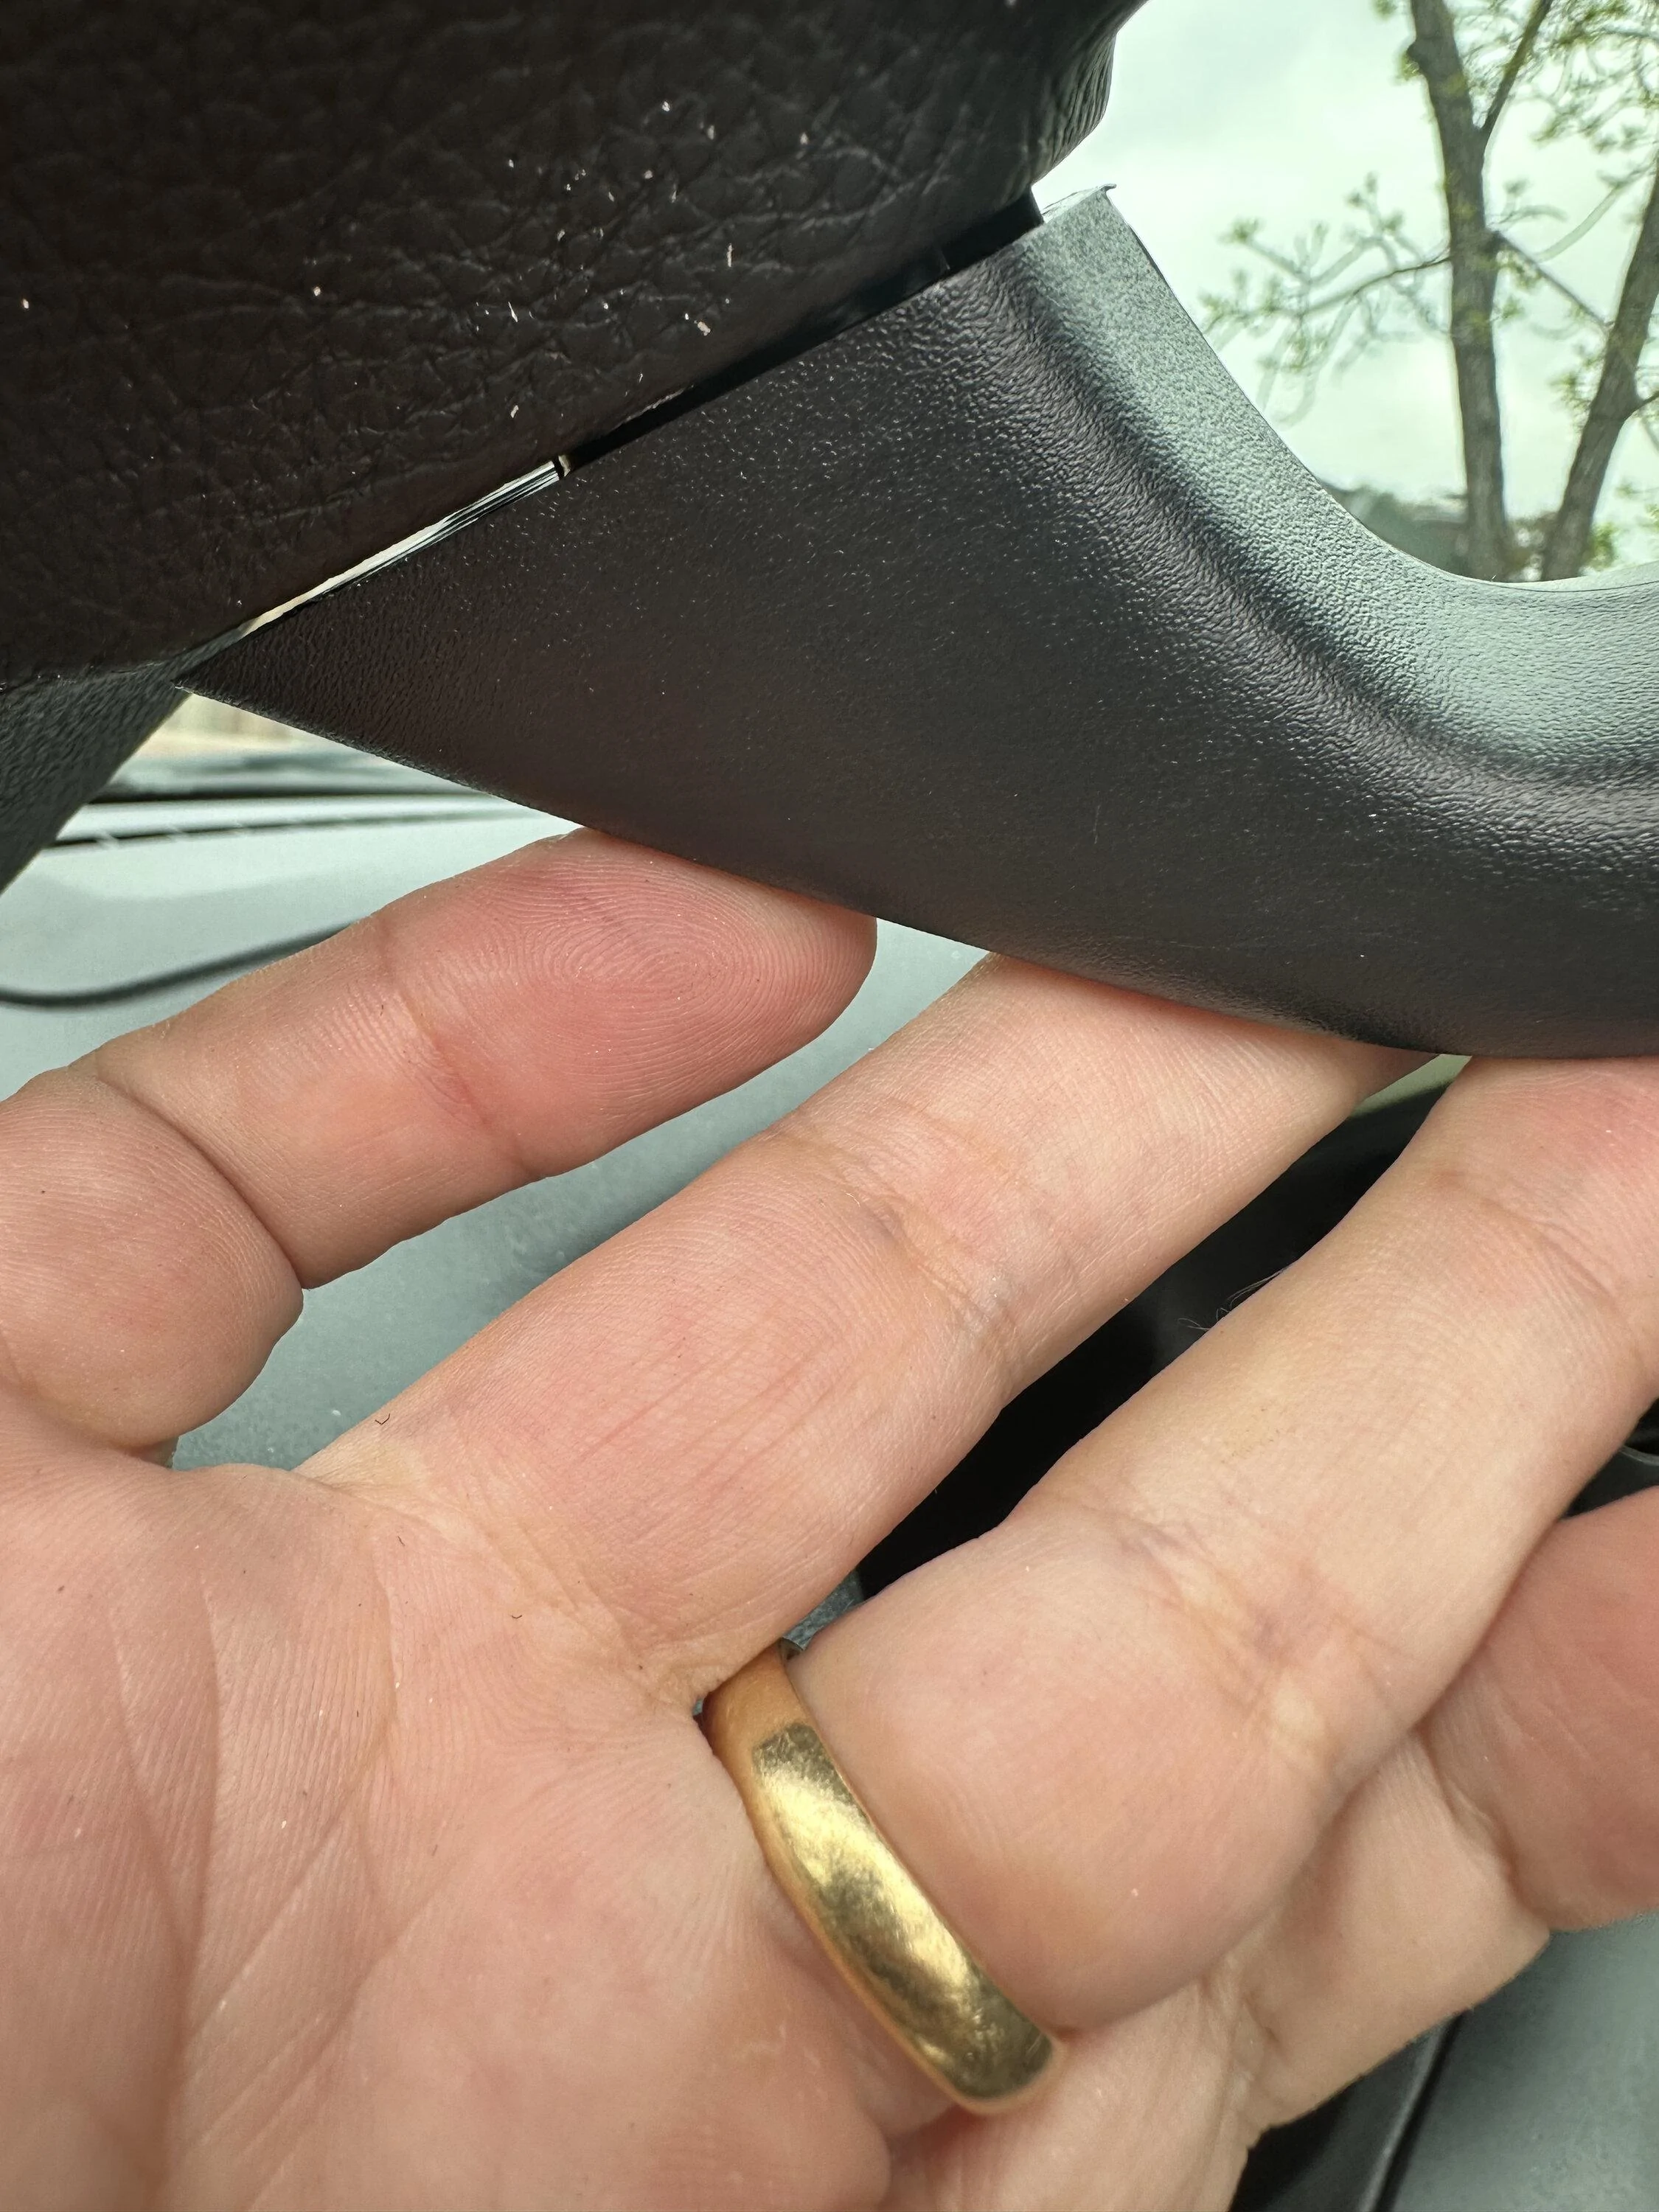
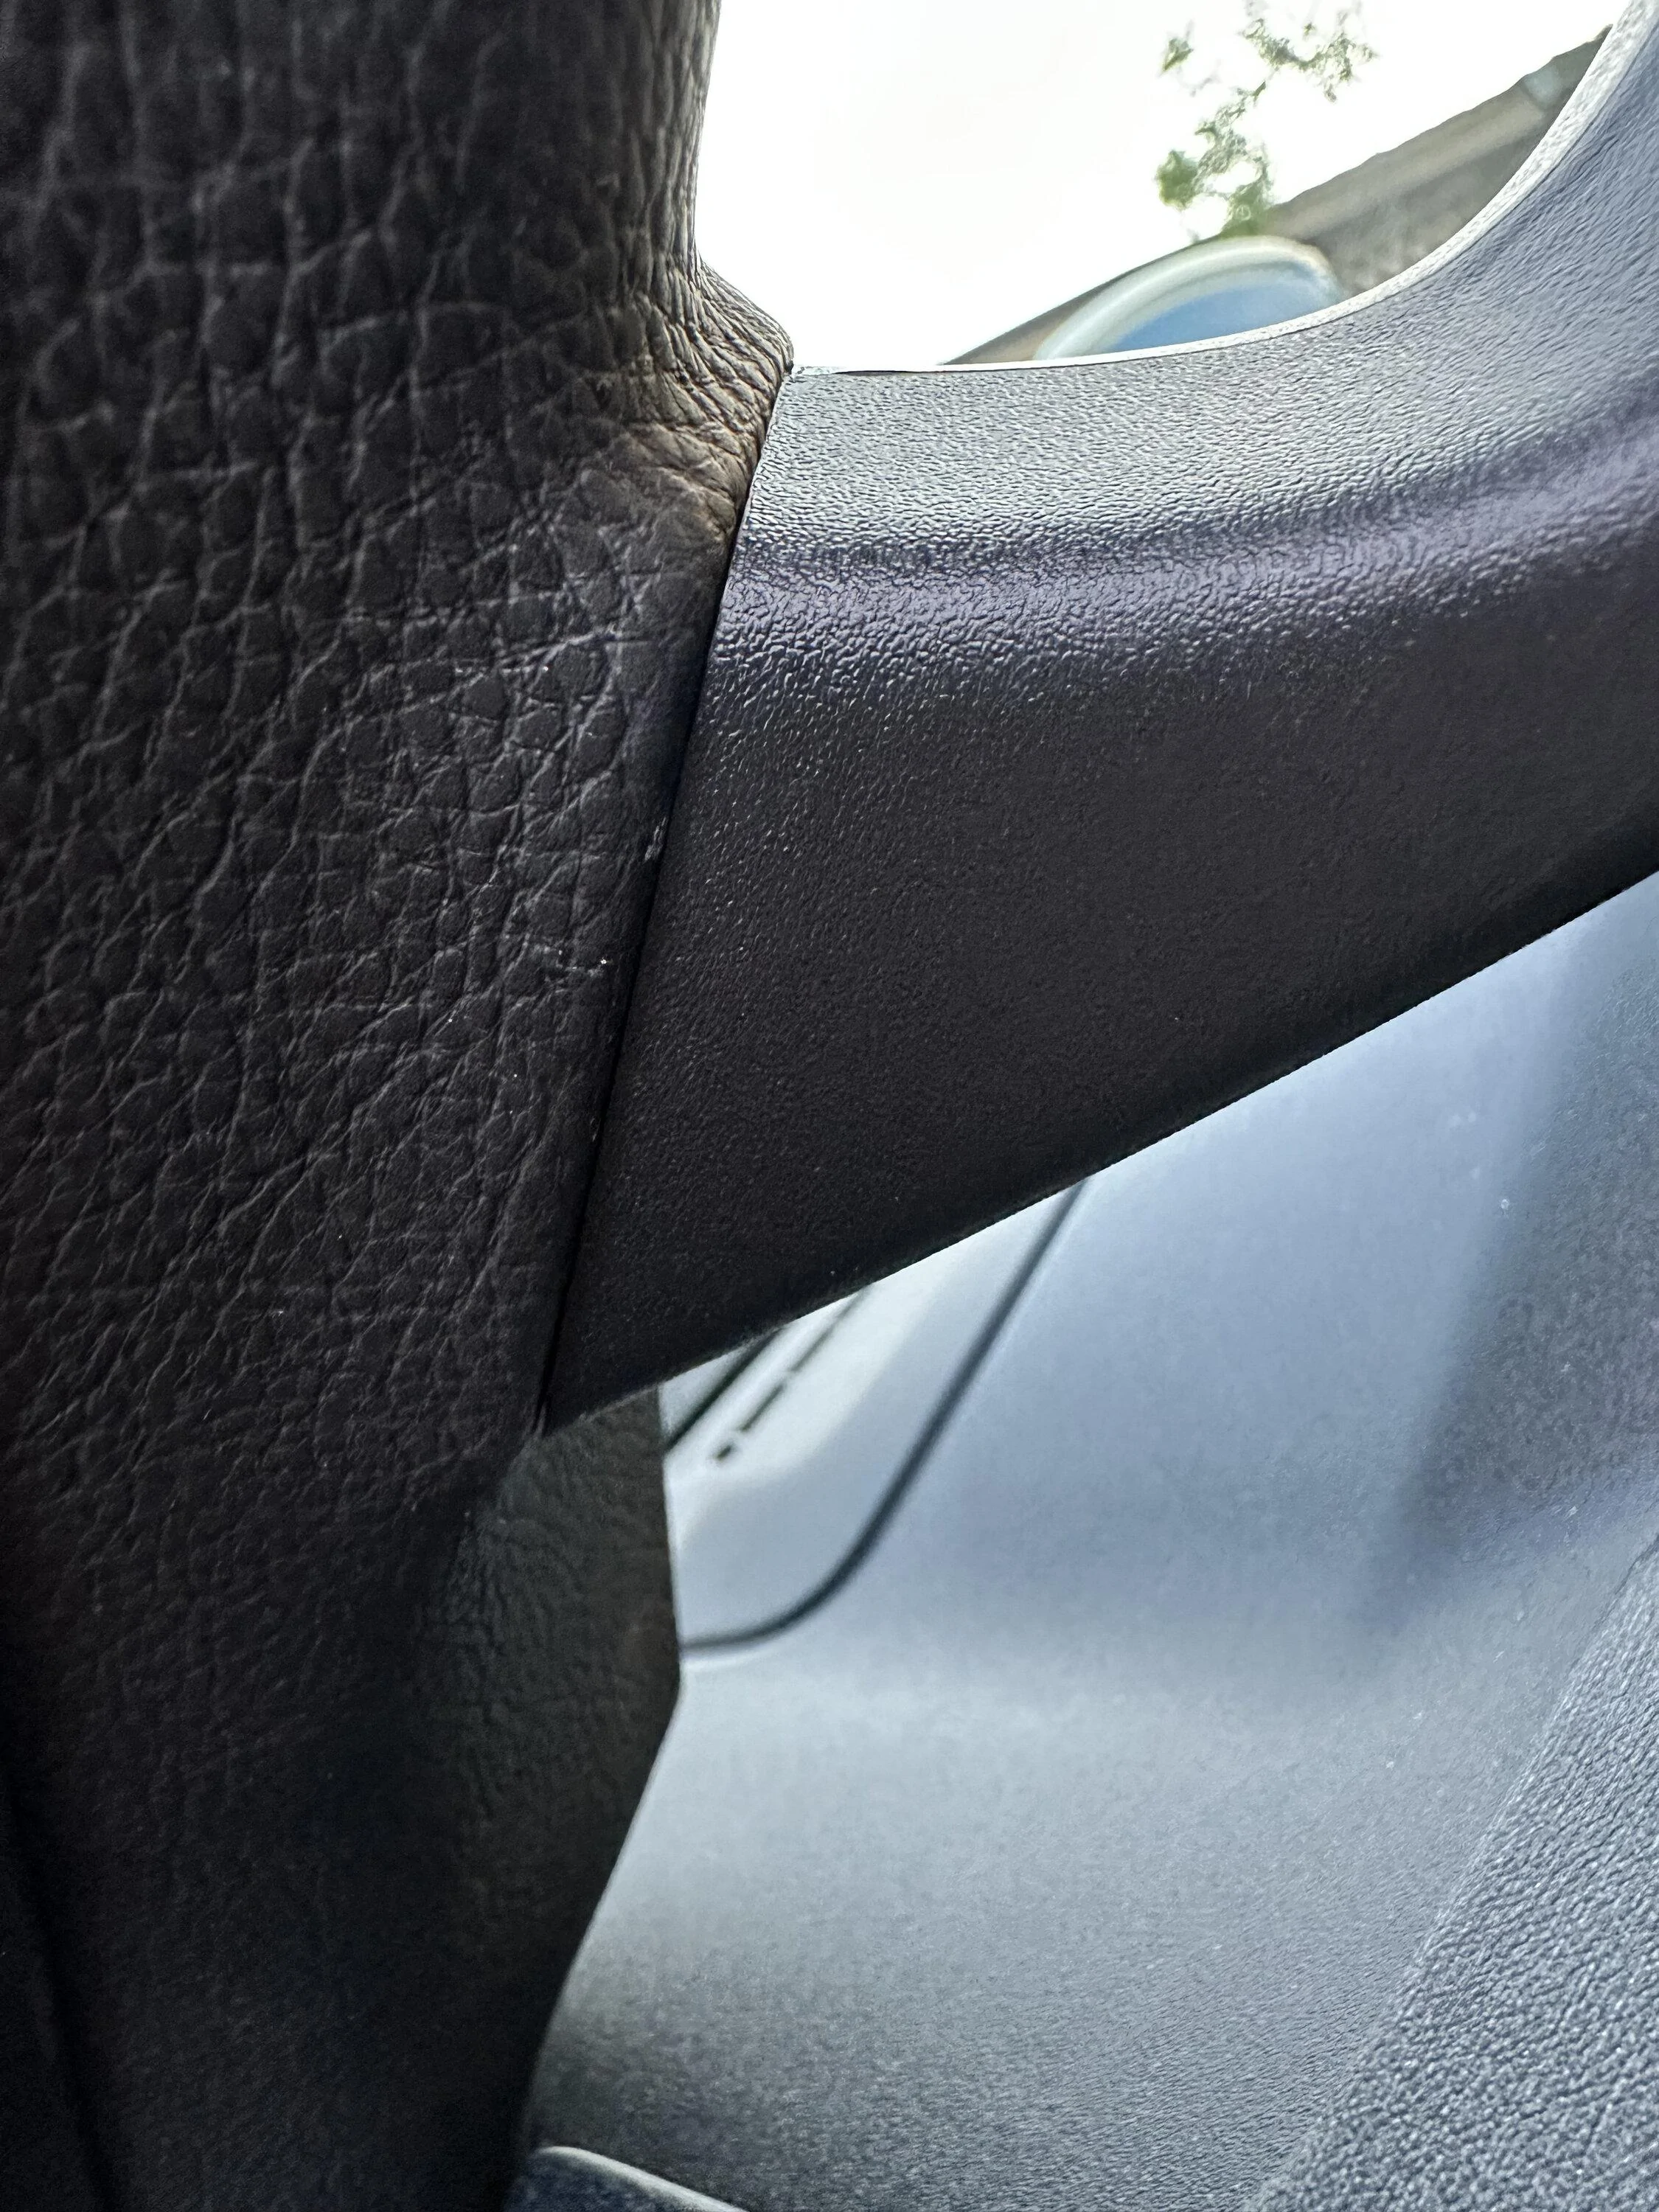
My new passenger side A-pillar went on without a hitch, but the driver one left a big gap:

Ford F-150 Lightning Sounds Good Stereo Behind the Seat kit installation 01 ga


I stripped the hell out of the bolt hole underneath trying to force it together (oops again), but managed to drill it out wider and putting a threaded insert in there to fix it. I recommend not making such a mistake.

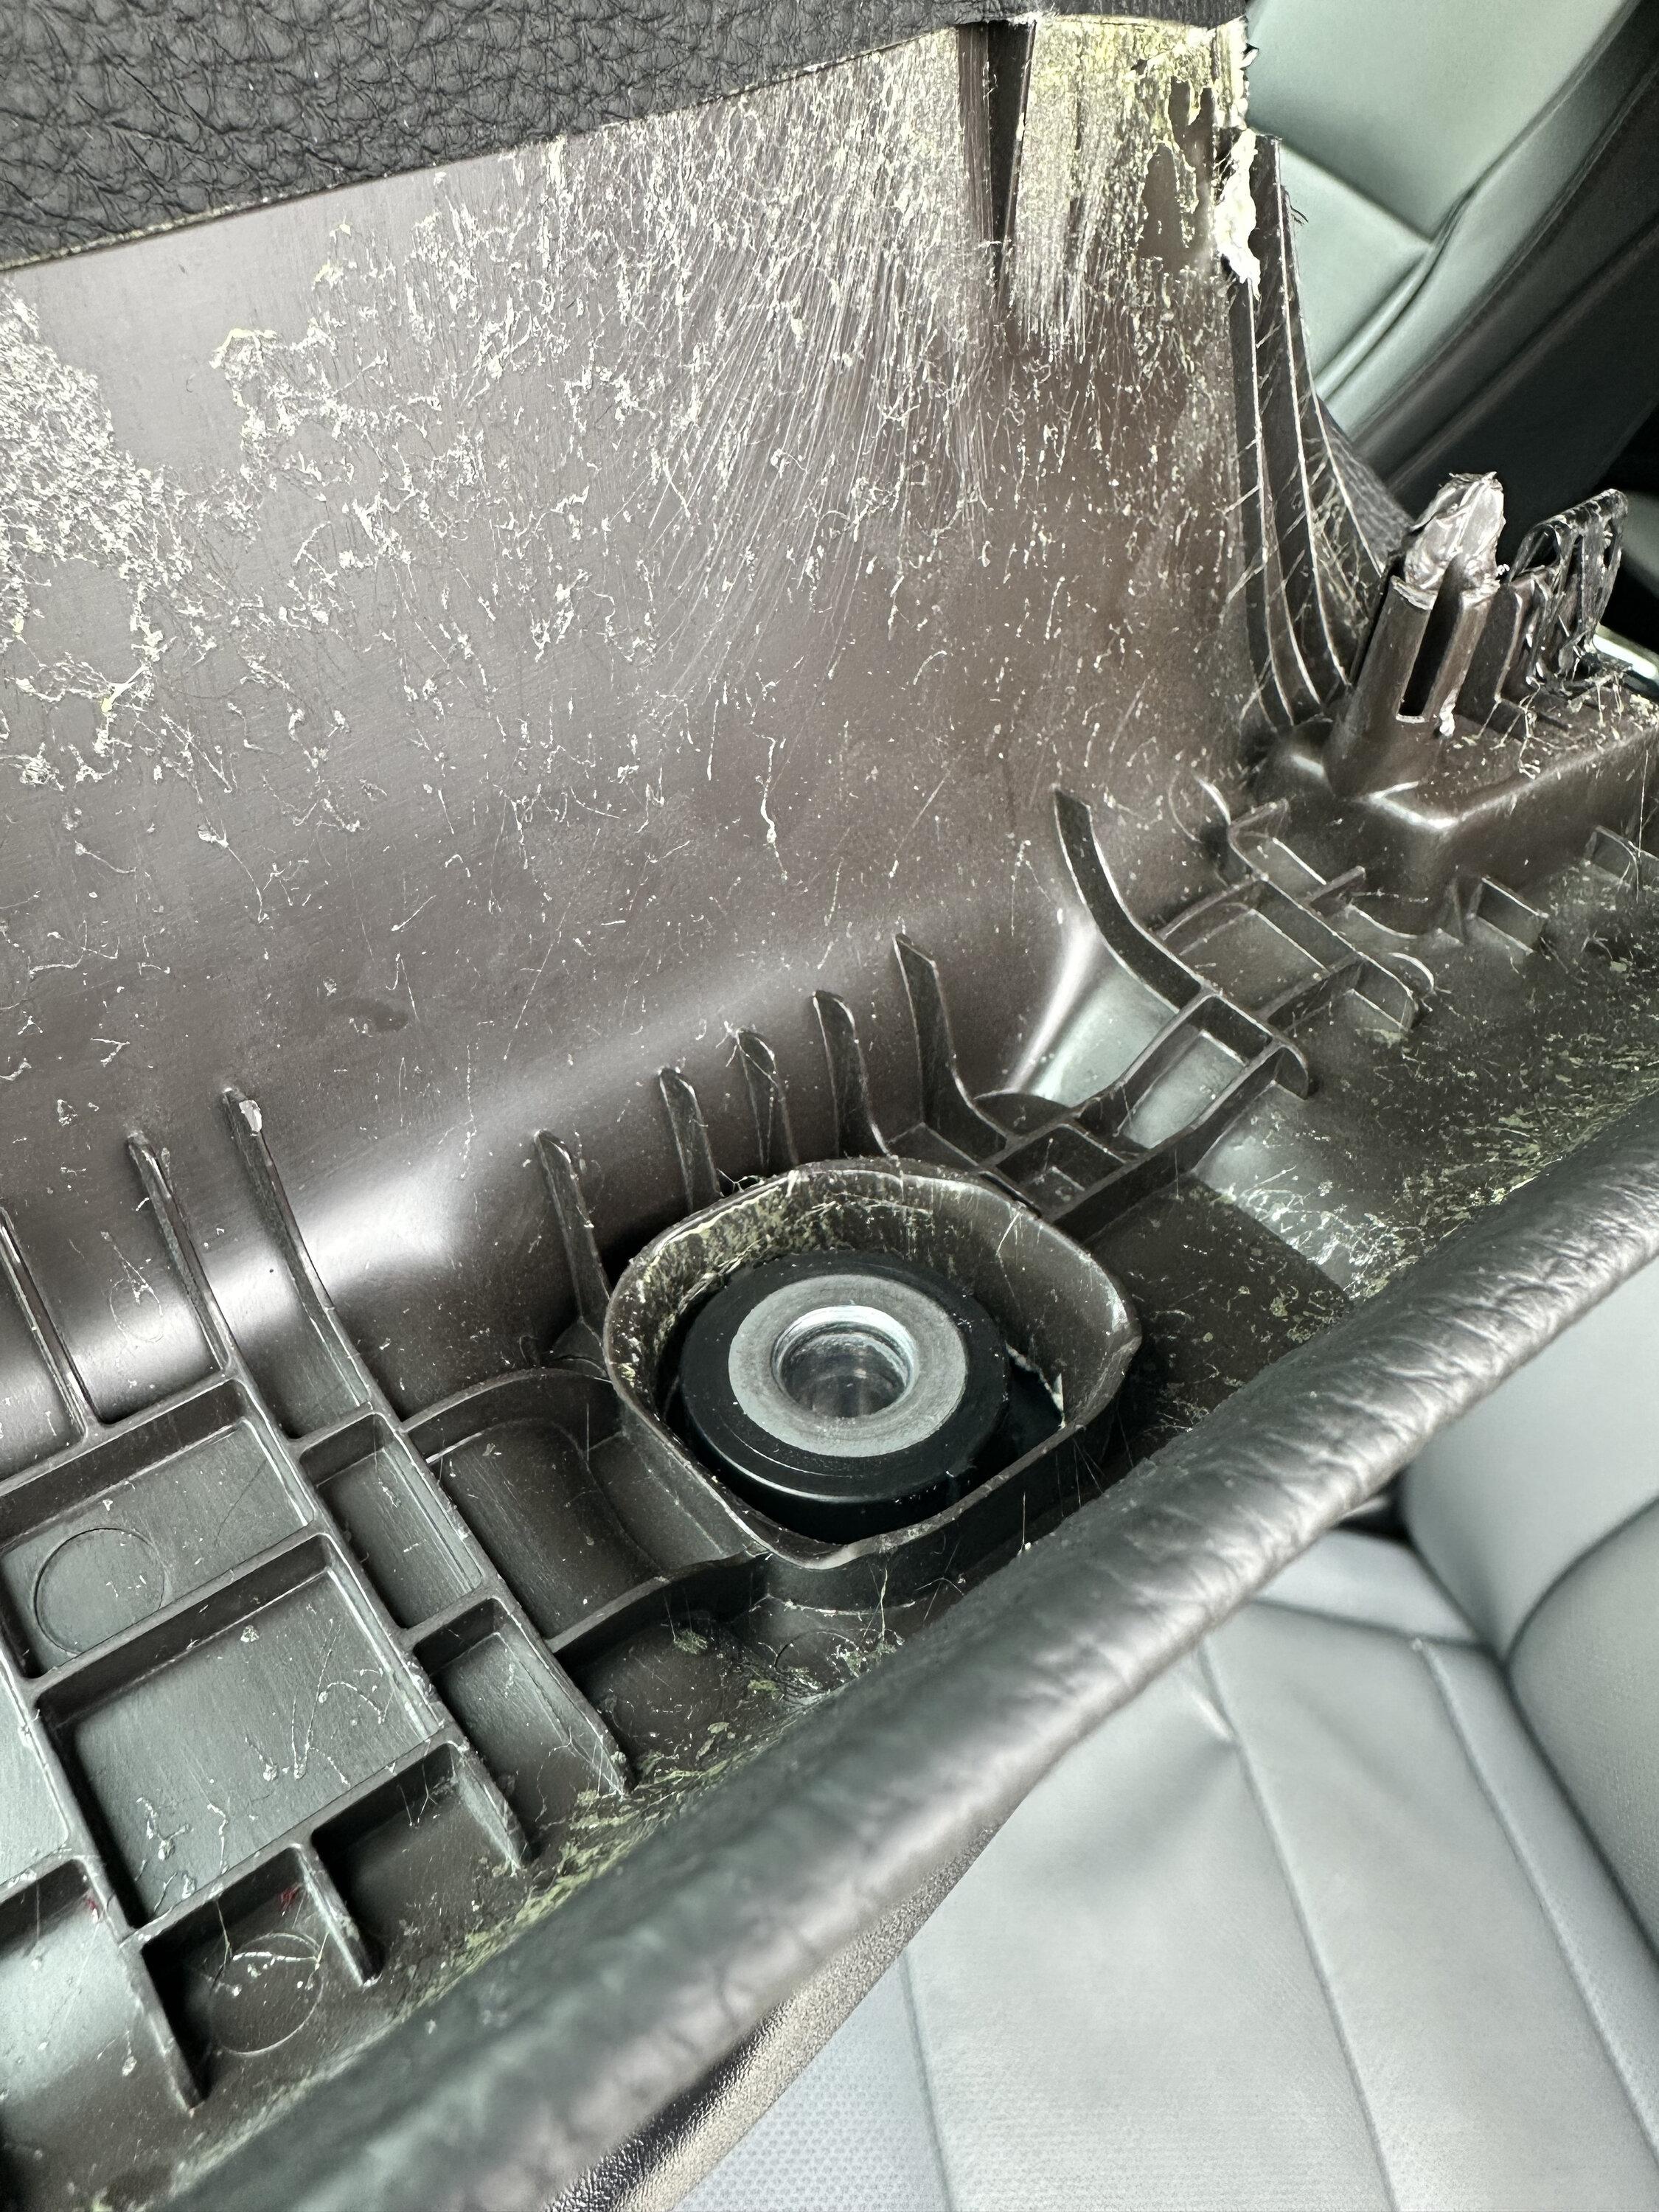
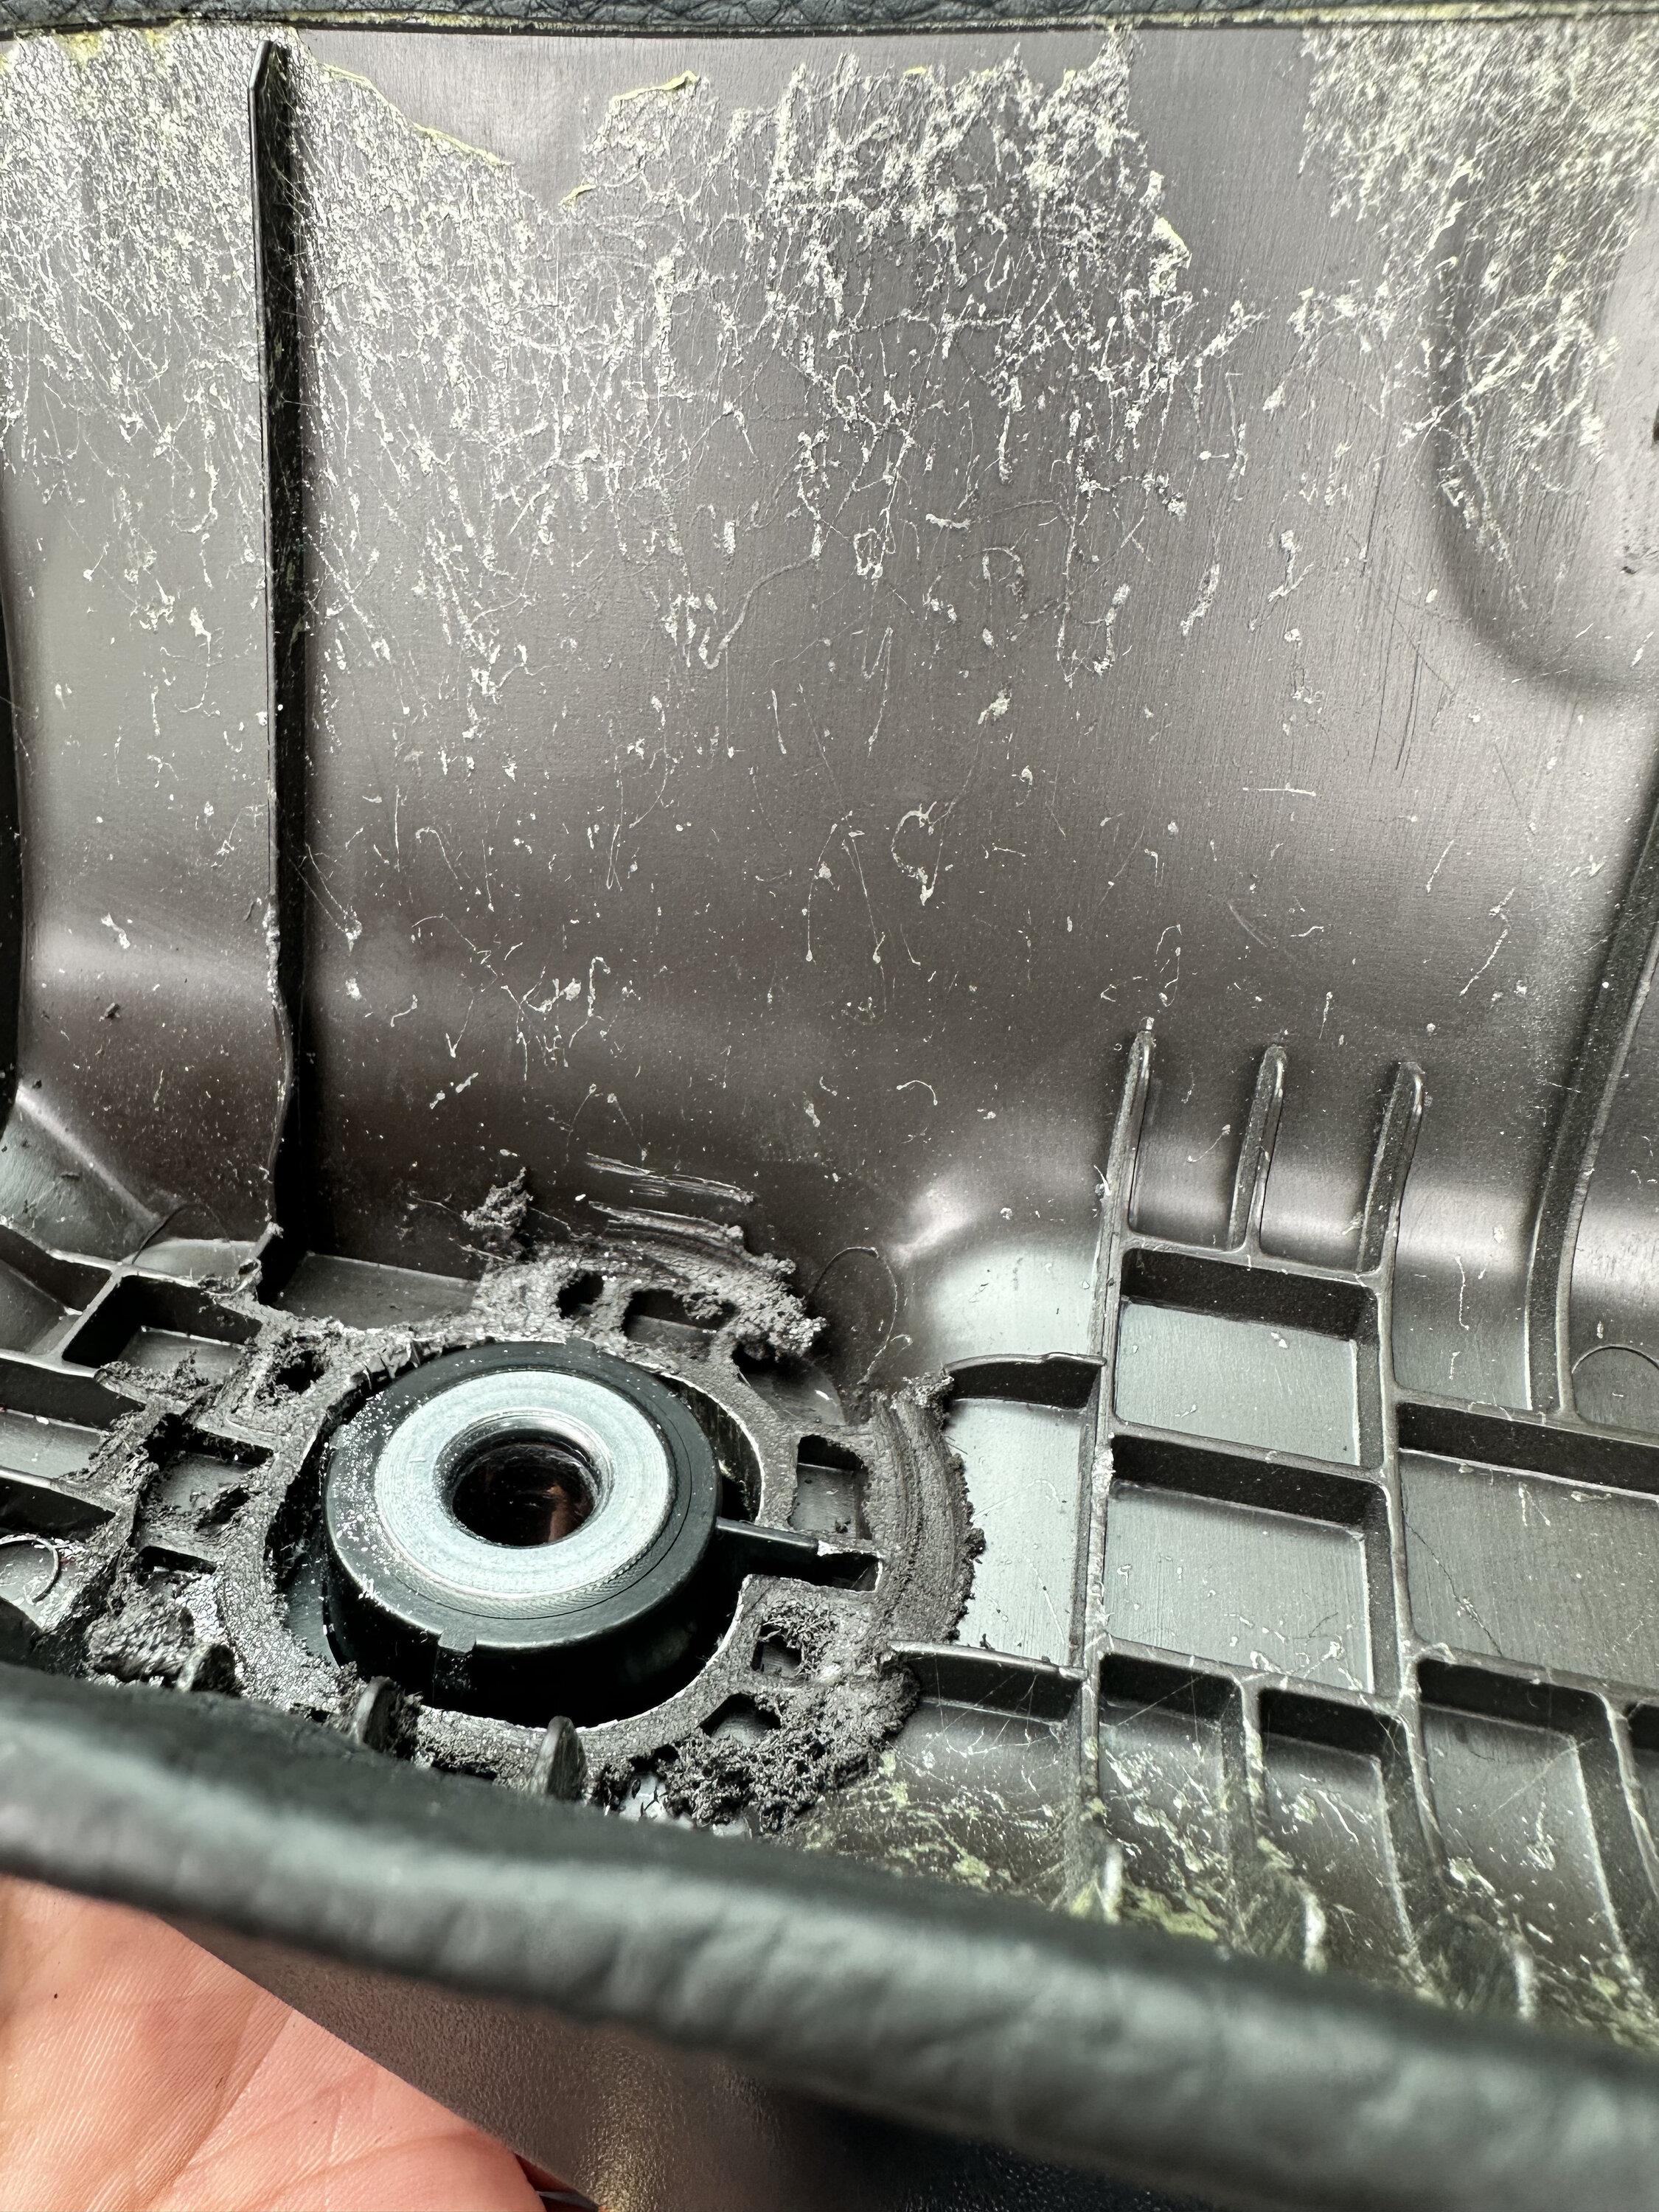
Anyway, root cause turns out to be that the inside of my a-pillar trim was just ground away too far, so it didn't fill the necessary space properly. Here's a couple pics of me holding the handle in place on the unmounted A-pillar. First, the upper side:

Ford F-150 Lightning Sounds Good Stereo Behind the Seat kit installation 02 upper


And then the lower - which is the problematic one. You can see here how it sits proud of the inside of the trim piece, so there's no way for everything to be tightened down correctly:

Ford F-150 Lightning Sounds Good Stereo Behind the Seat kit installation 03 lower


I called SGS and Sage made me some plastic washers to go inside there, and now everything's fine, I just superglued them in place, using the handle with the unmounted A-pillar to keep everything aligned, and then reinstalled. Looks great!

Ford F-150 Lightning Sounds Good Stereo Behind the Seat kit installation 04 fixed


Drilling out and retapping the screw threads was the biggest part of this fix, but hopefully you all will be able to avoid that pain. And also the pain of cleaning up all of the aluminum shavings it caused!
 

GDN

Well-known member
First Name
Greg
Joined
Feb 15, 2022
Threads
84
Messages
3,188
Reaction score
3,868
Location
Dallas, TX
Vehicles
Lightning Lariat ER, Performance Y
Occupation
IT
Looks great. Not sure how I missed your thread. I never posted any of my pics and install info, still should do that. I didn't take near the pictures you did, some great documentation you've got. One of the most befuddling things was that cover on the Oh shit handle up on the dash. I scratched one of mine a bit too. Looks so straight forward, but they don't like to turn loose.

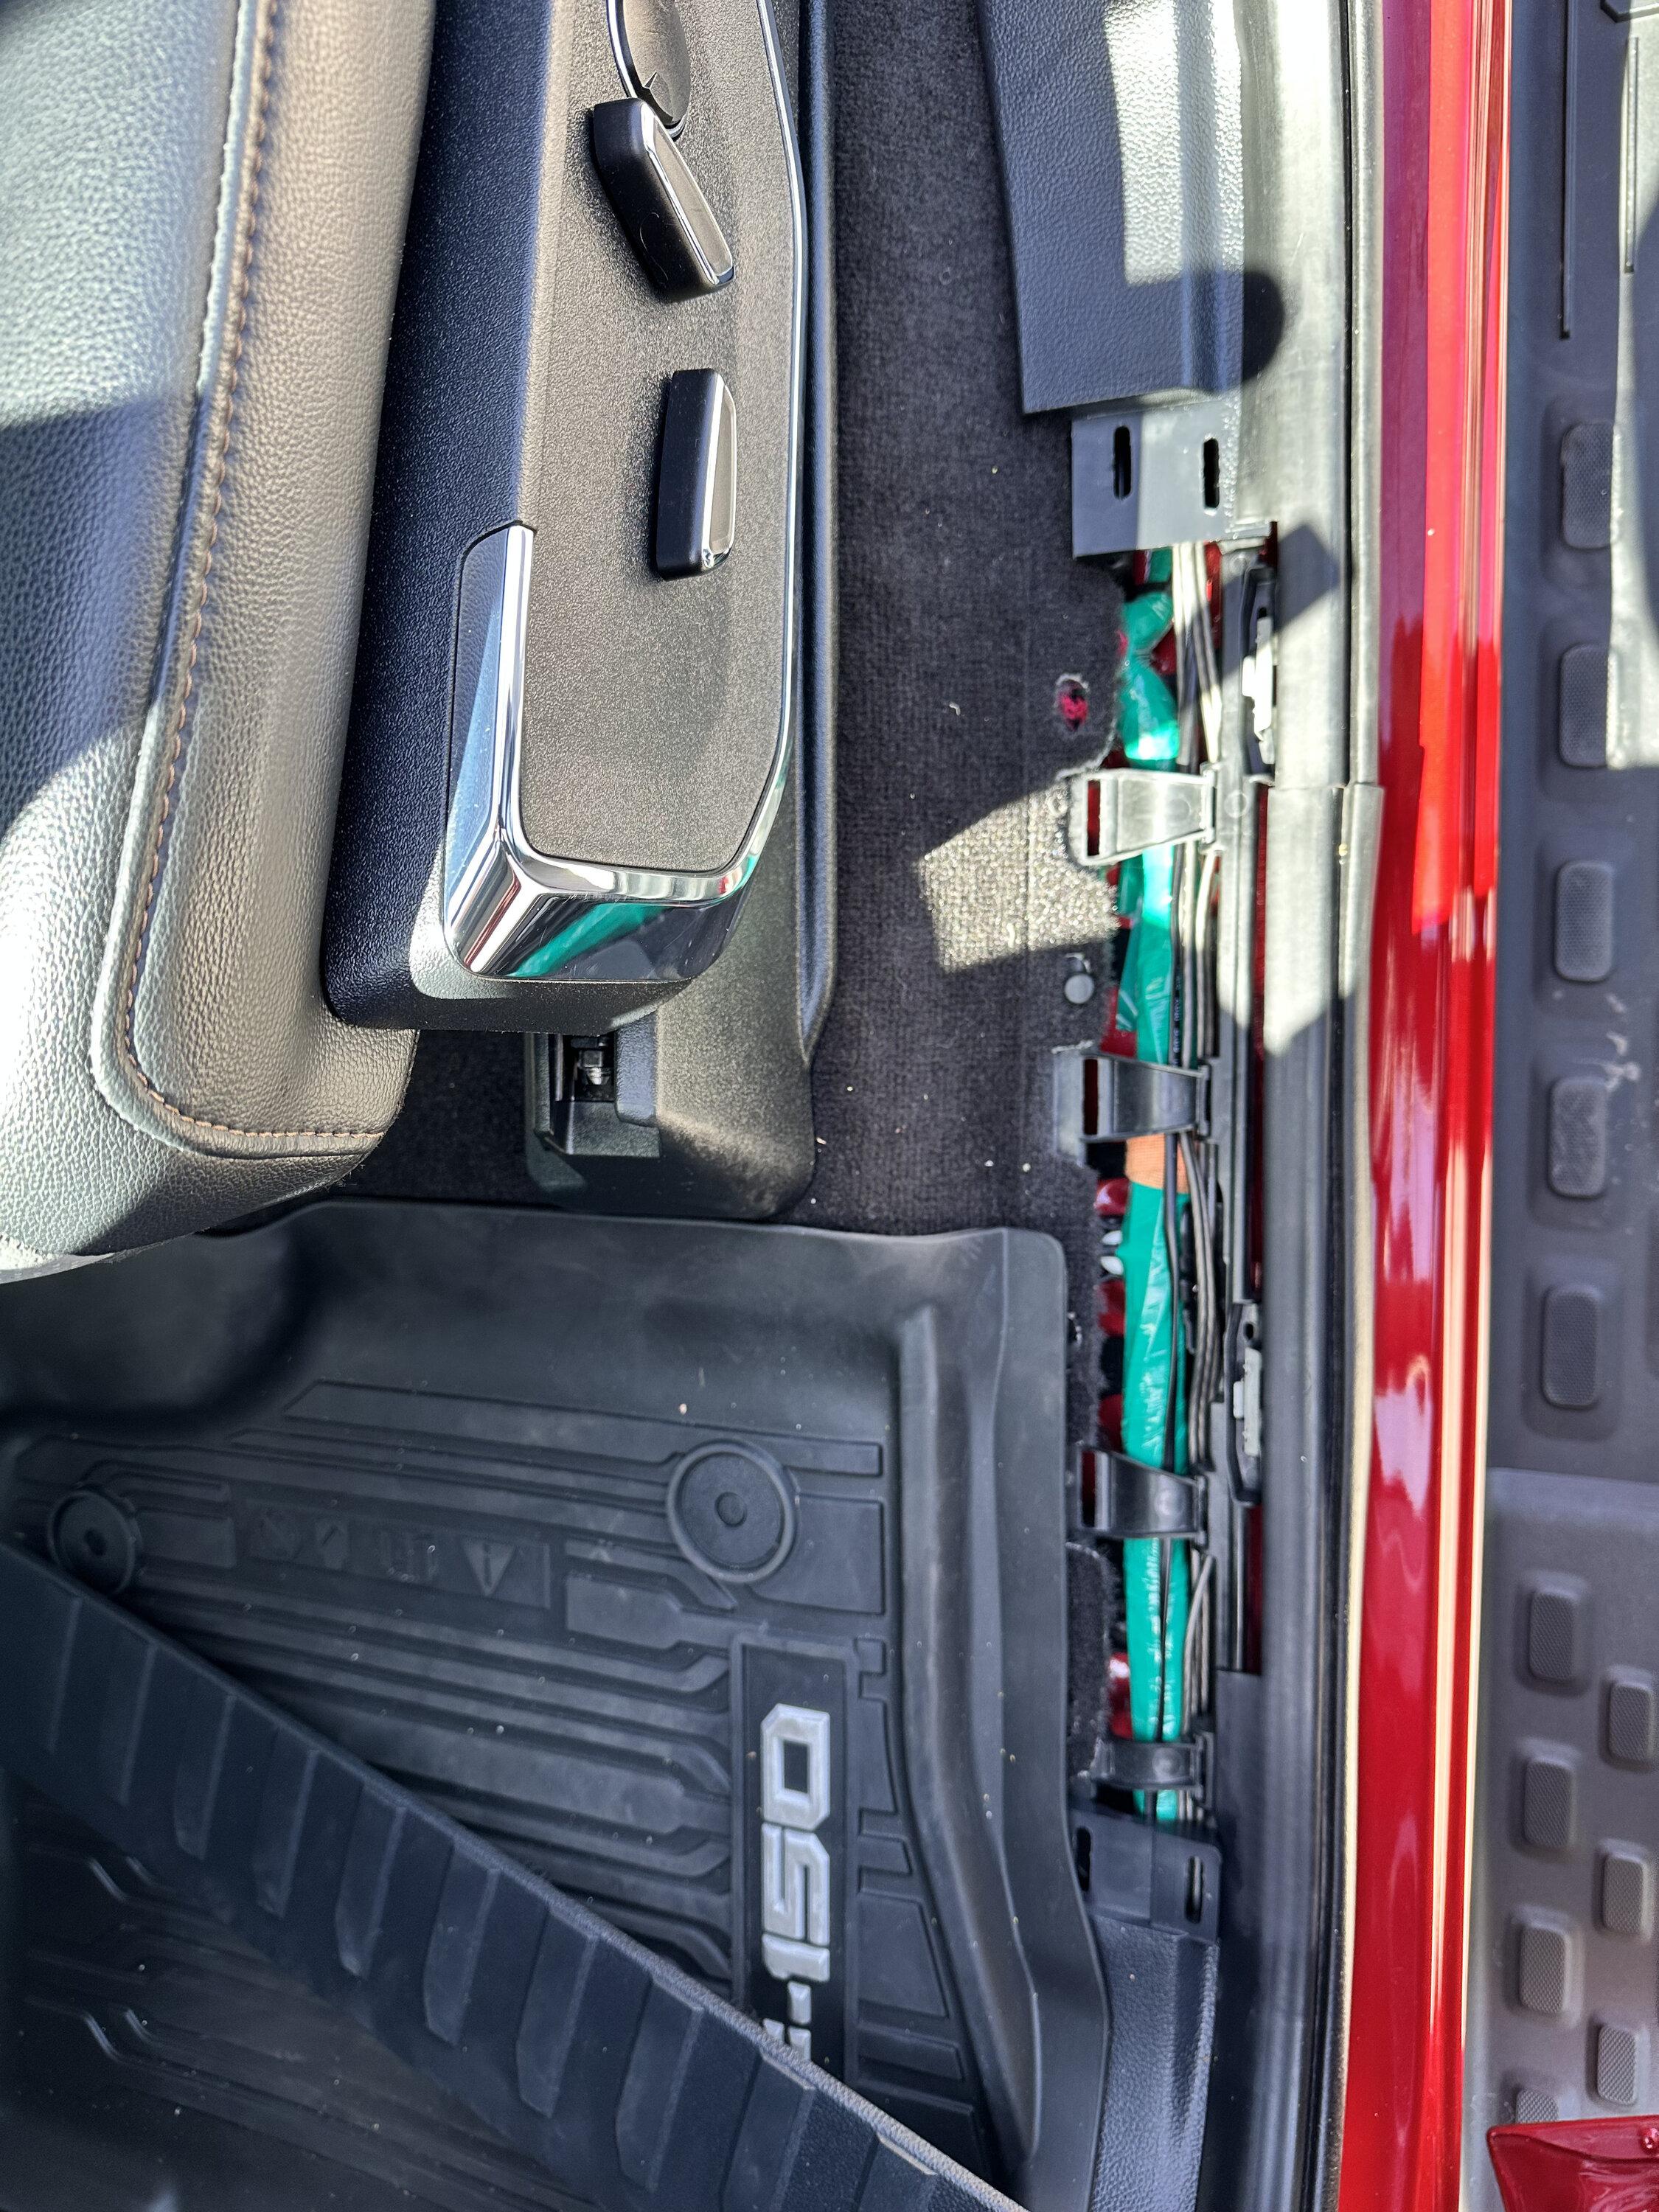
I also ran my power cable to the front of the truck on the drivers side simply because there was nothing to tie to as you note on the passenger side.

Great work. I hope you are enjoying it. Been loving my set up a while.
 

kbuicker

Well-known member
First Name
Kevin
Joined
May 12, 2022
Threads
29
Messages
269
Reaction score
254
Location
Dallas Texas
Vehicles
2022 Lightning
This is simply beautiful! Thank you for taking the time to go step-by-step and show photos each time. You win the internet today fellow Lightning owner.
 

e-Trucka

Member
First Name
Ruben
Joined
Jan 23, 2023
Threads
1
Messages
8
Reaction score
10
Location
Austin, TX
Vehicles
2022 F-150 Lightning Lariat, 2021 Tesla Model 3
Occupation
Enterprise Cloud Architect
This is an amazing thread and the work is top notch! You are now THE Lightning mod-man of the forum. Thanks for sharing.
 

Sponsored
OP
OP
kvasiir

kvasiir

Well-known member
Joined
Nov 20, 2022
Threads
2
Messages
78
Reaction score
91
Location
San Jose, CA
Vehicles
2022 F-150 Lightning Lariat Rapid Red
Occupation
Engineer
This is simply beautiful! Thank you for taking the time to go step-by-step and show photos each time. You win the internet today fellow Lightning owner.
This is an amazing thread and the work is top notch! You are now THE Lightning mod-man of the forum. Thanks for sharing. Sponsored
Thanks guys - it was easy to do the door pics, since I had to do two of each, so I could just work through it the first time and then do it more methodically and with pictures the second time. The electronics installation wasn't really like that. It's just tough to take pictures at the same time as you're doing more exploratory and try-and-error style work, unfortunately. I'm certainly happy to chat/share pictures/etc if anybody has specific questions about any of that stuff that's not well-covered here!
 

kbuicker

Well-known member
First Name
Kevin
Joined
May 12, 2022
Threads
29
Messages
269
Reaction score
254
Location
Dallas Texas
Vehicles
2022 Lightning
I recently added sound deadening mats (Kilmat) to the rear wall and floor of my truck. I have a ton of tiles left, so thought I would do the doors too. Do you think the block off plates are necessary? Truck is quiet as is and I'm not after an aftermarket boom.
 
OP
OP
kvasiir

kvasiir

Well-known member
Joined
Nov 20, 2022
Threads
2
Messages
78
Reaction score
91
Location
San Jose, CA
Vehicles
2022 F-150 Lightning Lariat Rapid Red
Occupation
Engineer
Do you think the block off plates are necessary?
Necessary? Probably not. I'm not sure how salvageable the existing vapour barrier plastic is, though, and you'll definitely need to peel that off to put tiles on the inside of the doors. If it's helpful, you can buy just the plates (as opposed to a full giant kit like I got) from SGS here.
 

kbuicker

Well-known member
First Name
Kevin
Joined
May 12, 2022
Threads
29
Messages
269
Reaction score
254
Location
Dallas Texas
Vehicles
2022 Lightning
ok, thanks. Yes, the vapor barrier went back on without issue.
 

SoundsGoodStereo

Active member
Gold Sponsor
First Name
Don
Joined
Apr 13, 2022
Threads
4
Messages
42
Reaction score
38
Location
Mount Juliet, TN
Website
soundsgoodstereo.com
Vehicles
F-150
I recently added sound deadening mats (Kilmat) to the rear wall and floor of my truck. I have a ton of tiles left, so thought I would do the doors too. Do you think the block off plates are necessary? Truck is quiet as is and I'm not after an aftermarket boom.
For road noise, the plates will make a marginal difference. For sound, it makes a big difference and helps resolve the "boomy" midbass performance since it adds rigidity to the door itself and prevents the back wave of the speaker from colliding with the front wave.
Sponsored


Top