Sponsored

Low / Medium Cost Audio upgrade

sstevetx

Well-known member
First Name
Steve
Joined
Sep 3, 2023
Threads
3
Messages
227
Reaction score
352
Location
Dallas, TX
Vehicles
2022 Lariat ER w/Max Tow - Atlas Blue
So in the picture below, the 2 RCAs are for the powered sub...what are the 2 gray molex for? Do those plug into the amp? Or do I have to splice into the side speaker output coming from the amp?
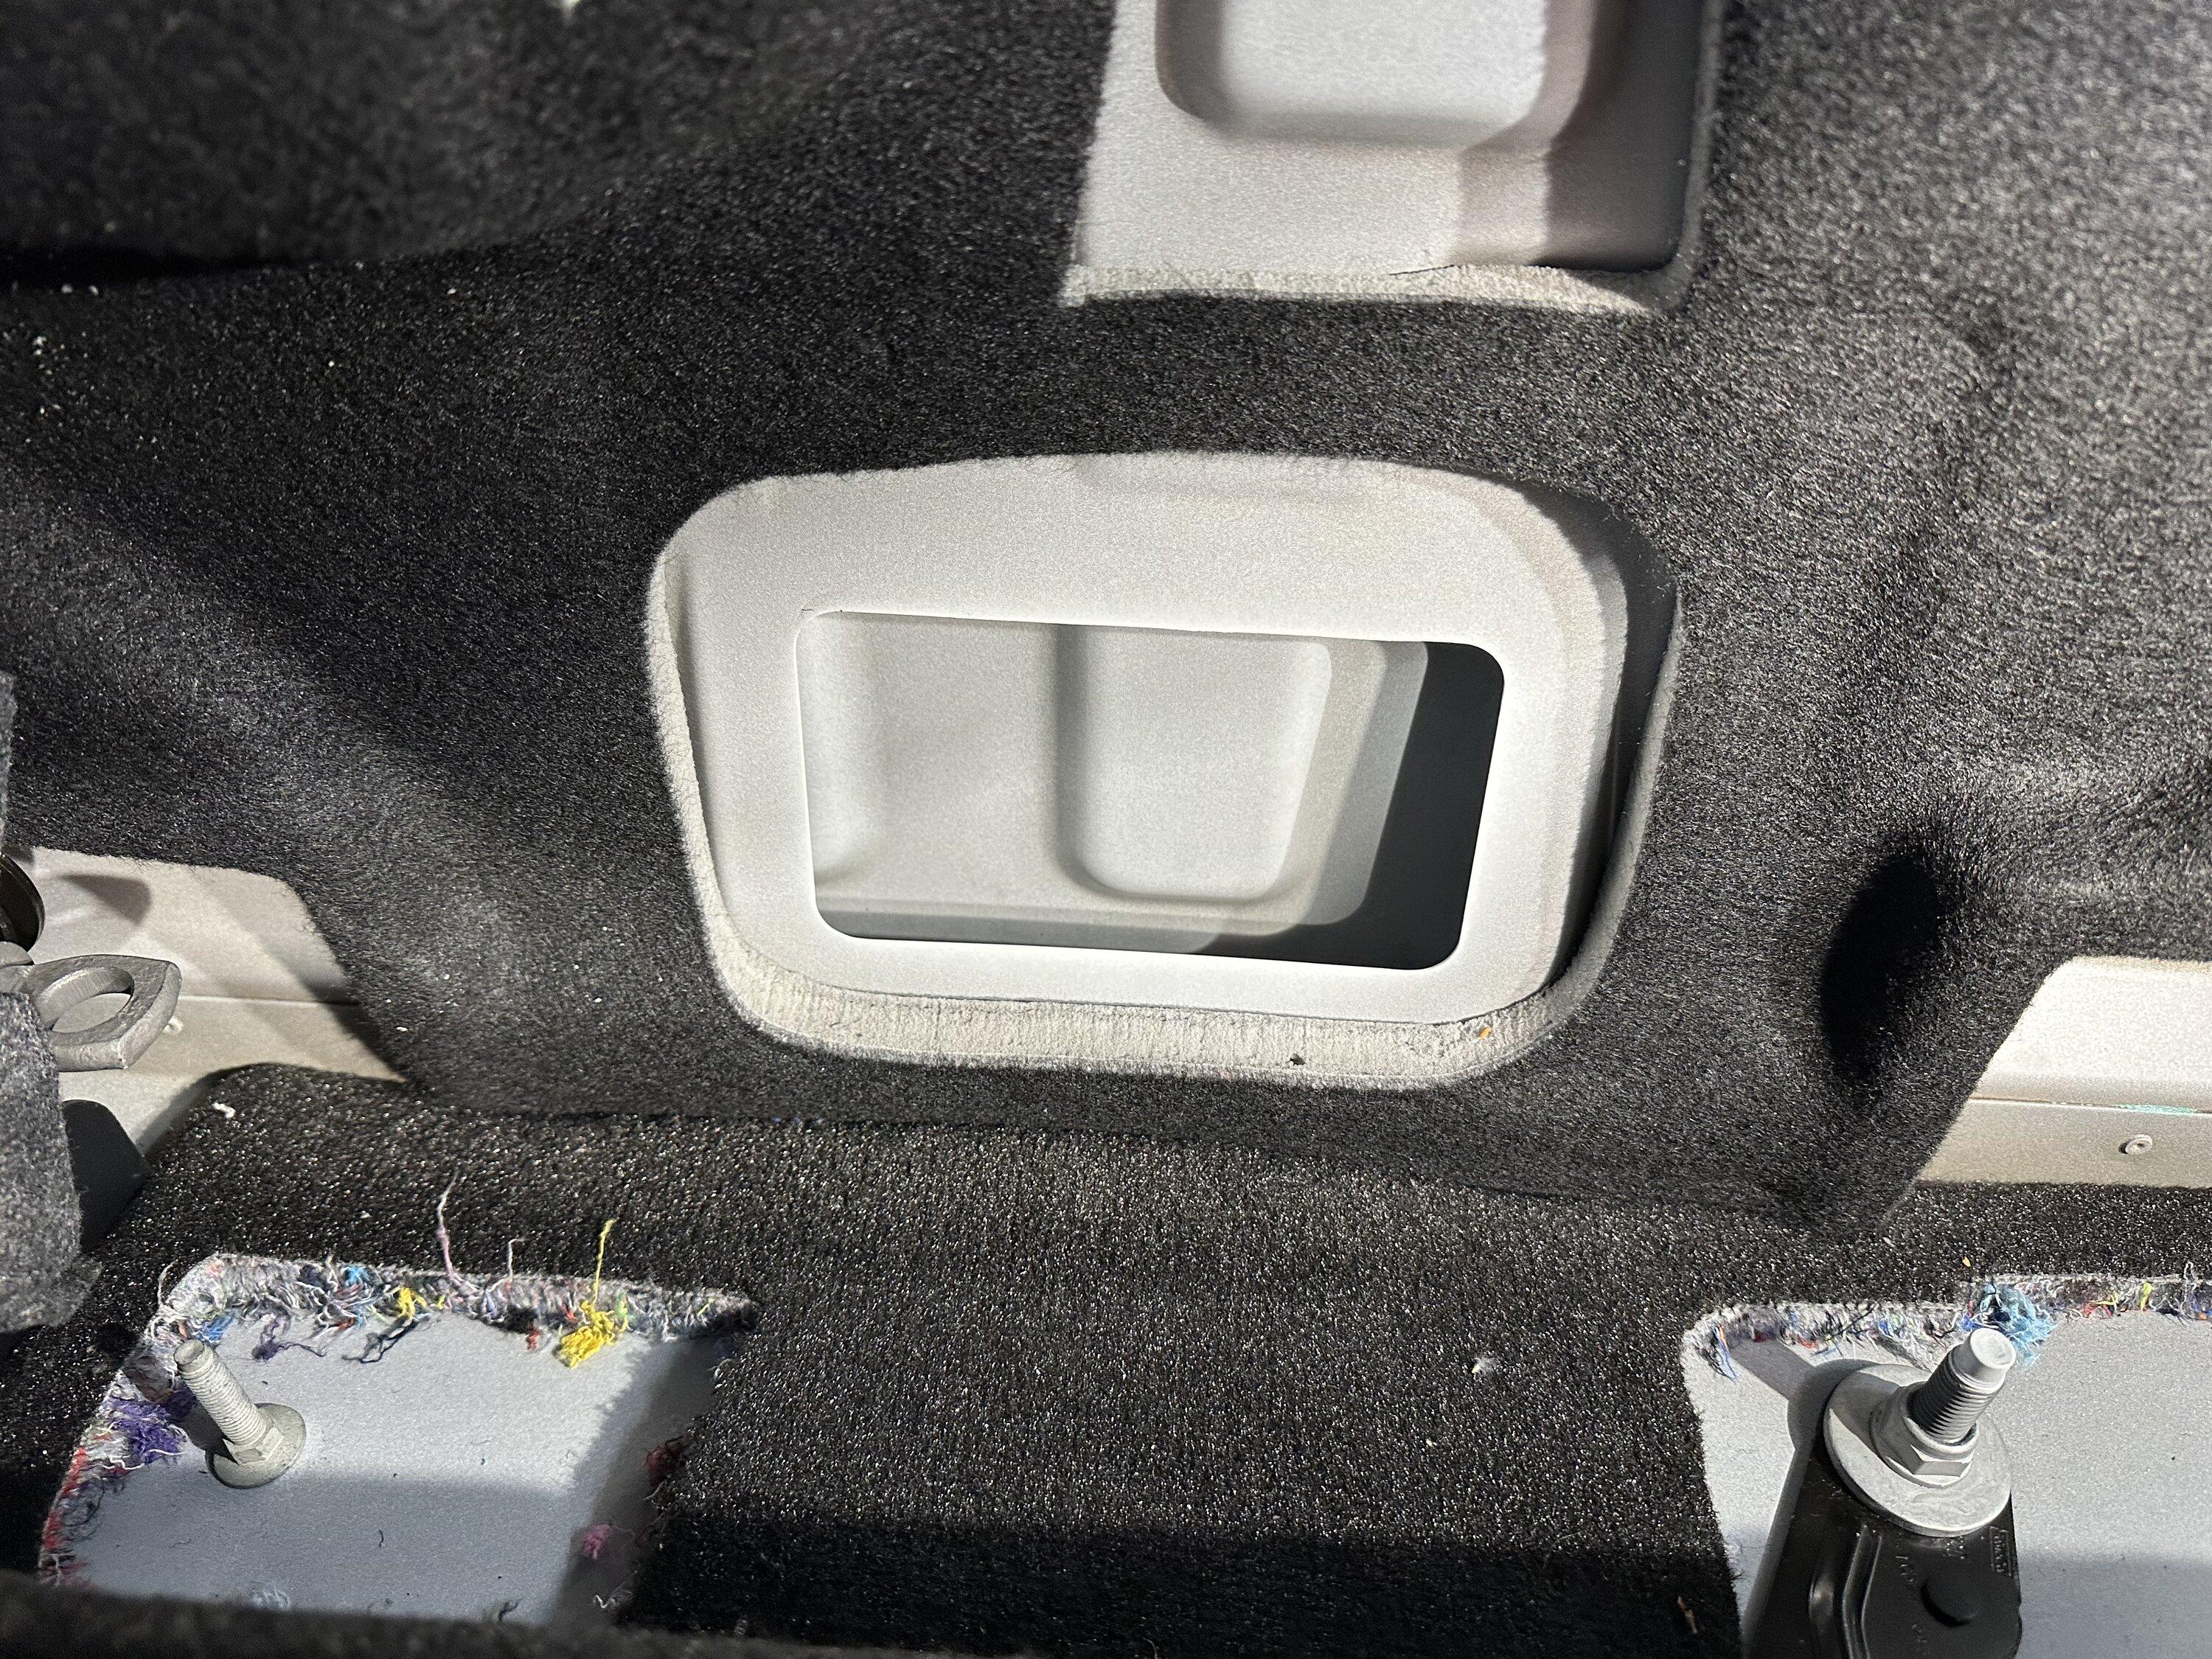
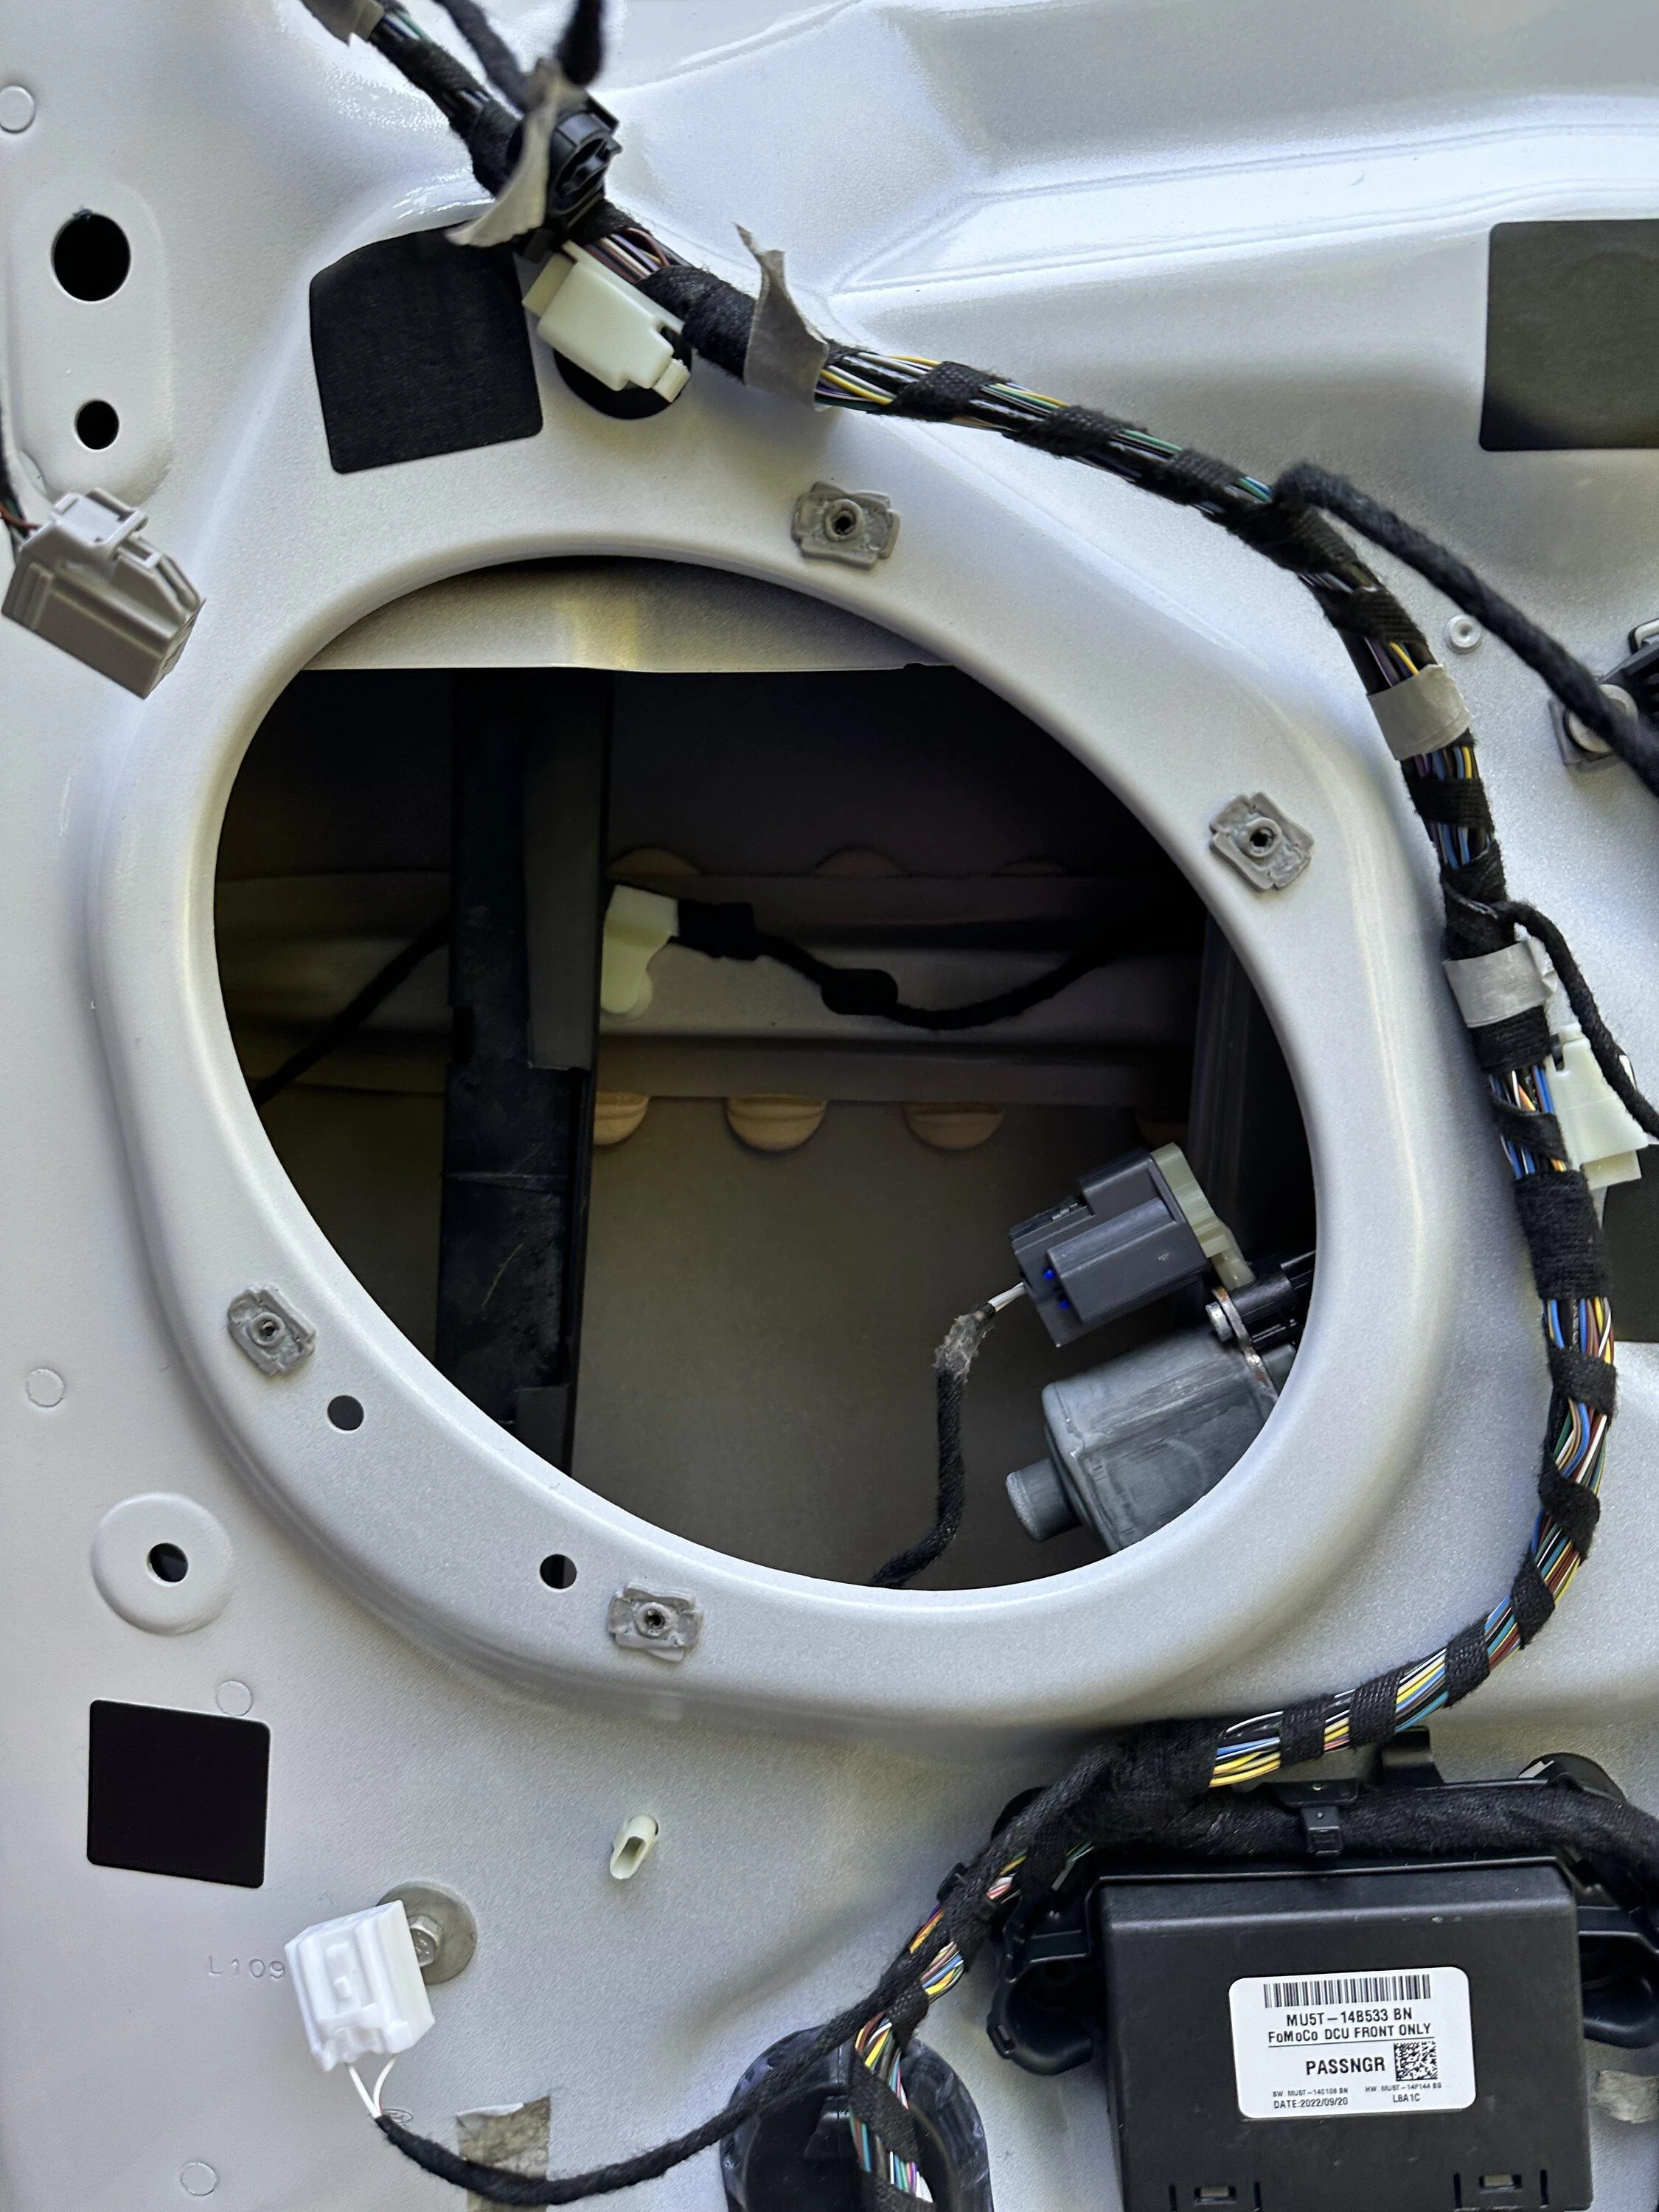
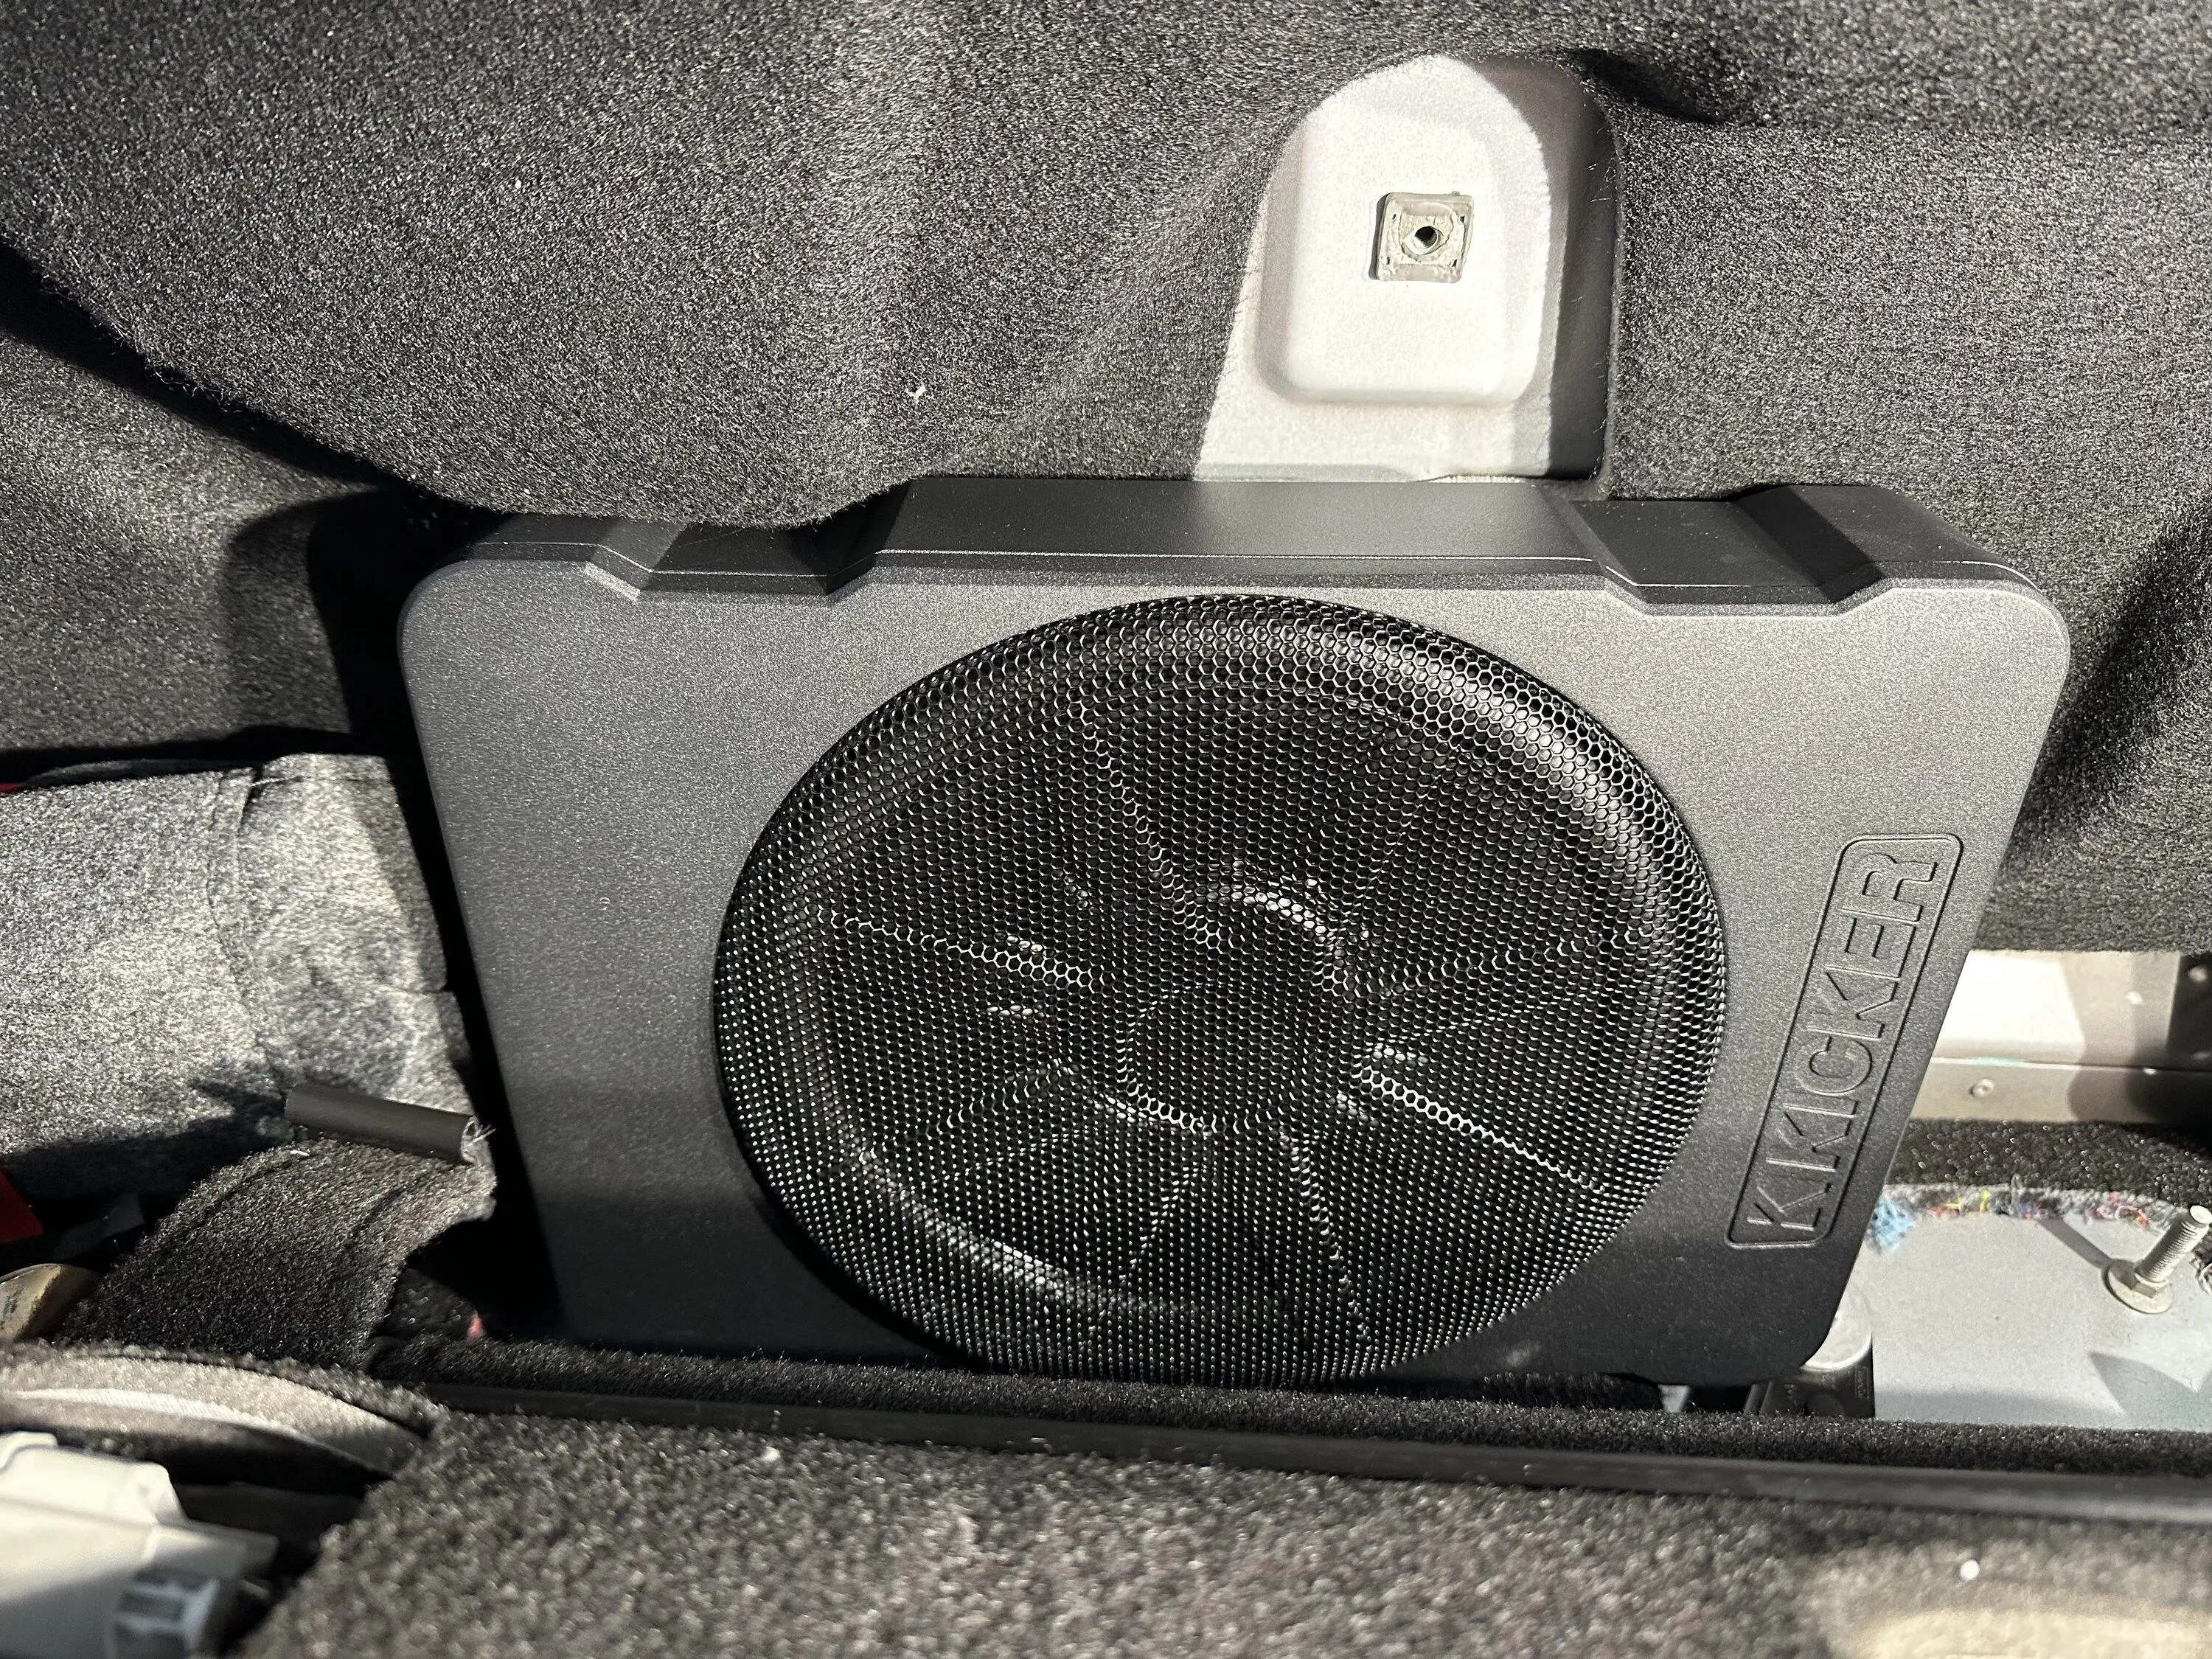
Gray plug goes into the factory amp. If you go with the Kicker hideaway, keep in mind it does not have RCA inputs. If you go with the SGS Keyloc then let them know you need high level outputs rather than RCA. Not sure if they charge more for that cable or if they just switch it out for no cost. Otherwise you can buy an adapter or splice into the RCA if so inclined. This one for $14 should work https://www.amazon.com/Kicker-KISL-2-Channel-Speaker-Adapter/dp/B00I4EBOYK/
Sponsored


ppmax5000

Member
Joined
Oct 19, 2024
Threads
1
Messages
12
Reaction score
10
Location
Colorado
Vehicles
2022 Chevy Bolt EUV; 2022 Ford Lightning Lariat ER Max Tow
@watts/up and @sstevetx thanks much for the help and links...much appreciated!

Im still working through the planning/details...will be making a purchase before Black Friday ends
 

digitaldad

Well-known member
Joined
Jan 14, 2025
Threads
5
Messages
80
Reaction score
58
Vehicles
2023 Lightning Lariat ER
Regarding your amp wiring to the battery: did you guys attach at the squares in the picture?

The negative square is on/off of the BCM sensor post and the positive is under the red rubber protector.

I see a negative nut on top of the actual clamp and wasnt sure if you needed to avoid BCM.

Ford F-150 Lightning Low / Medium Cost Audio upgrade battery posts
 

digitaldad

Well-known member
Joined
Jan 14, 2025
Threads
5
Messages
80
Reaction score
58
Vehicles
2023 Lightning Lariat ER
Thanks. I was also advised by Good Sound to run the ground/negative to the battery, so still curious on BCM portion.
 

Sponsored

RocketGhost

Well-known member
First Name
Spencer
Joined
May 22, 2024
Threads
4
Messages
262
Reaction score
291
Location
Memphis TN
Vehicles
2022 Lariat ER
Thanks. I was also advised by Good Sound to run the ground/negative to the battery, so still curious on BCM portion.
Connect to the post in the square in the photo above. You want everything upstream of the BMS (not BCM) sensor so it can detect current draw.
 

GDN

Well-known member
First Name
Greg
Joined
Feb 15, 2022
Threads
86
Messages
3,354
Reaction score
4,169
Location
Dallas, TX
Vehicles
Lightning Lariat ER, Performance Y
Occupation
IT
I used a ground point in the cab

IMG_2289.jpeg
The same here. I took sand paper and sanded the paint off behind it to get good contact. I know that SGS advises agains this, but I haven't had a problem in 2+ years.
 

GDN

Well-known member
First Name
Greg
Joined
Feb 15, 2022
Threads
86
Messages
3,354
Reaction score
4,169
Location
Dallas, TX
Vehicles
Lightning Lariat ER, Performance Y
Occupation
IT
Regarding your amp wiring to the battery: did you guys attach at the squares in the picture?

The negative square is on/off of the BCM sensor post and the positive is under the red rubber protector.

I see a negative nut on top of the actual clamp and wasnt sure if you needed to avoid BCM.

battery posts.jpg
Right where your square is on the positive. As noted I grounded to the cab. Did you add a fuse? I'm no expert, but did a bit of reading and research. They recommend one very near the battery to protect not only your gear but your wiring if I recall. I screwed it right to the slanted plate in front of the battery.

Ford F-150 Lightning Low / Medium Cost Audio upgrade IMG_3380
 

digitaldad

Well-known member
Joined
Jan 14, 2025
Threads
5
Messages
80
Reaction score
58
Vehicles
2023 Lightning Lariat ER
Connect to the post in the square in the photo above. You want everything upstream of the BMS (not BCM) sensor so it can detect current draw.
I keey saying BCM (when I mean BMS) and vice versa, lately. Good catch.
 

Sponsored

digitaldad

Well-known member
Joined
Jan 14, 2025
Threads
5
Messages
80
Reaction score
58
Vehicles
2023 Lightning Lariat ER
Right where your square is on the positive. As noted I grounded to the cab. Did you add a fuse? I'm no expert, but did a bit of reading and research. They recommend one very near the battery to protect not only your gear but your wiring if I recall. I screwed it right to the slanted plate in front of the battery.
I already ordered the wire but with these comments about still using the cab for ground, I may end up just doing it (we'll see).

Yes on the fuse, I've installed my own amps for decades now, I got the fuse part down (thanks for your pic!).
 
  • Like
Reactions: GDN

21st Century Truck

Well-known member
First Name
Martin
Joined
Jul 11, 2024
Threads
9
Messages
514
Reaction score
554
Location
Virginia
Vehicles
Ford 150 Lightning 2023 XLT ER pkg. 312A
I recently completed an audio upgrade which I started over the summer. After a lot of research on this forum, the other Lightning forum, and Youtube I pulled the trigger. I did not upgrade the head unit for obvious reasons. I am adding this content because most audio upgrades on this forum are multiple thousands of dollars. I am not an audiophile, and listen primarily to Sirius/XM / Apple Music / Spotify. Total cost was under $1000 (more likely $850 but I didn’t track all of my receipts). I was initially hesitant with such expensive truck but found the job to be easier than I thought (with help listed below). I was slow and careful. BTW the B&O 8 speaker system is complete garbage.

This has made a HUGE difference. It is so much better.

A couple of clarifications : 1) I have never worked on car audio before 2) I am a strong believer in YouTube university 3) I am pretty handy 4) I have had to figure out a lot of electrical gremlins in boats so I was not too worried about doing this.

I want to shout out soundgoodstereo for the plug and play sub adapter, sub block plate, and front/rear door block out plates.
I also want to shout out provobeast on YouTube () for a complete walk through of front/tweeter/rear speaker tutorials.

I had to figure out the sub replacement and center dash speaker on my own. The trickiest parts were running power to the 12 V battery from the rear seat area for the sub and replacing the A pillar tweeters. I broke a few clips when removing certain trim pieces along the way. The tweeter factory wires were extremely small and hard to join with the speaker wires. There is no aftermarket harness for them. The 4 door speakers and sub have adapters (links provided). I also had to ‘hard wire’ the center dash speaker.

I ended up running wiring under the drivers side door channels for the sub control and power. I poked through the ‘firewall’ under the drivers side steering console. There is a rubber grommet that allowed me to route to the 12 V battery. (I have had not 12 V issues at all). I strongly recommend buying a good trim kit instead of using pliers and screwdrivers.

Here is a list of parts. Most came at the recommendation of provobeast. Sound Good Stereo has a lot of great options as well, but those were out of my price range. The sub fits perfectly in the existing spot and is only attached with command hook Velcro.

https://soundsgoodstereo.com/produc...ck-off-plate-for-rear-wall-includes-unleashed

https://soundsgoodstereo.com/products/2021-2022-ford-f-150-custom-made-door-access-block-off-plates

https://soundsgoodstereo.com/products/2021-2022-ford-f-150-custom-made-door-access-block-off-plates

https://www.amazon.com/KICKER-46HS10-Compact-Powered-Subwoofer/dp/B083M9HR4D

https://www.amazon.com/Alpine-R-S69C-2-6x9-inch-Component-Speaker/dp/B07ND4GY3Y

https://www.amazon.com/Alpine-R-S65-2-2-inch-Coaxial-Speakers/dp/B07N135NBY

https://www.amazon.com/Infinity-Kappa-Perfect-300m-Midrange/dp/B06XNLBL7Y (dash speaker - I have an extra if someone wants to make it worth my while to send it their way)

https://www.amazon.com/Speaker-Harness-Compatible-2010-Up-Vehicles/dp/B09BDKHPHF

https://www.amazon.com/Metra-72-5602-Speaker-Connector-Vehicles/dp/B016YIFQ7I

https://www.amazon.com/Metra-825606-Front-Speaker-Plate/dp/B01BTSVYGK

https://www.amazon.com/Metra-825605-Rear-Speaker-Plate/dp/B01BTSVXWK

https://www.amazon.com/GOOACC-Retainer-Fastener-Terminal-Adhesive/dp/B0BLCDRDY6

https://www.amazon.com/ELECFUN-10-22AWG-Connectors-Insulated-Electrical/dp/B07G5W9PH1

https://www.amazon.com/ELECFUN-10-22AWG-Connectors-Insulated-Electrical/dp/B07G5W9PH1

IMG_4925.jpeg


IMG_4924.jpeg


IMG_4921.jpeg


IMG_4908.jpeg


IMG_2340.jpeg


IMG_2339.jpeg


IMG_2337.jpeg


IMG_2272.jpeg


IMG_2269.jpeg


IMG_2262.jpeg


IMG_2260.jpeg


IMG_2323.jpeg


IMG_2259.jpeg
I want to give a BIG SHOUT OUT to one of the products here... the door block-off plates from Sounds Good Stereo. The URL is listed in this 1st post above.

I am upgrading my six-speaker XLT audio, one step at a time.

Just installed the four door block-off plates. Holy Crap! What a darn difference, with the factory speakers in the doors!

The highs are clearer, the midrange is wayyy deeper, and the bass is richer.

A neighbor came by to check it out... he thought I have a new amp.

Now that I've had these in for a week, IMHO this should be the very 1st upgrade, as it easily adds significant quality throughout the audio range no matter what the speakers are, or whether there is an amp or not. In fact, I recommend it for all F150 Lightnings, whatever Your current setup is.

The install is straightforward although it takes a bit of time. Each door block-off plate comes with a bunch of perimeter screw holes. You have to align the plate onto the door steel dimples with the two large locator holes on the top of the plate, and then drill pilot holes for every hole, then put the screws in.

I aligned each plate on its two dimples, then drilled one hole along the top edge and put in a screw to hang the plate on, then drilled and mounted the rest of the screws. I left the plastic vapor barrier in place behind each plate. When I snugged the screws in one by one, the plate squished against the plastic vapor barrier's black caulking and created a good seal.

Note: it pays to verify that each screw pulls in its plate section completely against the caulking. The good-quality provided screws are tight in their pilot holes, and in several places I saw later that they needed more effort to snug the plate's edge completely against the door wall.

This is an easy, basic audio upgrade that cannot fail to satisfy for the price.
 

sstevetx

Well-known member
First Name
Steve
Joined
Sep 3, 2023
Threads
3
Messages
227
Reaction score
352
Location
Dallas, TX
Vehicles
2022 Lariat ER w/Max Tow - Atlas Blue
Glad you confirmed the door plates make such a difference. I installed all new speakers. the kicker subwoofer and door plates at the same time. I couldn't tell you at the time if the door plates made the difference with all the changes.
 
  • Like
Reactions: GDN

GDN

Well-known member
First Name
Greg
Joined
Feb 15, 2022
Threads
86
Messages
3,354
Reaction score
4,169
Location
Dallas, TX
Vehicles
Lightning Lariat ER, Performance Y
Occupation
IT
I want to give a BIG SHOUT OUT to one of the products here... the door block-off plates from Sounds Good Stereo. The URL is listed in this 1st post above.

I am upgrading my six-speaker XLT audio, one step at a time.

Just installed the four door block-off plates. Holy Crap! What a darn difference, with the factory speakers in the doors!

The highs are clearer, the midrange is wayyy deeper, and the bass is richer.

A neighbor came by to check it out... he thought I have a new amp.

Now that I've had these in for a week, IMHO this should be the very 1st upgrade, as it easily adds significant quality throughout the audio range no matter what the speakers are, or whether there is an amp or not. In fact, I recommend it for all F150 Lightnings, whatever Your current setup is.

The install is straightforward although it takes a bit of time. Each door block-off plate comes with a bunch of perimeter screw holes. You have to align the plate onto the door steel dimples with the two large locator holes on the top of the plate, and then drill pilot holes for every hole, then put the screws in.

I aligned each plate on its two dimples, then drilled one hole along the top edge and put in a screw to hang the plate on, then drilled and mounted the rest of the screws. I left the plastic vapor barrier in place behind each plate. When I snugged the screws in one by one, the plate squished against the plastic vapor barrier's black caulking and created a good seal.

Note: it pays to verify that each screw pulls in its plate section completely against the caulking. The good-quality provided screws are tight in their pilot holes, and in several places I saw later that they needed more effort to snug the plate's edge completely against the door wall.

This is an easy, basic audio upgrade that cannot fail to satisfy for the price.
I didn't think about putting the vapor barriers back on behind mine. I added a sound dampening barrier and the plates are sealing against that, but it would have been nice to have the plastic behind there too. I've still got them, but likely won't take the doors apart to put them back in now.
Sponsored


Top